Transferring files from a web server to another is usually a pain in the ass particularly when the files to moved is very huge. some few months back, i had to be moved one of my website to a new shared webhosting. one major headache i had was, how the hell am i going to move the files as they were over 5GB in size.
Normally, when you are to transfer files you first need to download the files to be moved and then upload them to the new location. i wasn’t having enough data plan, so i research a means of doing the transfer without me having to download and upload the files.
After some Googling, i stumbled on mover.io, a secure cloud transfers service. you can move files between any cloud storage provider, nothing to install all completely online. though it is a premium service, they offer 10GB worth of free file transfer, that was more than enough for me. follow the steps below as i show you how you can transfer files to and fro a web server via FTP to FTP (file transfer protocol).
- Register and login to your mover account.
- Your Dashboard will look like the image below consisting of source and destination
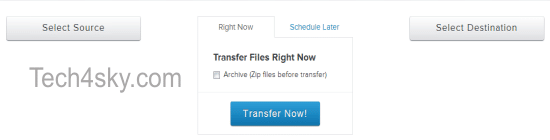
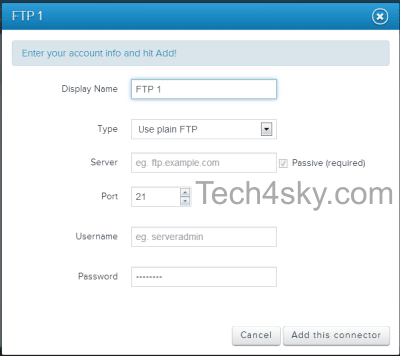
- To initiate the transfer, we need to set up the Source and destination FTP details. this can be done by first clicking the source button, then click the FTP link, setup the FTP details of the server you are transferring files from. when done, also set the FTP details of the server to move to.
- After setting the source and destination FTP connector, you should see all content from both servers displaying in your mover dashboard.
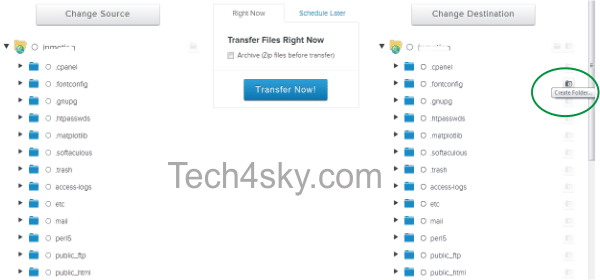
- To start the transfer, check the folder to move in the Source section (“public_html” if you are moving full server content otherwise check the folder / file to move) and also in the Destination section, check or create the folder location the folder/file to be move will be.
- You can initiate the transfer immediately or at a schedule time. for best result, i advise you check or tick Archive (Zip files before transfer) so that the transferred folder/files will be put in a ZIP file, with a timestamp. It will be named something like ‘Mover-201203072156.zip.
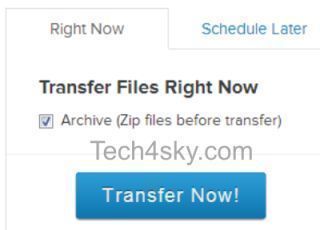
- Now the set-up of the transfer has been trashed out, click the Transfer Now! button to begin the transfer. you will be redirected to the progress page, and your transfer will be tagged ongoing.

When the transfer has been successful, it will be tagged Success and you will receive an email alert on both occasions.
- Now that the transfer is complete, all you need do is go to the destination server and extract the file from it zip archive.
Summary
Without you having to do any download and upload the transferred files, you now know how to securely transfer files over the cloud. isn’t that great? 😀