A lot of us host our websites and blogs on a shared hosting platform mainly because they are affordable.
These shared hosting provides cPanel to its users for easy administration of their respective server space and accounts.
Virtually all cPanel ships with softaculous – an automatic Installer that take the pain out of installing various content management systems, frameworks, PHP scripts & classes.

The website backup and restore feature is one of the tool most loved features.
In this article, I will walk us through the process of taking backups of websites and also how to restore the backup when the need arises.
I will be using this WordPress blog as a demonstration for this tutorial.
Take Note: the website(s) you want softaculous to always backup must have been installed previously by Softaculous.
How to Backup Websites via Softaculous
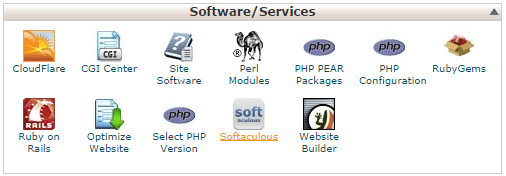
Login to cPanel and click the Softaculous link beneath the Software/Services widget.
At the top-right corner of the Softaculous page, click the All installation menu icon.

At the option column of the installed website, click the backup icon.
![]()
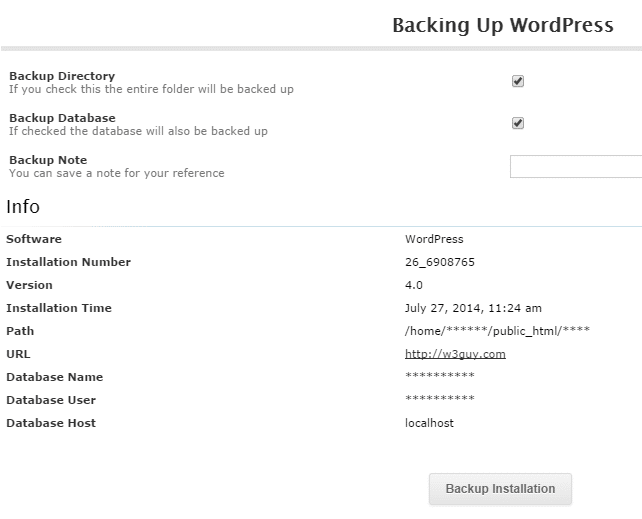
At the backup page, select what to backup i.e website installation folder and/or database. Hit the Backup Installation to initiate the backup.
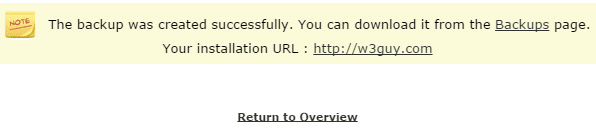
In few seconds, the backup will be complete.
How to Restore a Website Backup
Go to the Backups and Restore page by clicking its menu icon.
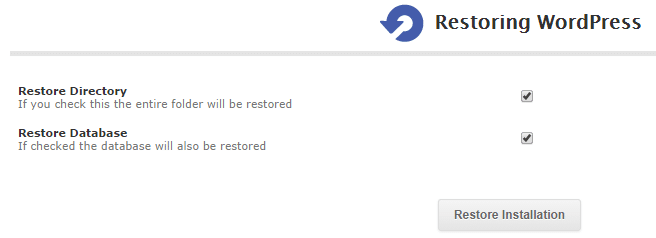
Among the list of icons in the Options column is that of Restore. Click it.
Select the backup you want to restore i.e. website installation folder and/or database and submit.

Wrap Up
All backup created by Softaculous resides in your server.
The backup process can be automated in the sense that, Softaculous will create scheduled backup of your site.
To achieve this, edit your website installation settings and select the frequency the backup will be created.

It is worthy of note that Softaculous can also automatically upgrade the software/CMS your site is built on when an update is available.
For WordPress, Softaculous can auto-update themes and plugins for you.