Are you looking for a way to let users sign up for a paid newsletter on your WordPress site?
One way to do this is by using default WordPress functionality to create a newsletter and manually send your users emails with updates on the latest posts. The problem with this method is that you have to manually send emails every time you publish a new post to your subscribers or want to send out a message to subscribers.
Thankfully, you can use a WordPress plugin to create paid newsletters on your website. This post will show you how to do this on your WordPress site.
Creating a paid newsletter in WordPress
WordPress, by default, does not let you create and send newsletters manually to your subscribers.
This isn’t particularly effective because, on top of creating high-quality posts, you’ll also be responsible for sending the new post notification messages on time. Moreover, there’s no way to let your users sign-up for a premium or paid newsletter.
The solution is to use a dedicated plugin, like MailOptin, to create and send out paid newsletters to subscribers.
MailOptin is designed to let you create automated email campaigns and set up paid newsletters.
While MailOptin is a dedicated email campaign plugin, it lets you send important messages to users browsing your WordPress site. You can create lightbox popups, notification bars, and even slide-in boxes to grab the attention of site visitors with important messages, updates, or offers.
The great thing about MailOptin is that it’s straightforward and lets you set up paid newsletters on your WordPress site within a few minutes.
How to create a paid newsletter in WordPress using MailOptin
Here, we’ll show you how to create and set up multiple emails, including new post emails, email digests, and one-off broadcasts or newsletters on your WordPress site.
For this, you’ll need a WordPress site with the MailOptin plugin. You’ll also need the ProfilePress plugin to set up membership plans that assign unique user roles. This way, you can send paid newsletters to subscribers with specific user roles.
Step #1: Install and activate the MailOptin plugin
Get the MailOptin plugin and install it on your WordPress website. Navigate to Plugins → Add New and upload the plugins .zip file. Click on the Activate this plugin button to continue.
Next, navigate to MailOptin → Settings from the WordPress admin panel and click on the License tab.
Paste the license key given to you when you purchase and click on the Activate License button to continue.
Step #2: Setup membership plans
Now that the MailOptin plugin is installed and activated, it’s time to start setting up membership plans linked to unique user roles on your site. This way, you can group paid members on your site by the membership plan they’ve subscribed to and send important messages to all groups at once.
For this, we will need the ProfilePress plugin, which lets you set up membership subscription plans and assign unique user roles to subscribers. Once you install and activate the ProfilePress plugin on your WordPress site, navigate to ProfilePress → Membership Plans from the WordPress admin panel and click on the Add New Plan button.
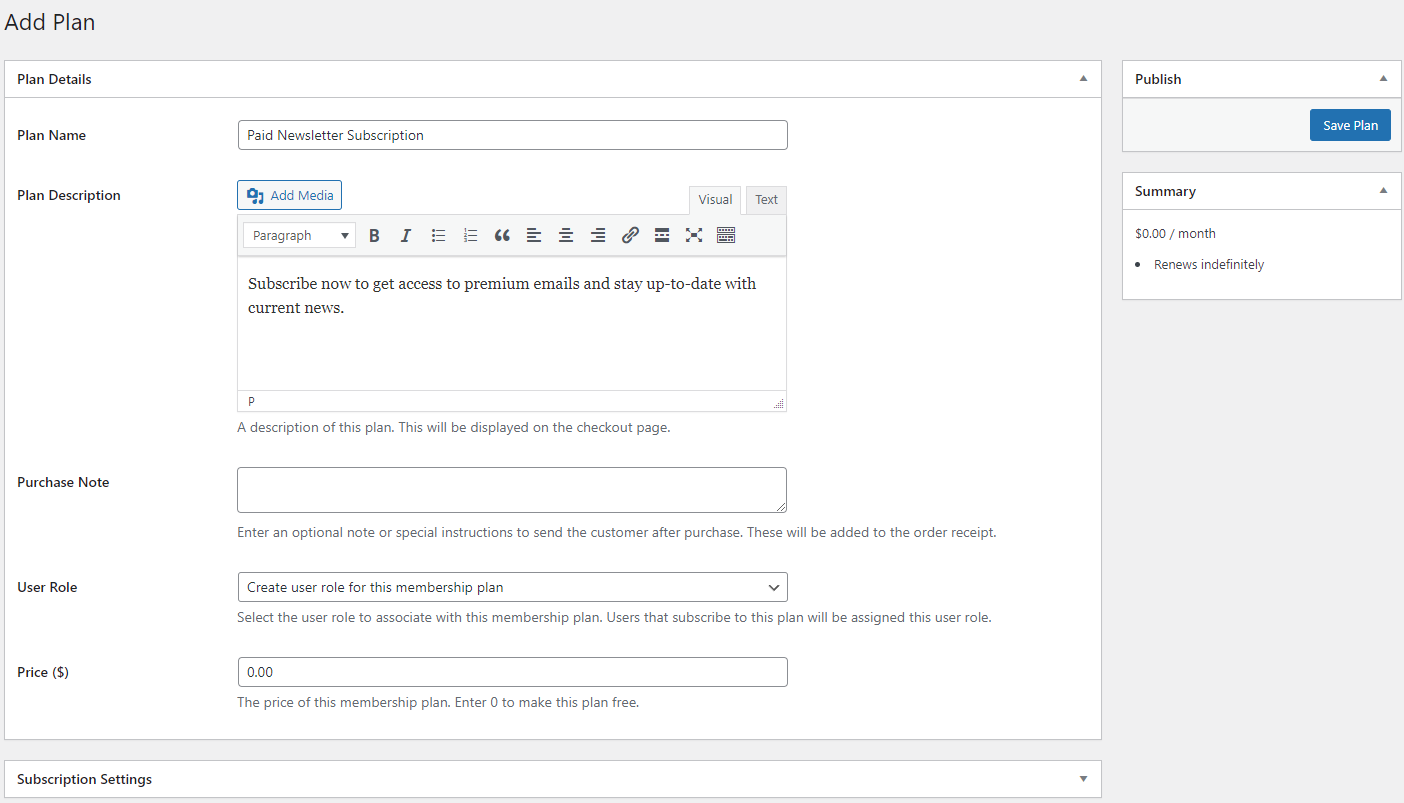
Use the Plan Details meta box to give your subscription plan a name and description. The User Role dropdown menu lets you specify user roles assigned to subscribers once they subscribe to the plan. For instance, users who subscribe to the Premium Membership plan will be assigned the PRO Subscription user role after they pay you.
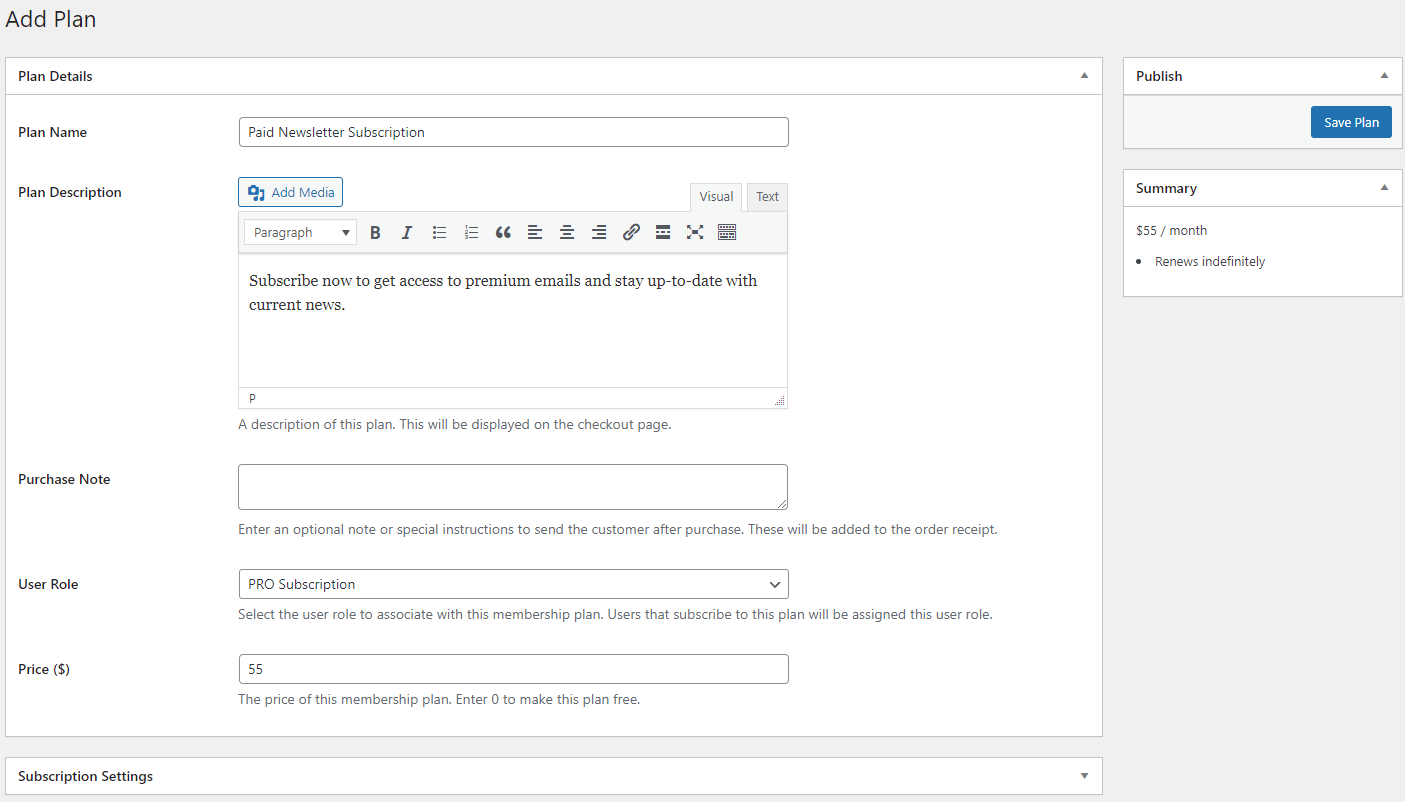
Using the Price ($) field, you can specify how much you want to charge your customers for the subscription, or you can leave it as “0” if you’re going to offer a free membership plan.
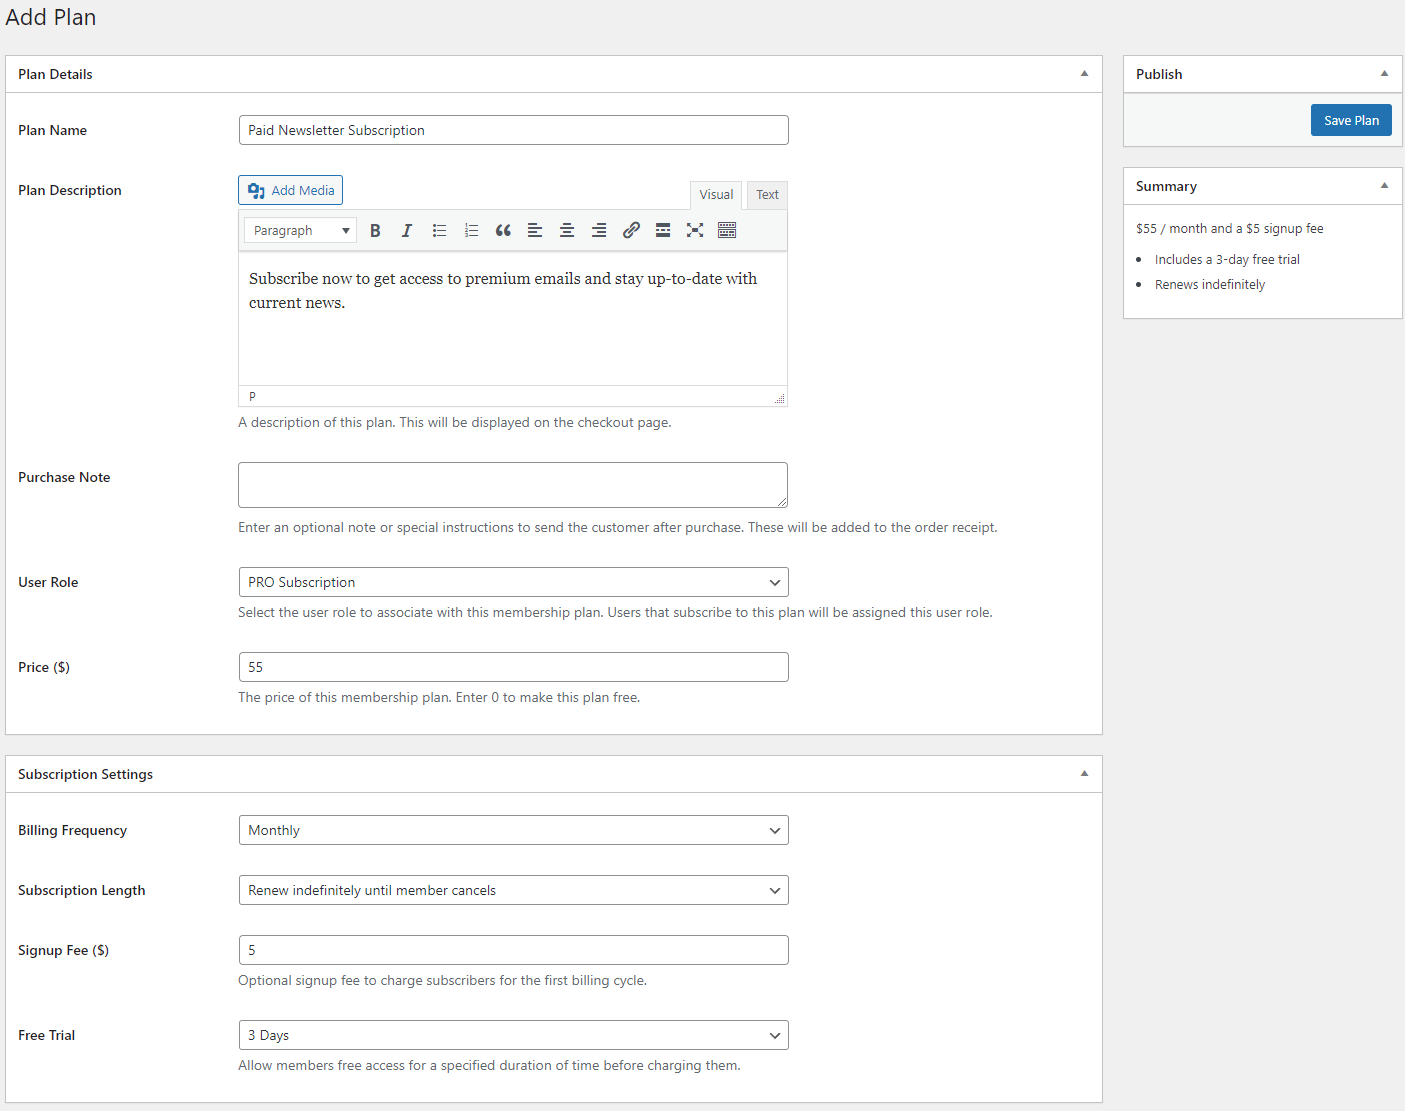
You can specify the Billing Frequency and subscription renewal options using the Subscription Settings meta box. ProfilePress also lets you set up a Signup Fee ($) field to charge subscribers a small fee for their first subscription cycle. You can also assign free trial periods for your membership plans using the Free Trial dropdown menu.
Once you’re ready, click on the Save Plan button to continue.
Step #3: Setup your emails
Now that the membership plan is set up, we can start setting up different types of emails with MailOptin designed for subscribers with different user roles on your WordPress site. To do this, navigate to MailOptin → Emails and click on the Add New button.
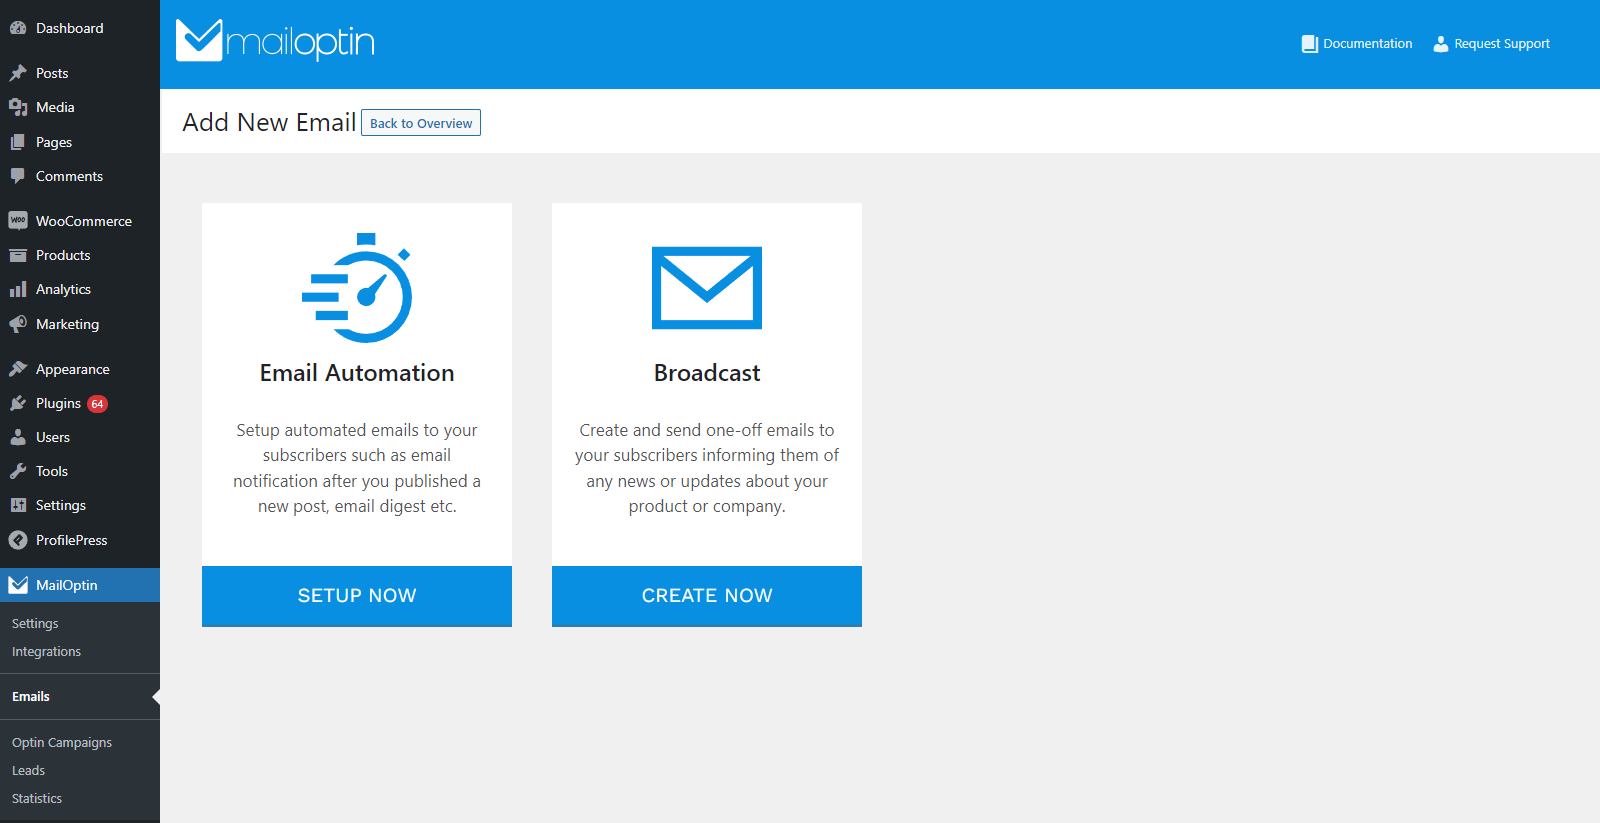
The great thing about MailOptin is that it lets you set up multiple emails, including new post emails, email digests, and one-off broadcasts or newsletters.
Let’s start by looking at how you can set up new post emails. For this, click on the Setup Now button under the Email Automation tab.
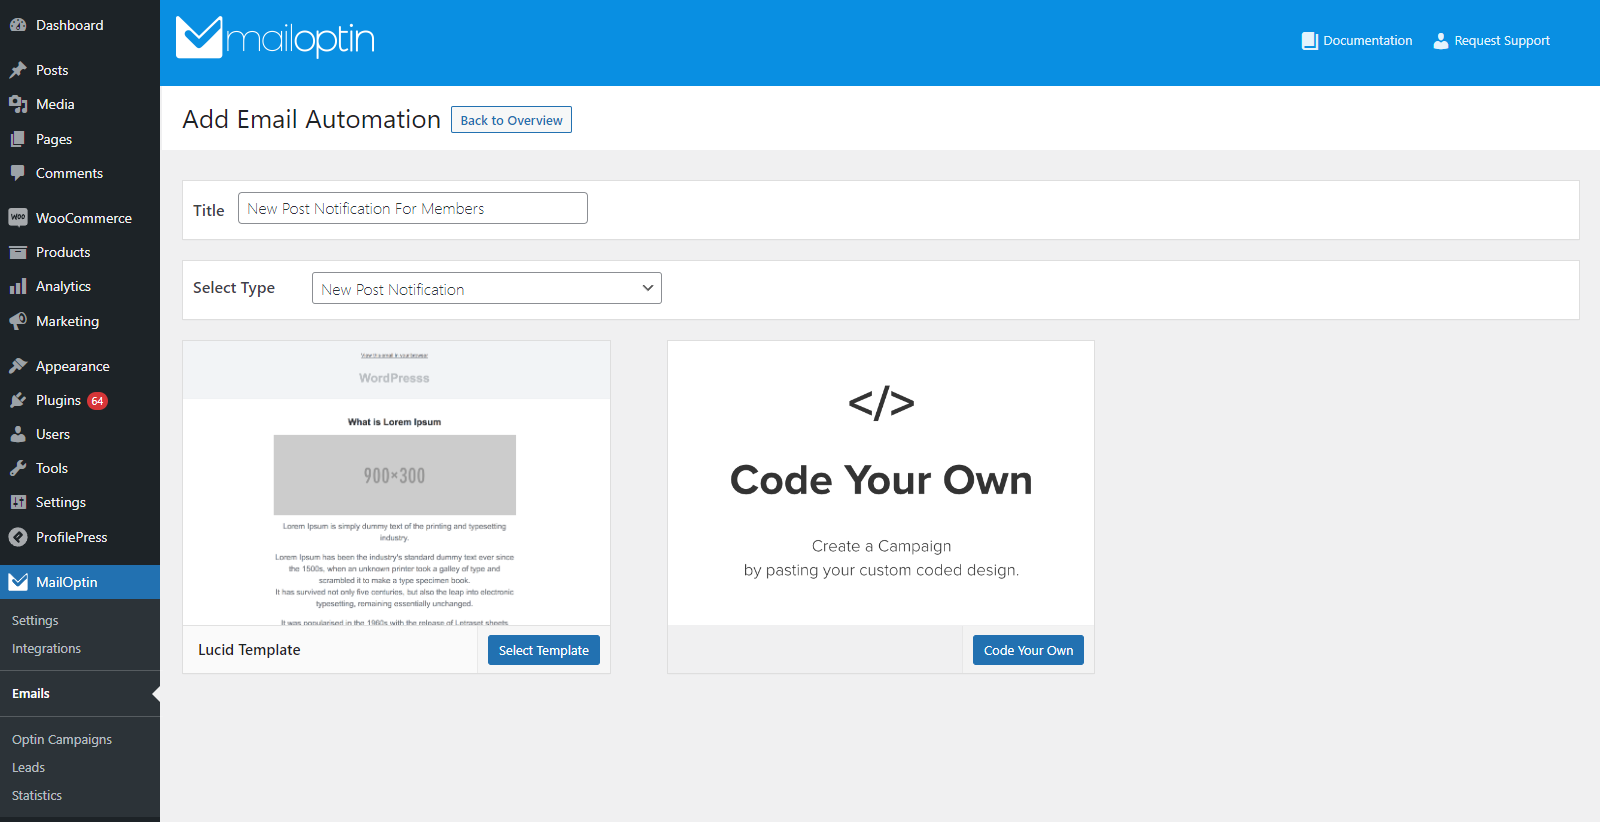
Give your email automation a title and select New Post Notification using the Select Type dropdown menu. Here, you can either create an email from scratch or start with customizable pre-made templates. For demonstration purposes, we’ve decided to use the Lucid template. Click on the Select Template button to continue.
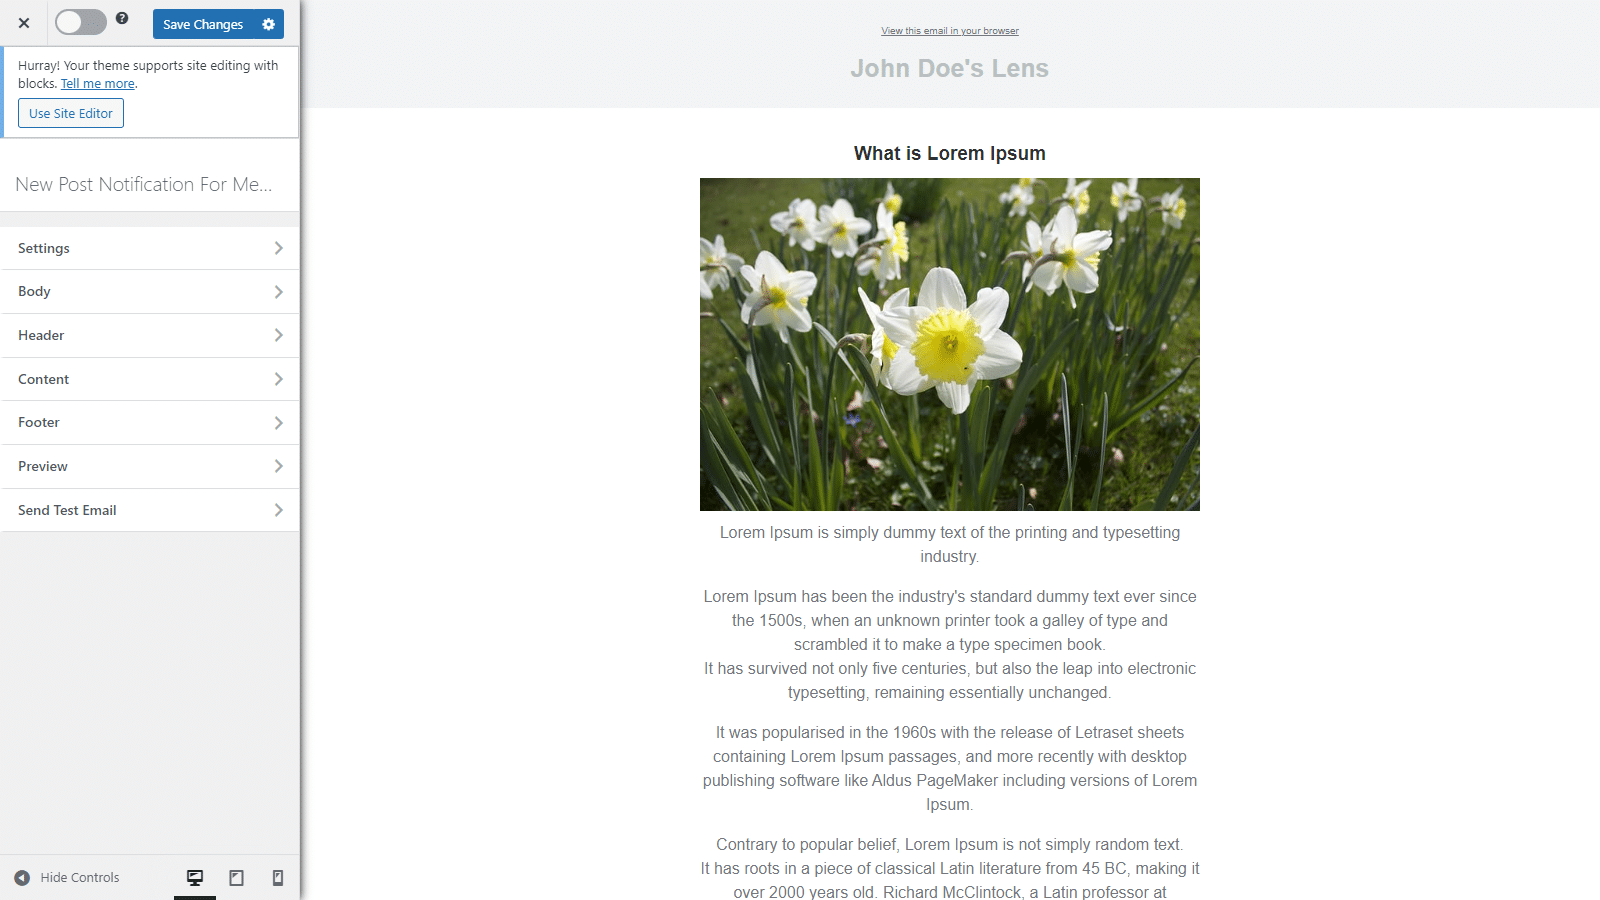
It will automatically navigate you to the email customizer page. Here, you can start designing and customizing the email to match your brand’s aesthetic.
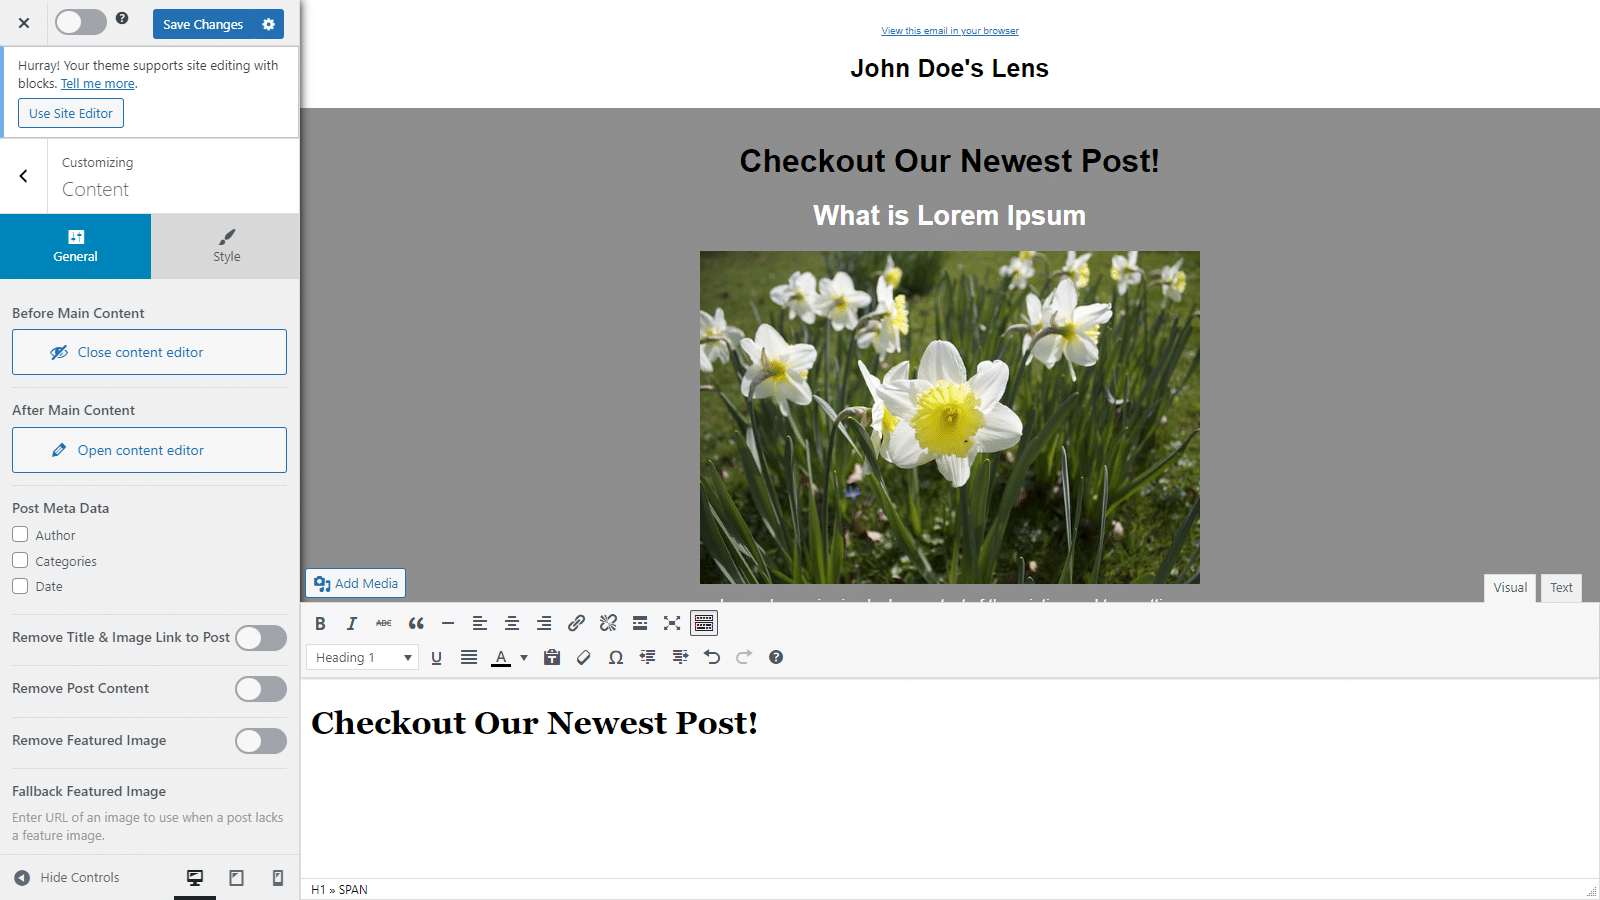
You can also add more content before or after the post by navigating to the Content tab and using the content editor. Once you’re done, click on the Settings tab and scroll down to the Recipients section.
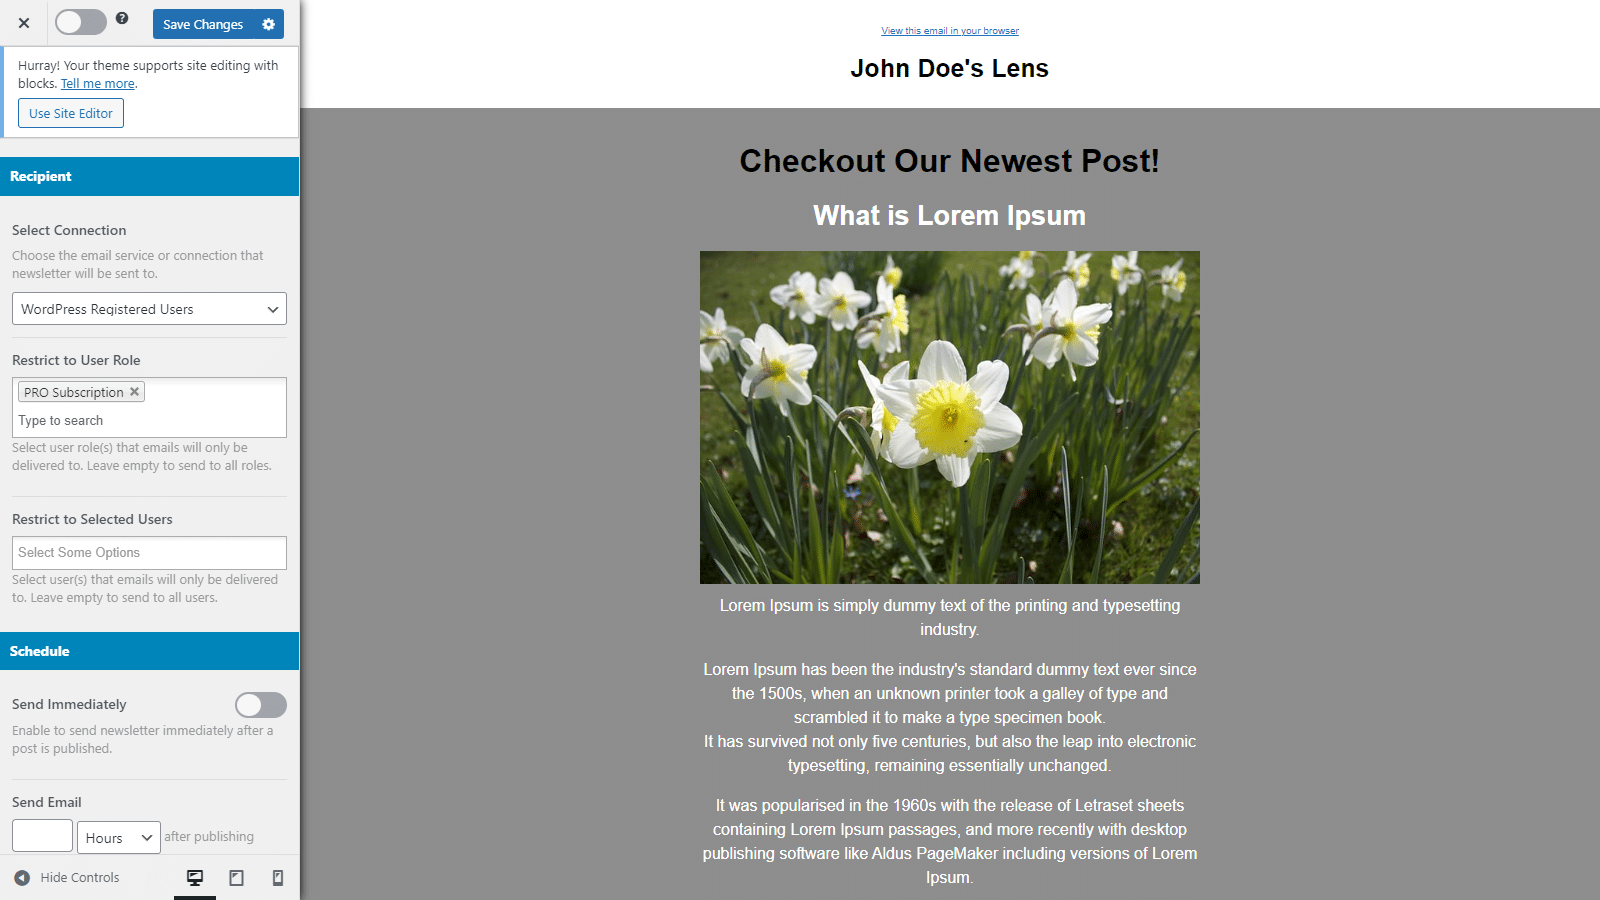
Using the dropdown menu, select WordPress Registered Users and use the Restrict to User Role field to select the unique user roles granted to users after they subscribe to the membership plan. In addition to this, you can also use the Restrict to Selected Users field to specify users or subscribers on your WordPress site. Once you’re ready, click on the Save Changes button and activate the email using the select box next to it.
Now whenever you publish a new post, all users who subscribe to the membership plan or the paid newsletter will be automatically sent the new post email.
Similarly, using Email Automation settings, you can also set up an email digest that will automatically be sent to paying members. For this, create a new email automation by navigating to MailOptin → Emails and clicking on the Add New button.
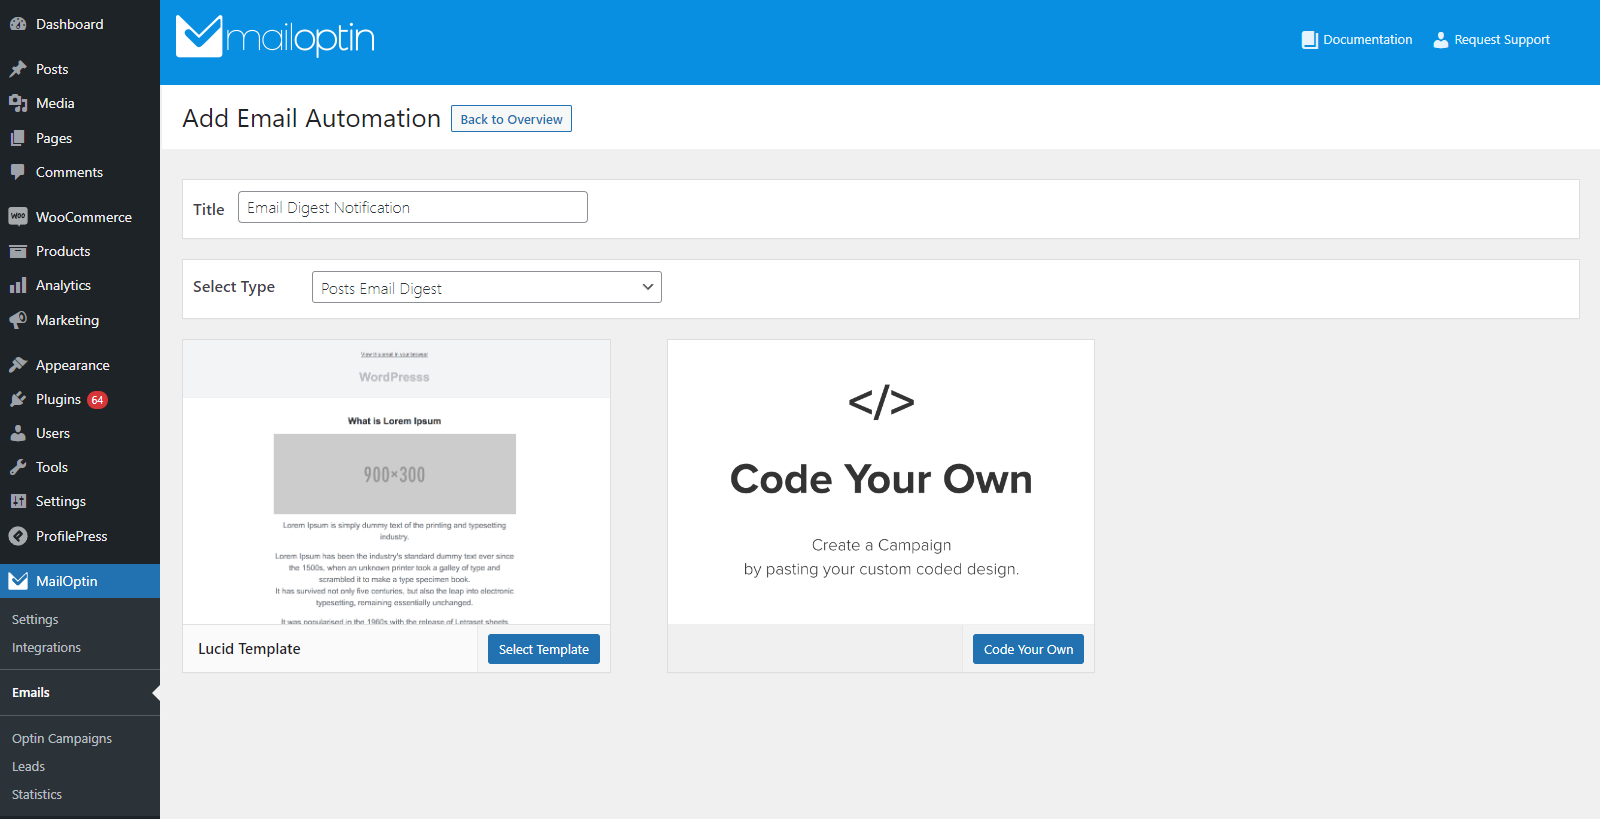
After clicking on the Setup Now button under the Email Automation section, select the Posts Email Digest option using the Select Type dropdown menu. Click on the Select Template button to continue to the customization page.
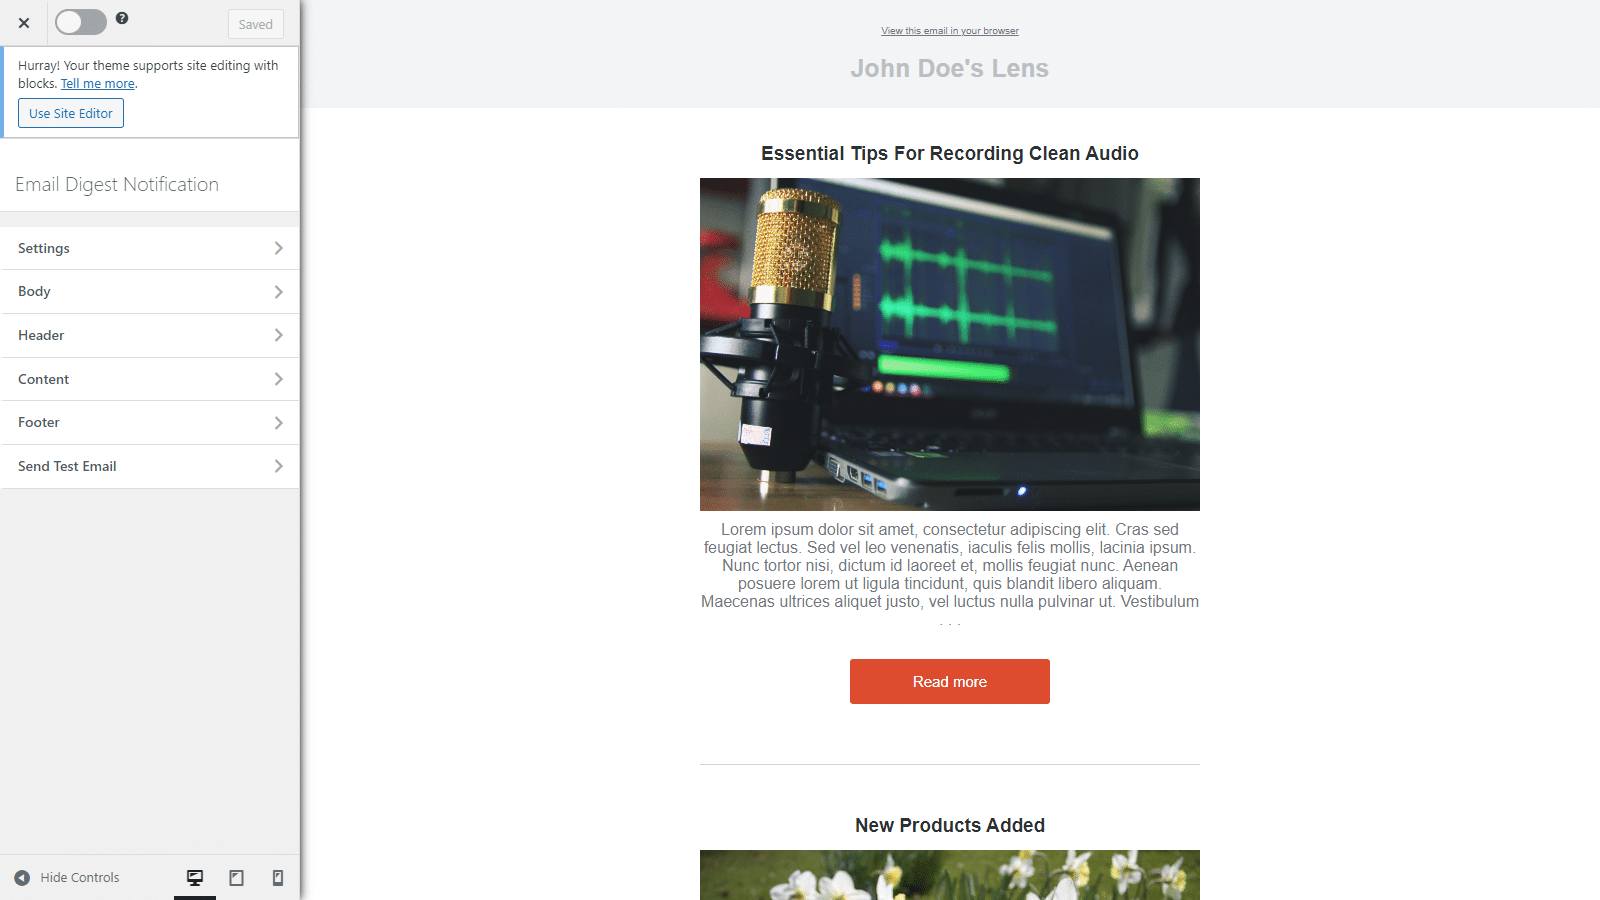
You can then customize your post digest email according to your brand’s unique requirements and add custom content before or after your post.
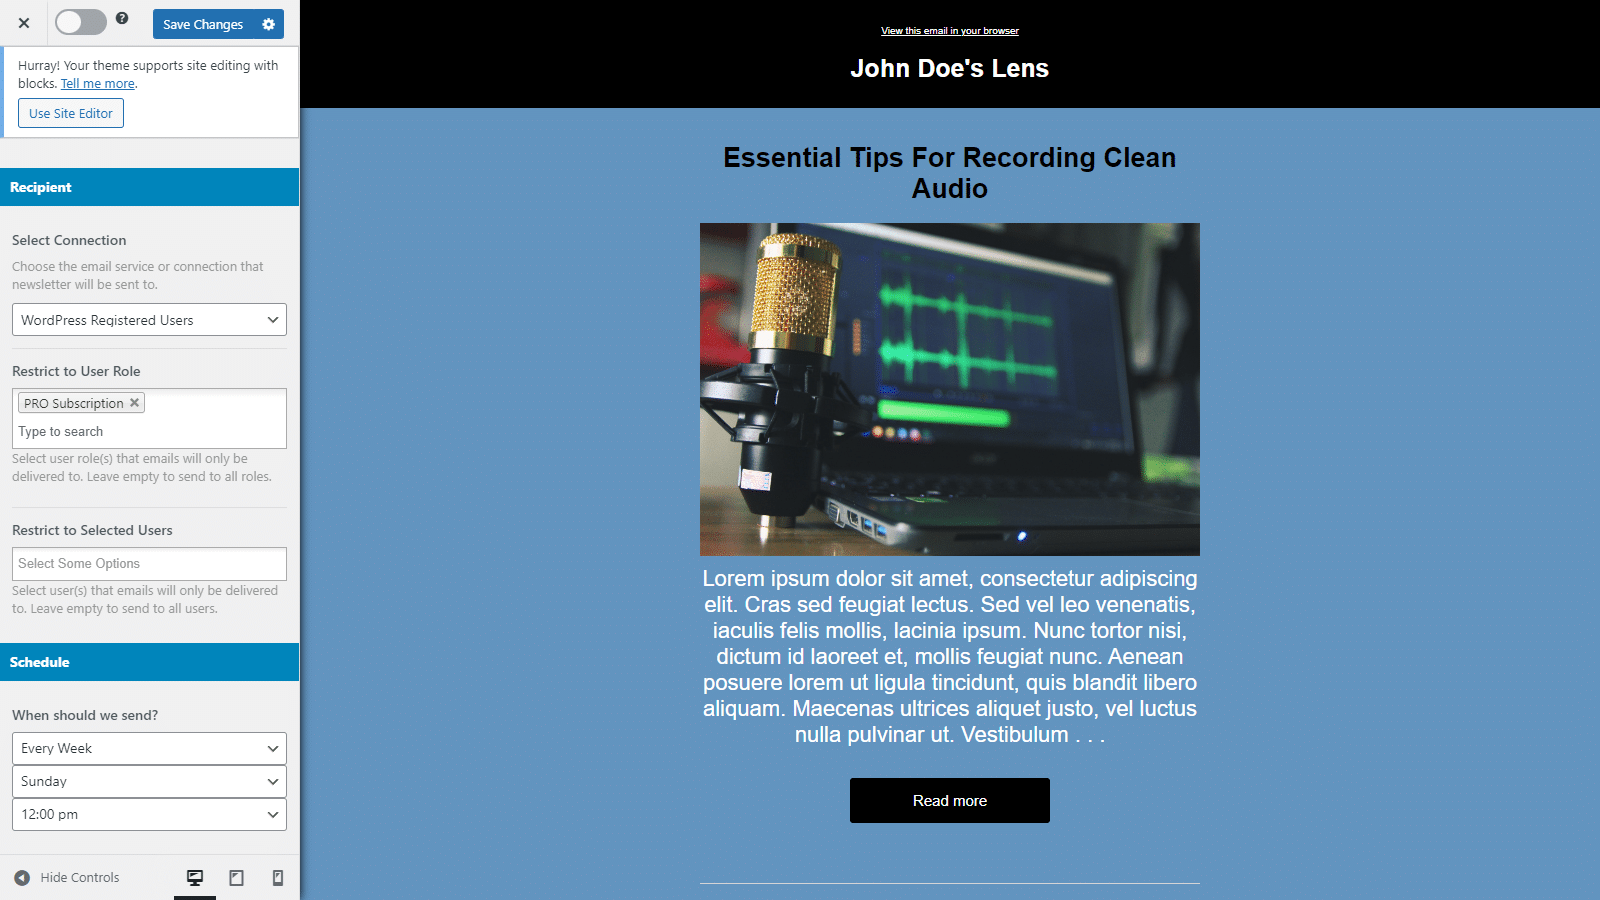
Once you’re ready, click on the Settings tab and scroll down to the Recipients section. As before, select WordPress Registered Users using the dropdown menu and specify the paid membership user role in the field below. In addition to this, you can also specify when the posts digest email will be sent to your paid members using the Schedule section.
Once you’re ready, click on the Save Changes button and activate the email automation using the checkbox next to it.
You can also use MailOptin to create one-off broadcasts or newsletters only for paid members. To do this, navigate to MailOptin → Emails and click on the Add New button.

Click on the Create Now button under the Broadcast section to continue.
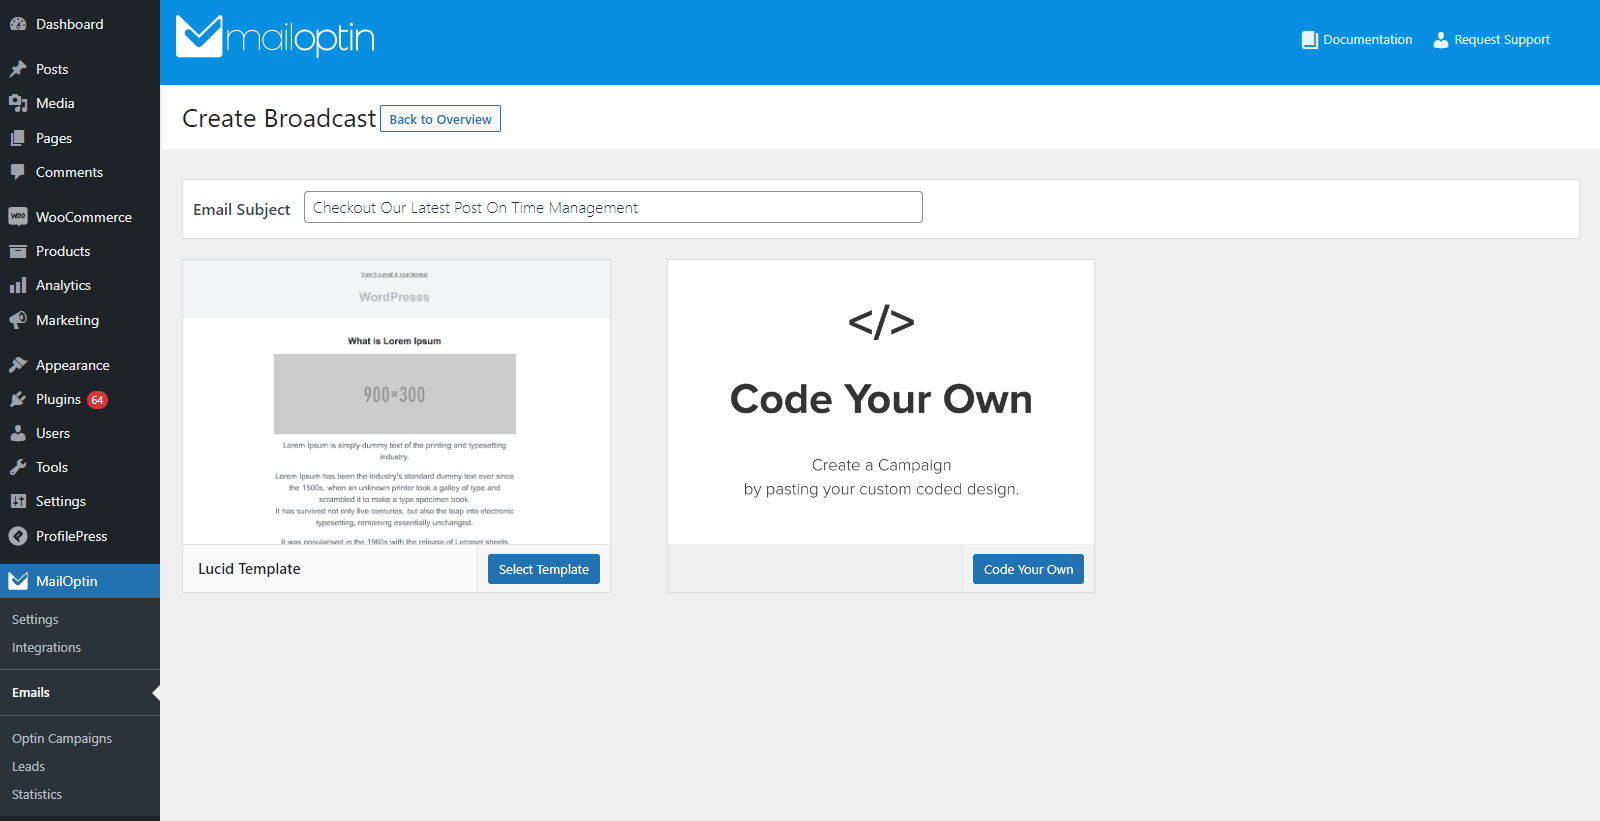
Now give your newsletter a new Email Subject and click on the Select Template button to apply the Lucid Template.
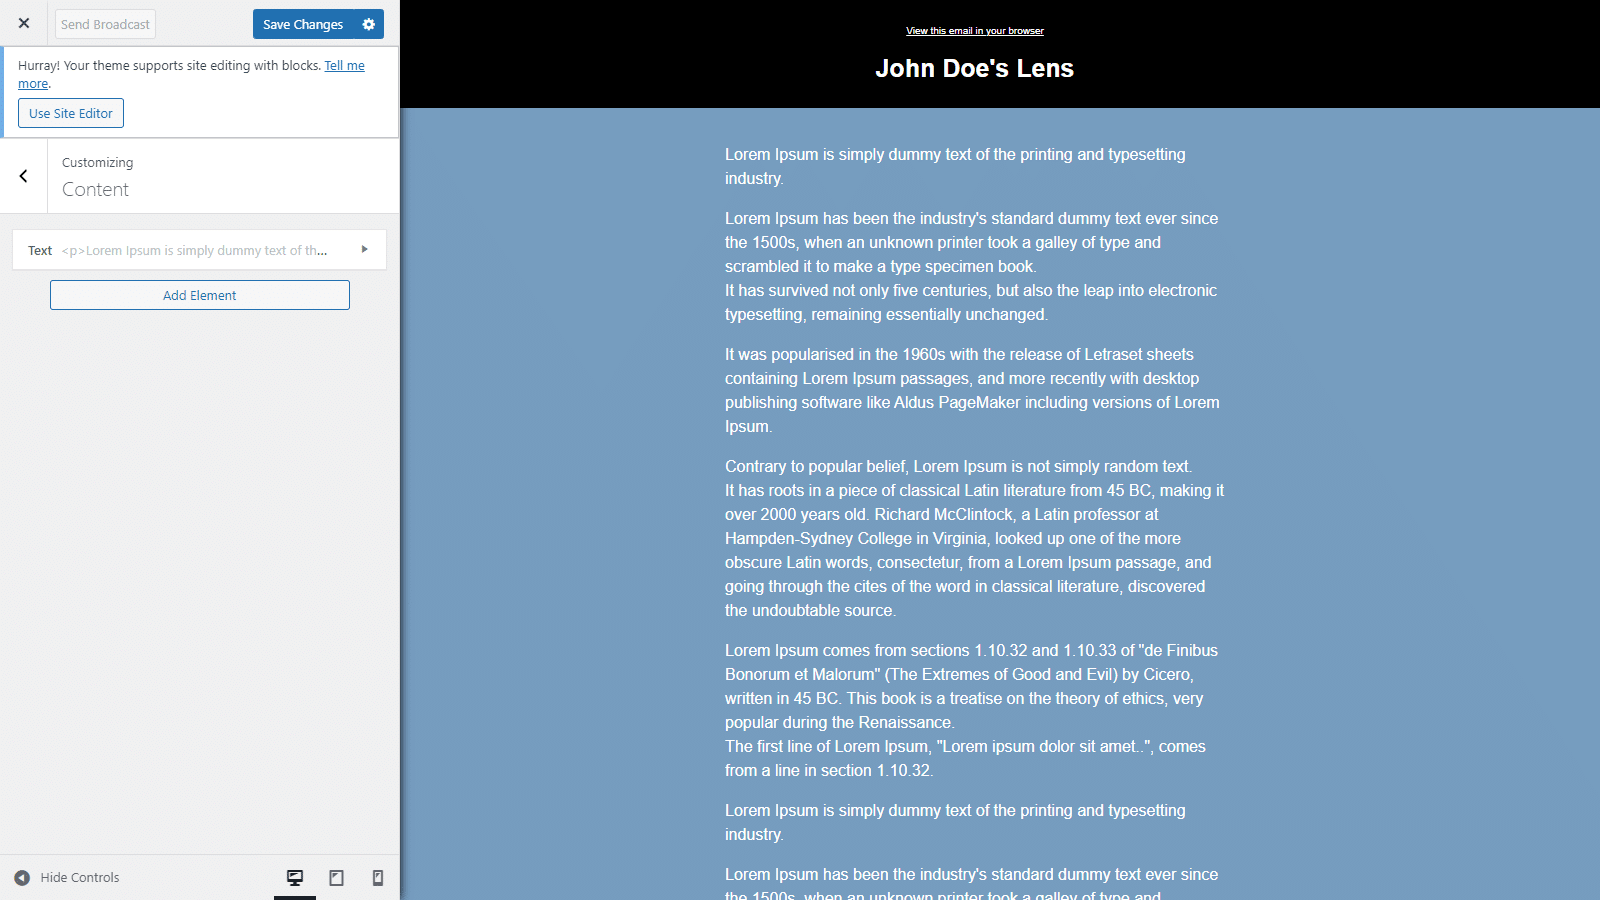
As mentioned, you can customize the newsletter email according to your brand’s unique colors and style. You can also edit the email content elements and arrange them in any way you like. For this, click on the Content tab and the Add Element button. This is great for creating custom email messages and sending them to paid subscribers.
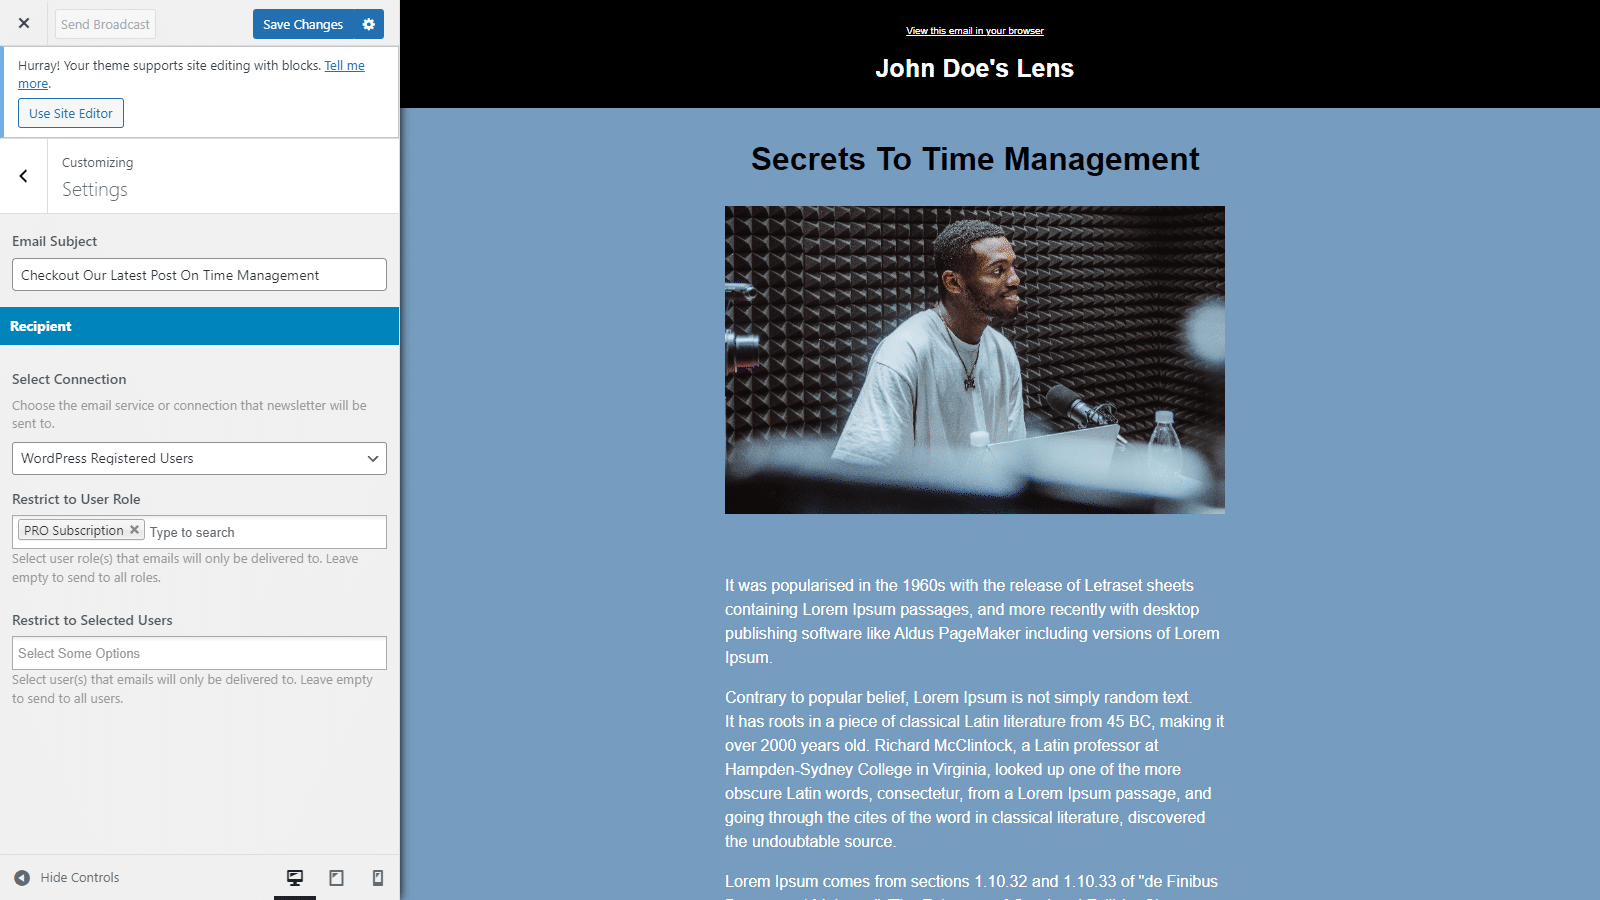
Once you’re done adding content and customizing the design of your paid newsletter, click on the Settings tab and use the Select Connection dropdown menu to select WordPress Registered Users.
Click on the Save Changes button at the top and then the Send Broadcast button to automatically send the paid newsletter to all users with the Pro Subscription user role on your WordPress site.
Step #4: Send paid newsletters to all users who subscribed
All new post emails and email digests can be scheduled to automatically be sent to your paid members whenever you publish a new post or send a digest of your posts every week. For any paid newsletter you set up on your WordPress site, you will have to click on the Send Broadcast button to send the email to all users who subscribed.
To ensure MailOptin works perfectly, it’s important to set up your email properly within the plugin’s settings. For this, navigate to MailOptin → Settings and click on the Email Campaigns tab.
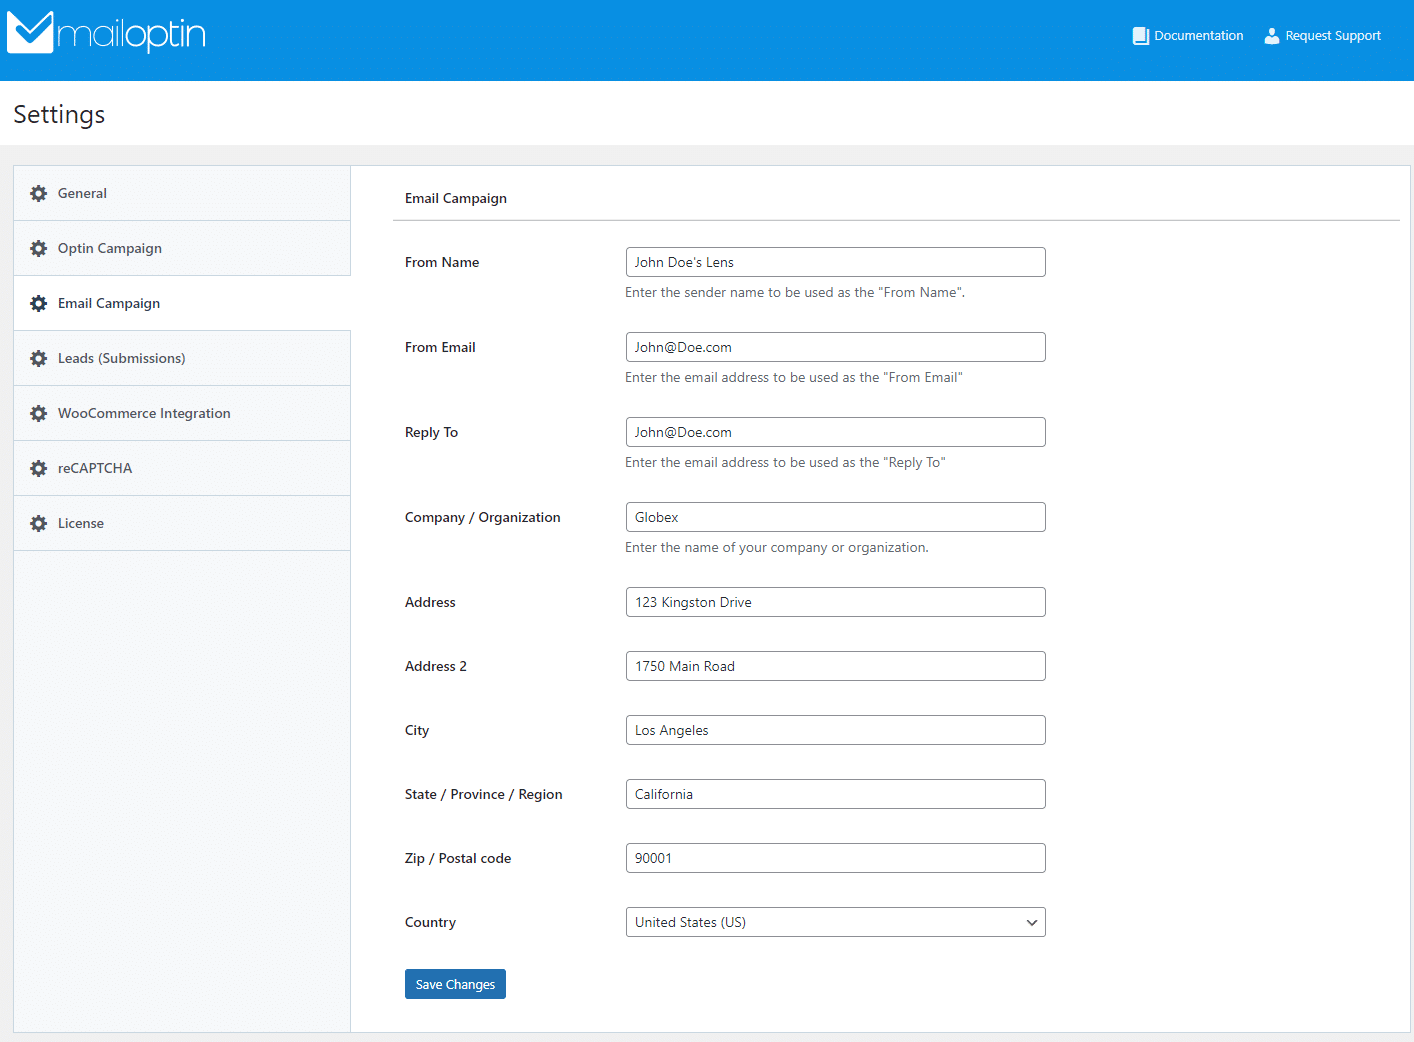
Enter all necessary information about your brand, including the sender and reply to emails, as well as the company name and address. Once you’re done, click on the Save Changes button.
Conclusion
Creating a paid newsletter in WordPress is a great way to encourage more users to subscribe to your membership plan and join other premium members.
While WordPress functionality by default isn’t the best for creating and sending out paid newsletters, you can use MailOptin with ProfilePress to set up a paid newsletter on your WordPress site. This is an easy way to set up membership plans and assign user roles to paying members. And as a result, you can send paid newsletter emails to your selected user roles only.
Ready to start creating a paid newsletter on your WordPress site? Get MailOptin and ProfilePress plugins today!