Do you want to Create a Custom WordPress Login Page for your website?
Many website owners overlook the importance of customizing their WordPress login page, which can significantly impact their website’s user experience and branding.
By default, the WordPress login page looks the same for all users, but did you know that you can customize it to fit the look and feel of your website? Creating a custom login page enhances the user experience and provides an added layer of security.
In this article, we are going to walk you through the steps on how to create a professional-looking login page that is tailored to your brand.
The benefit of a Custom WordPress Login Page
Creating a custom WordPress login page has several benefits, including:
Enhanced User Experience: By customizing the login page, you can create a more user-friendly experience for your visitors. This can increase engagement and make users feel more connected to your website.
Improved Branding: A custom login page can incorporate your website’s branding, making it a seamless part of your overall design.
Better Security: A custom login page can provide an added layer of security to your website by making it harder for hackers to gain access. By hiding the default login page, you can make it more difficult for attackers to find the login area and attempt to hack into your site.
Overall, a custom WordPress login page can help enhance your website’s branding, user experience, security, and user management capabilities. In addition, by creating a custom login page, you can improve your website’s overall performance and make it stand out from the competition.
What is ProfilePress?
ProfilePress is a powerful WordPress membership plugin that allows you to create beautiful and user-friendly membership sites, eCommerce stores, custom registration and login forms, user profiles, and more.
With ProfilePress, you can set up paid membership plans, add a paywall to WordPress site content, integrate multiple payment gateways, and build an optimized checkout system for your Website.
We will use ProfilePress in this article to create a custom WordPress login page.
Getting Started with the ProfilePress Plugin
To create a custom WordPress login page for your website, purchase a copy of the ProfilePress plugin from the pricing page.
Once you purchase, you will receive an email with the download link for the plugin and your license key. You can also download the plugin from your account page on the ProfilePress website.
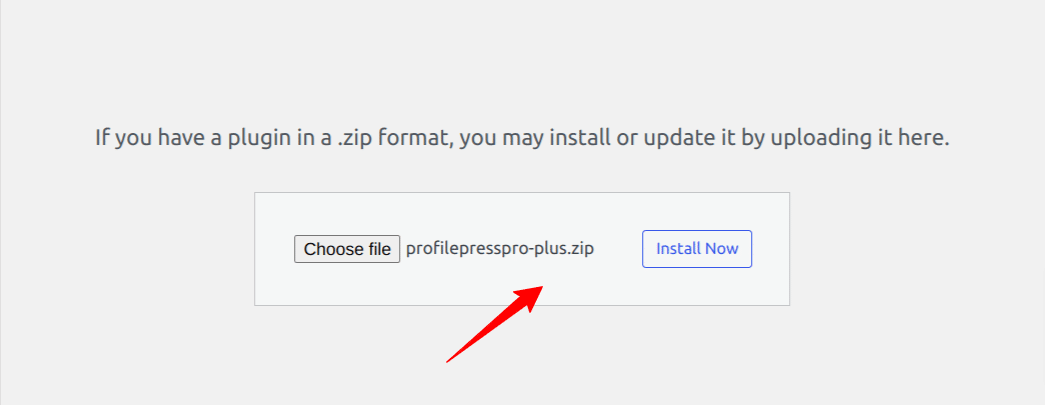
To install the plugin, log in to your WordPress admin dashboard and go to Plugins > Add New, Then select Upload Plugin. Next, choose the ProfilePress zip file you downloaded and click Install Now.
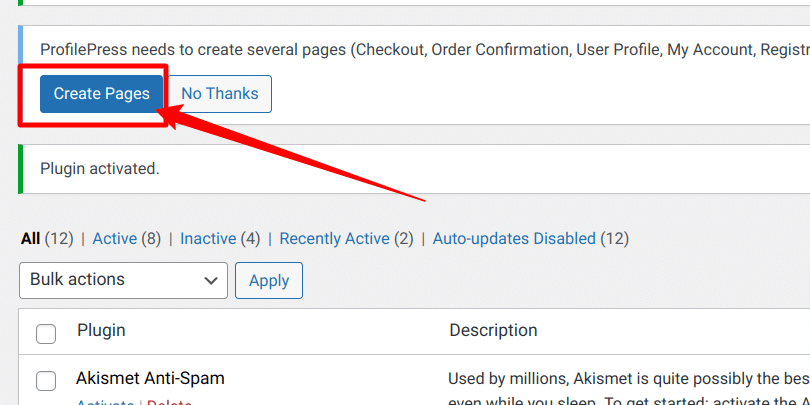
You’ll see a notification at the top of your WordPress dashboard page saying, “ProfilePress needs to create several pages to function correctly.” Click on the “Create Pages” button to complete the plugin setup.
Creating a Custom Login Form
ProfilePress will create a default login page after installation when you click the “Create pages” button from earlier. The default login page is good, but you would likely want to create a login form designed to your heart’s content.
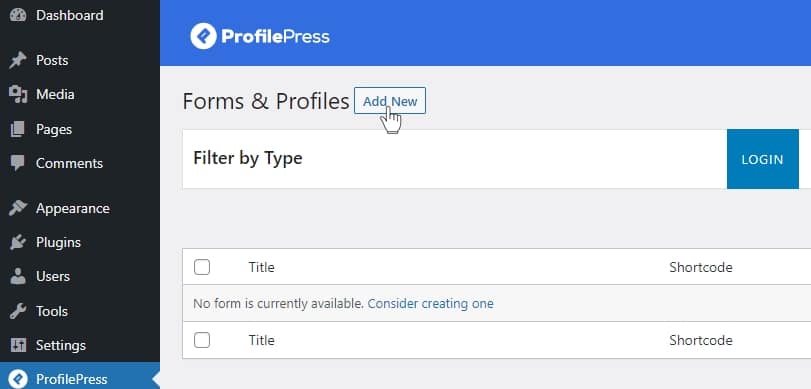
Navigate to ProfilePress > Forms & Profiles in your WordPress dashboard, and click on the Add New button.
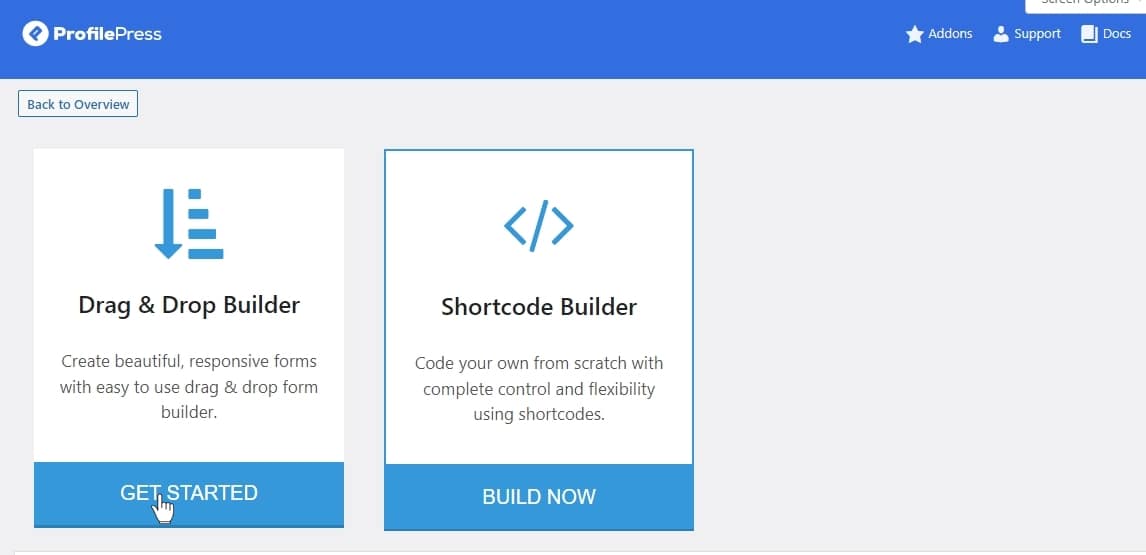
Decide between using the drag-and-drop or advanced shortcode builder. For this article, we will go with the “Drag & Drop Builder.”
Enter a name for your login form and select a theme or template.
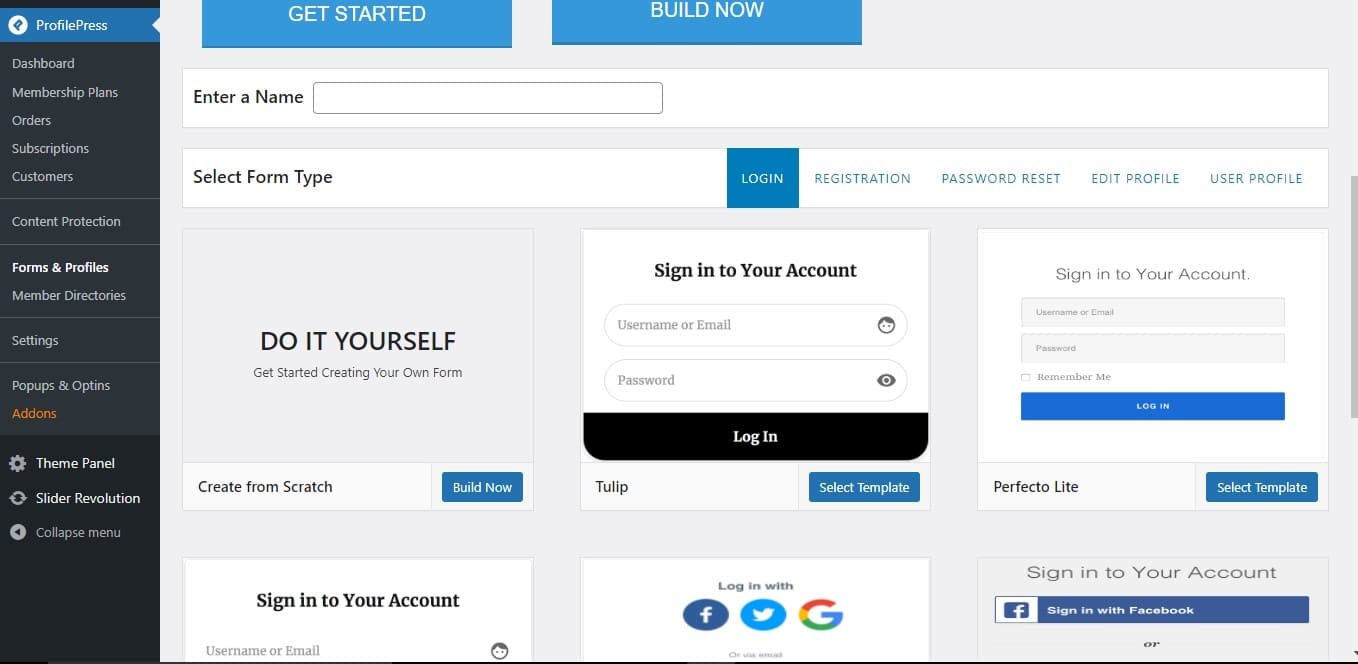
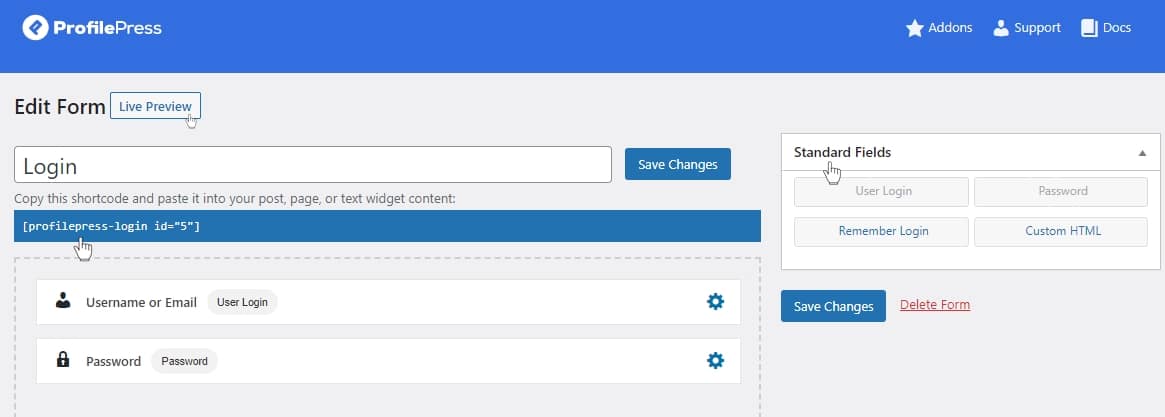
On the form builder, you will see several standard fields we can use to build the login page. In addition, there’s the login form shortcode at the top of the fields and a live preview button to preview our changes.
We can drag and drop form fields from the Standard Fields sections on the page’s right sidebar to customize our login form. For example, drag and drop the Remember Login field into the form builder area and move it under the Password field.
To delete any unwanted fields from the form builder, hover your mouse on a field and click the Bin icon.
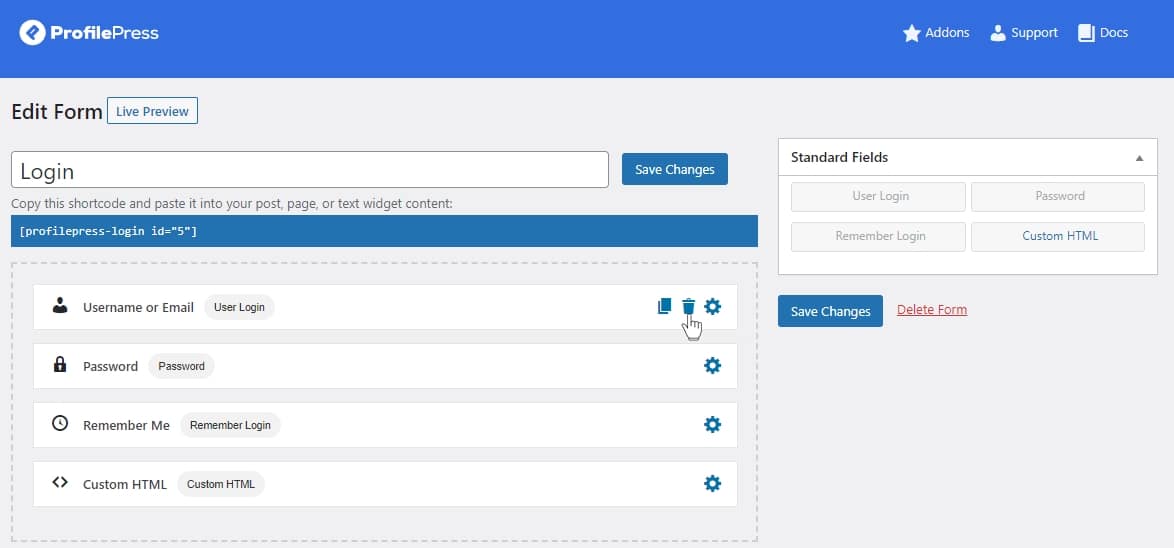
If you want to adjust the settings for any of the form fields, you will get a popup with the available settings for that form field by clicking on the Gear icon.
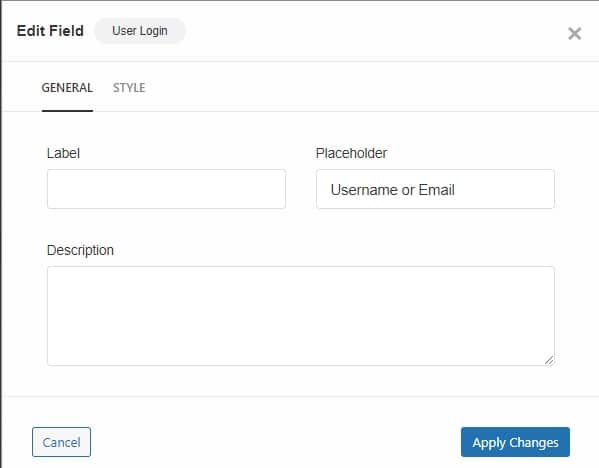
There are two sections that you can modify for each form field. They are – General and Style. Each section contains various elements that affect the field display and behavior.
Customizing The Login Form
From the “Form Settings” section in ProfilePress, we can modify the design of the login form.
Different sections provide us with the tools needed to customize our login page design to our liking. These sections include Appearance, Field & Styling, Labels & Text, and Submit Button.
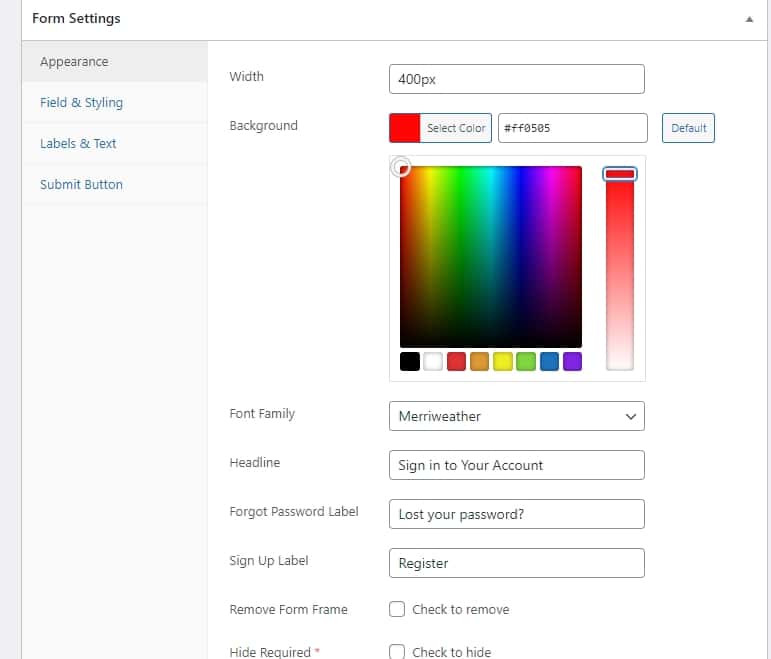
Appearance
The Appearance tab lets you customize your login form’s overall look, including the width, background color, headline, forget password label, sign-up label, form frame, and more.
For example, you can change the background color, scroll up to save changes, and click Live Preview to see the changes.
Fields & Styling

The field & styling section allows you to modify the various properties that control the form layout.
For example, you can modify the colors used for your form’s fields, including the border color used when the field is in and out of focus. You can also change the design style of your fields to Round, Square, Pill, Material, or Flat.
Labels & Text
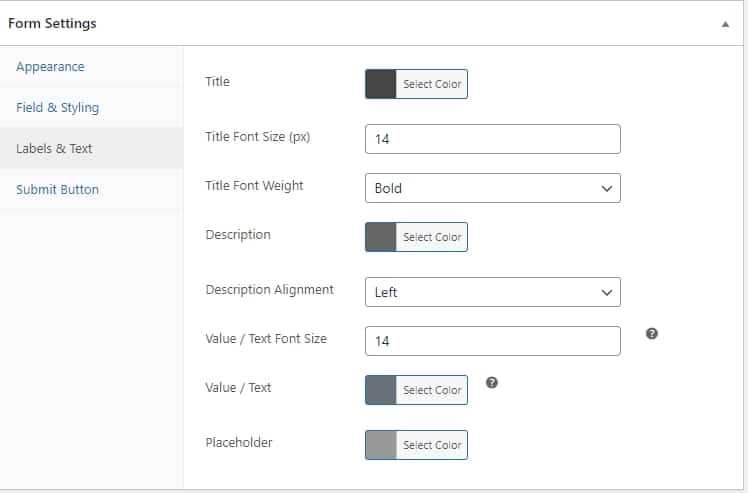
The Labels & Text tab provides the tools to customize the design of your field labels and descriptions, including setting the title, description, and placeholder colors.
Customize these properties to your preference, save the modifications, and click on Live Preview to preview the changes.
Submit Button
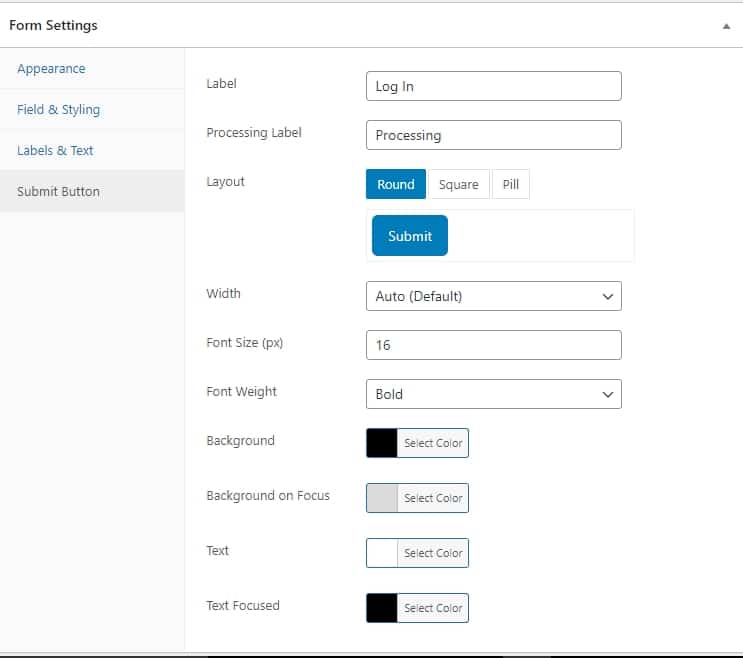
The Submit Button section enables you to customize the appearance and behavior of the Submit button on your form.
For example, you can change the label, button width, colors, and layout.
Creating The WordPress Login Page
When you are satisfied with your login form design, the next step is to put the form to use by creating a login page.
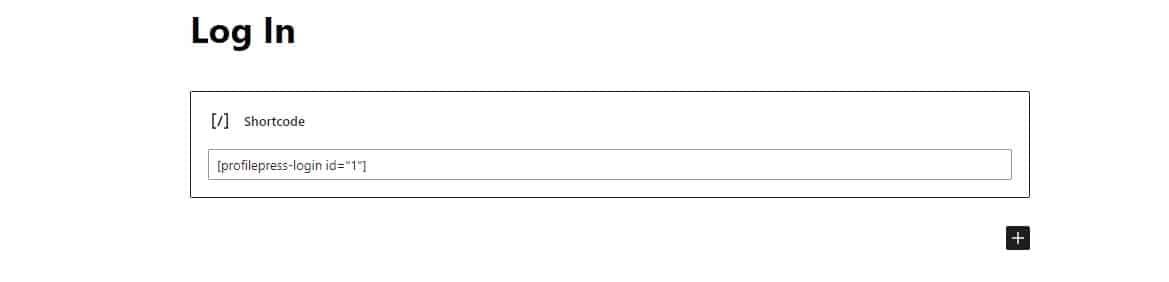
The first step is to copy your form shortcode, shown at the top of the form builder page.
Next, go to Pages on your WordPress dashboard, click Add New, and enter the page title, e.g., Login.
If you are using the WordPress block editor, click on the plus icon, select the shortcode block, and paste the copied form shortcode into the block.
If you use the WordPress classic editor, paste the shortcode into the text editor. Next, click on Publish to publish your new WordPress Login page.
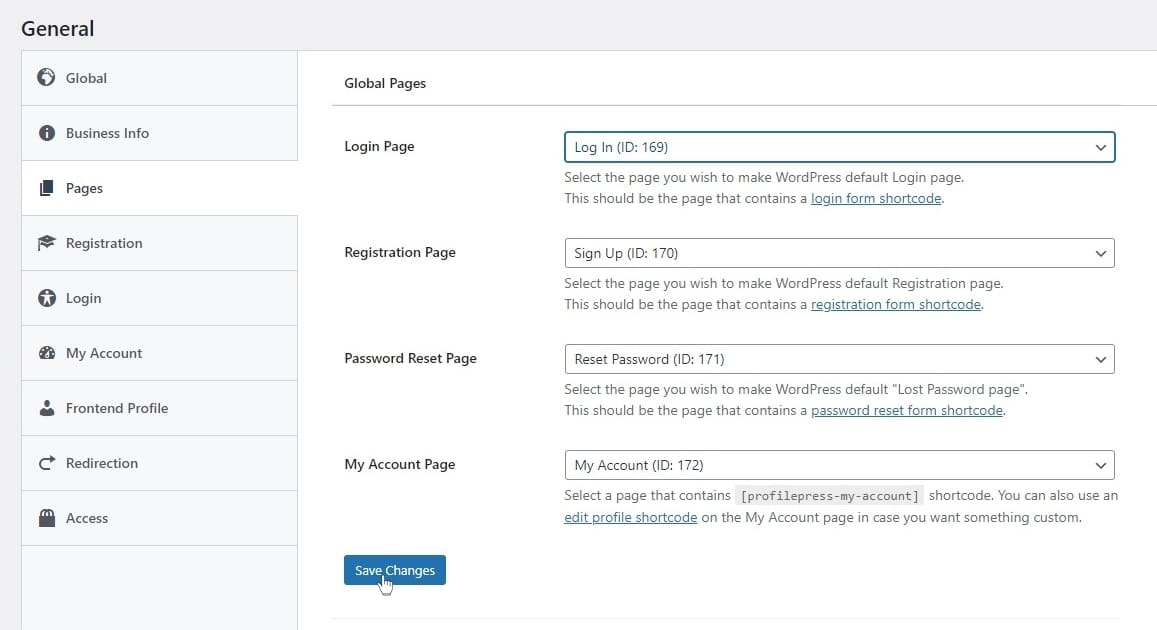
Now that you have published the login page navigate to ProfilePress → Settings and click on the Pages tab. Select the login page using the dropdown and save your changes. Doing this will cause the default WordPress login page to redirect to the custom login page you just created.
Now, open the Login page in a new incognito window to ensure you are logged out. You will see a live preview of your custom WordPress login page.

Want to add social login to your login form? see how to add social login to WordPress.
Conclusion
With a WordPress custom login page, you can provide your users a more professional and branded experience when logging into your website.
In this article, you learned how to use the ProfilePress login form plugin to design a personalized frontend WordPress login form, ultimately enabling you to have a professional-looking login page on your WordPress site.
We’ve only scratched the surface of how much you can customize pages with ProfilePress. It offers dozens of other features, such as user moderation, social login, passwordless login, email confirmation, and more.
You can also sell any digital product on your website, including paid memberships, eBooks, online courses, and more, with ProfilePress.