A little bit of info as to why am late to the Window 8 picture.
I got for myself an Asus X551CA Windows 8 laptop (shameless affiliate link) earlier this year to replace my pretty old Lenovo laptop at home.
I didn’t immediately started using it; instead I kept it in a safe location pending when I would have the time to transfer my files and installed programs from the old PC to the new one.
It dawn on me I won’t ever have a free time; not because I was very busy but because all I’ve been doing is procrastinate.
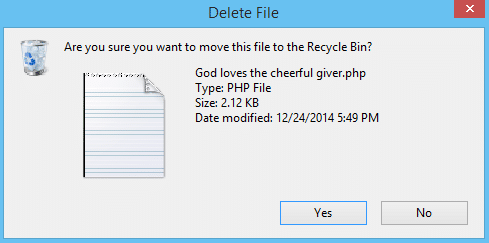
Among my list of creepy features of windows 8 is the fact that by default, the delete warning dialog box (picture below) is disabled.
Enough said, follow the steps below to learn how to enable (and perhaps in future, disable) the delete warning confirmation dialog.
- Right-click on the
Recycle Binicon and selectProperties.
Alternatively, open theRecycle Bin, navigate to theManagetab and click onRecycle Bin Properties.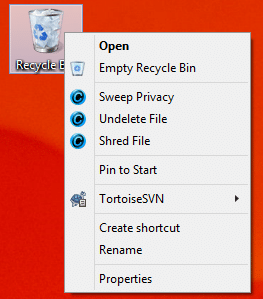
- Check the
Display delete confirmation dialogcheckbox.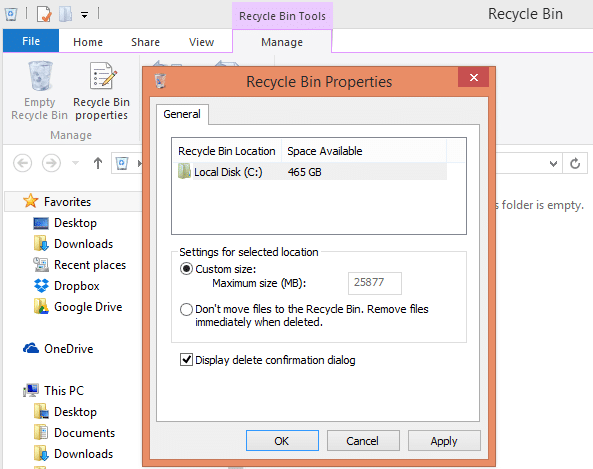
- Apply and click OK for the changes to take effect.
Note: This doesn’t work only when you are about to delete file(s) in the Recycle Bin. It works PC-wide in that enabling / disabling the delete confirmation box using the steps above will work also in other folders aside the Recycle Bin.
The steps above are pretty much the same in Windows 7.