Do you want to restrict content in WordPress?
Creating great content is hard work, be it a book, an online course, or an online tool. I can understand if you want to restrict access to your content so that only specific users with special access can use it.
In fact, according to Cinnamon founder and CEO Róbert Tarabčák, 97% of the more than 50 million creators aren’t getting paid for their contributions.
One of the reasons creators aren’t making money off their content is that they don’t even know how to monetize their content, except you are Wikipedia, and at some point, you’ll want to monetize.
If you want to start restricting your content for privacy, for-profits, or whatever reason with your WordPress website, this guide was written with you in mind.
We’ll use ProfilePress, one of the most popular user profile and WordPress membership plugins with over 300,000+ installations. It allows you to create membership sites, sell digital products, and restrict content on your WordPress website.
ProfilePress plugin allows you to restrict access to pages, child pages, posts, custom post types, categories, tags, and taxonomies on your WordPress website. It will enable you to restrict content using shortcodes and protection rules. ProfilePress has an intuitive user interface which makes it very easy to use.
Additionally, ProfilePress allows you to build paid membership websites, sell digital products, and manage member profiles. It supports integration with multiple payment gateways and third-party plugins, including WooCommerce and BuddyPress.
Some of the key features of ProfilePress include:
- WooCommerce integration
- Restrict content to premium users
- Members’ and user’s profile management
- Easy paywall setup
- Email marketing integration
- Drag and drop form builder
- Use shortcodes for content restriction
- Restrict Menu items
- Supports block editor, Elementor, and Beaver Builder
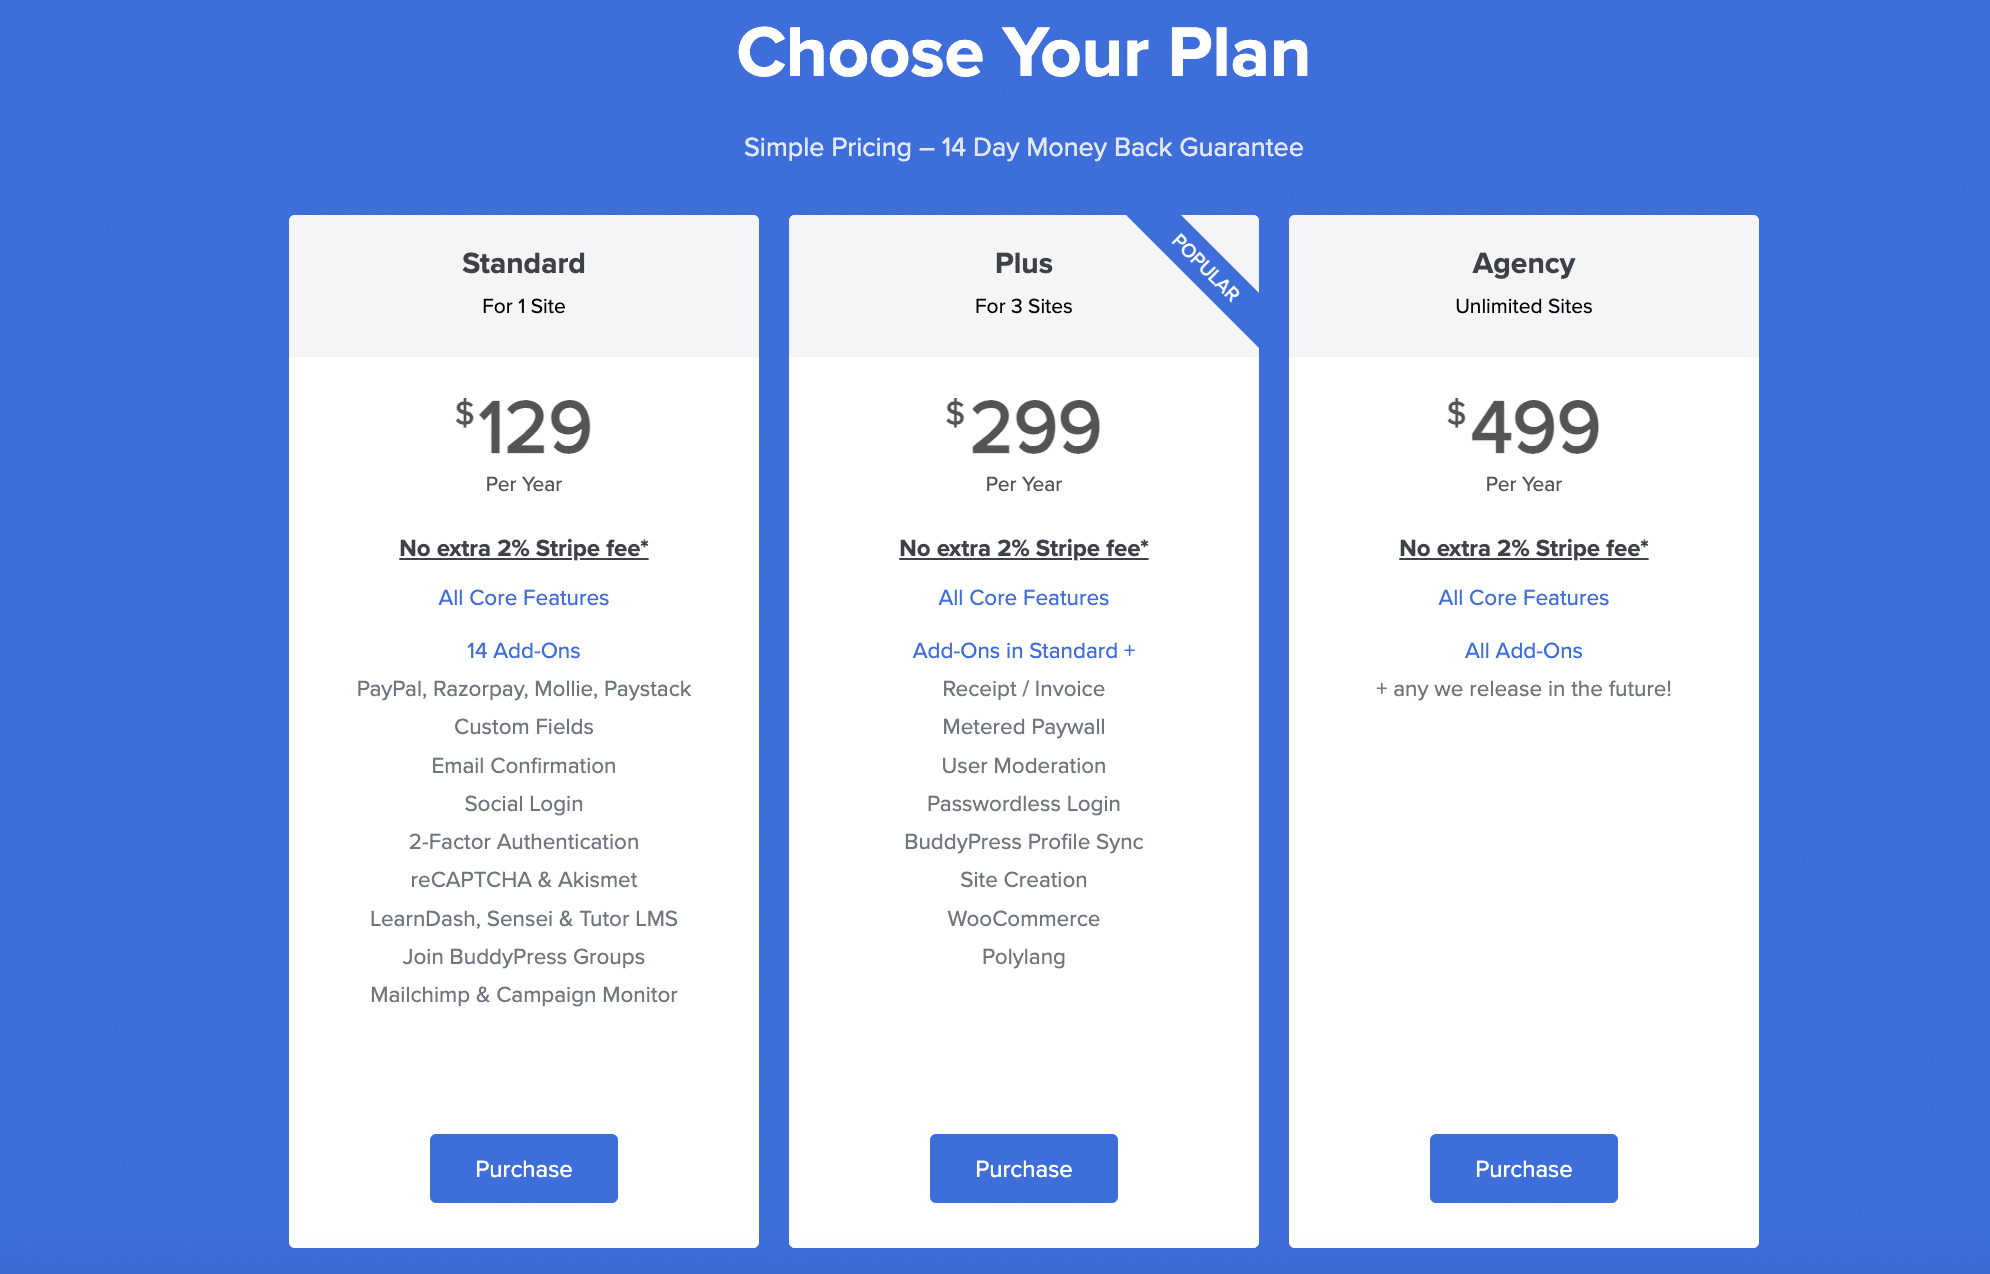
ProfilePress is available for a decent price of $129 per year. It also includes free versions that come with limited features.
To use ProfilePress, you’ll need to first set it up.
Setting Up ProfilePress
Navigate to your WordPress plugin section, search for ProfilePress, and install and activate it.
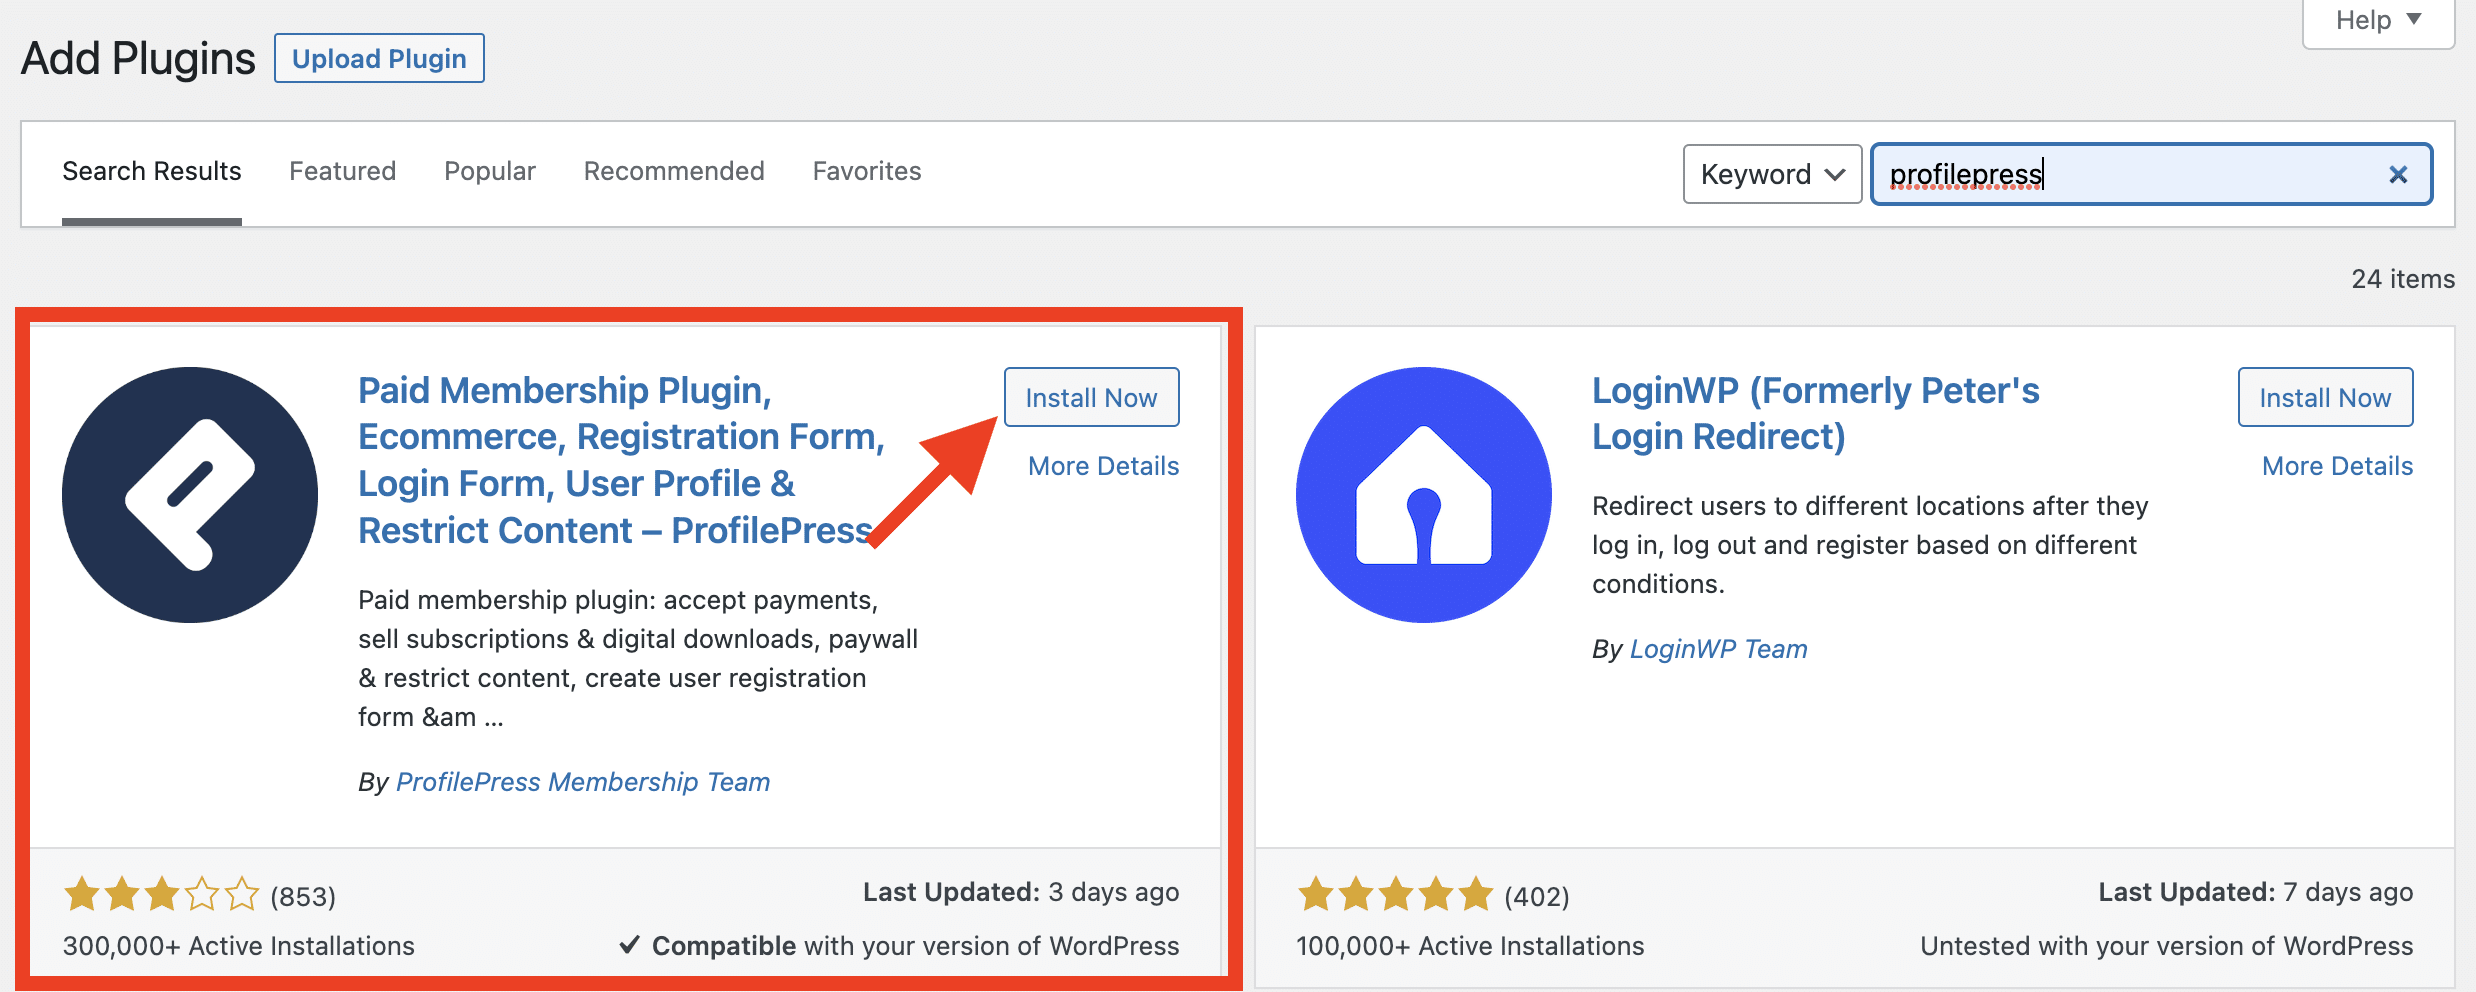
Next, click on the “Go Premium” link as shown below:

Once you click on the Go Premium, it will redirect you to the page where you can purchase a suitable plan for your needs.
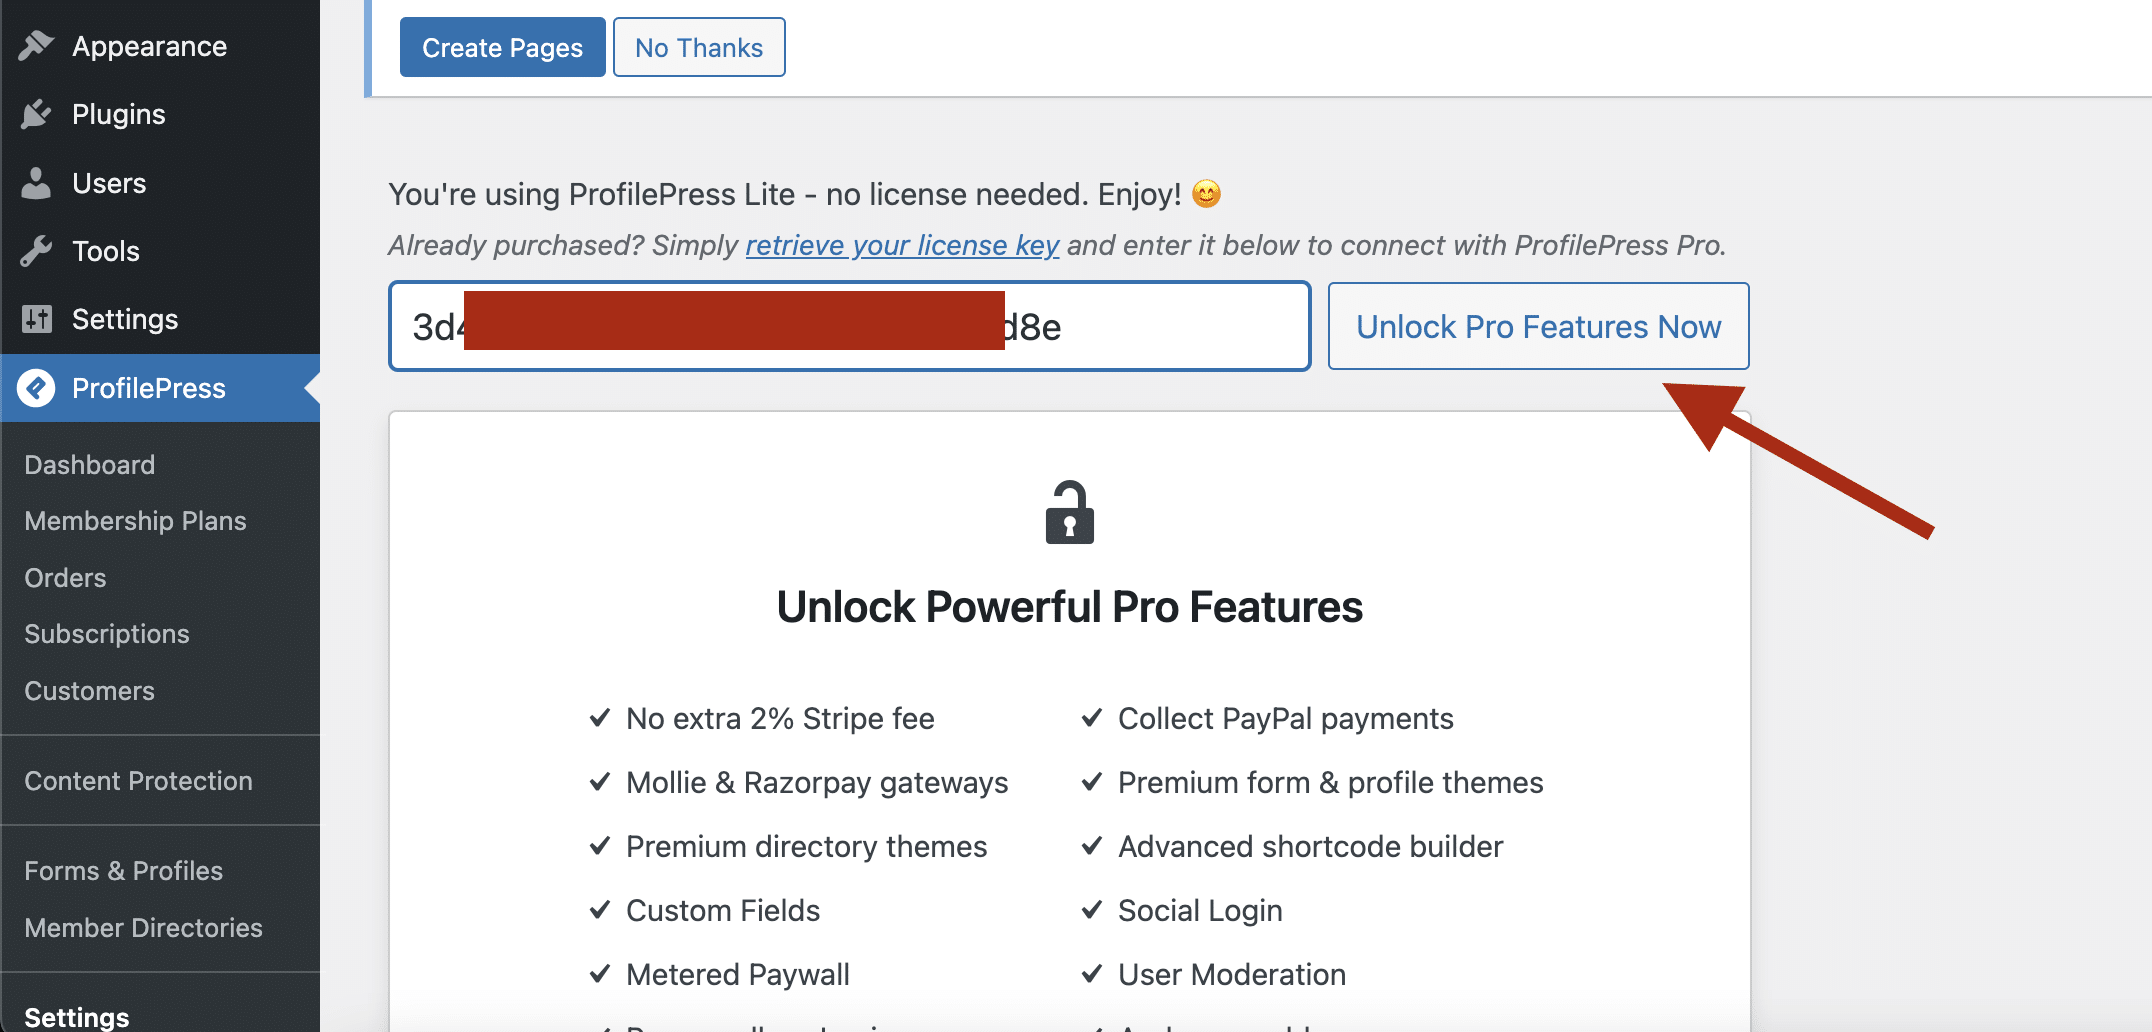
You’ll be given a ProfilePress license key when you complete your purchase. Go back to your dashboard and use it to activate your ProfilePress Plus plugin to unlock all the amazing features of ProfilePress, including the Restrict Content feature.
Now that our setup is complete, let’s get on with the content restriction:
Global Restriction
With ProfilePress, you can restrict all your website content with the global restriction rule. To make this happen, navigate to the settings menu in the sidebar and click on the “ACCESS” link as shown below:
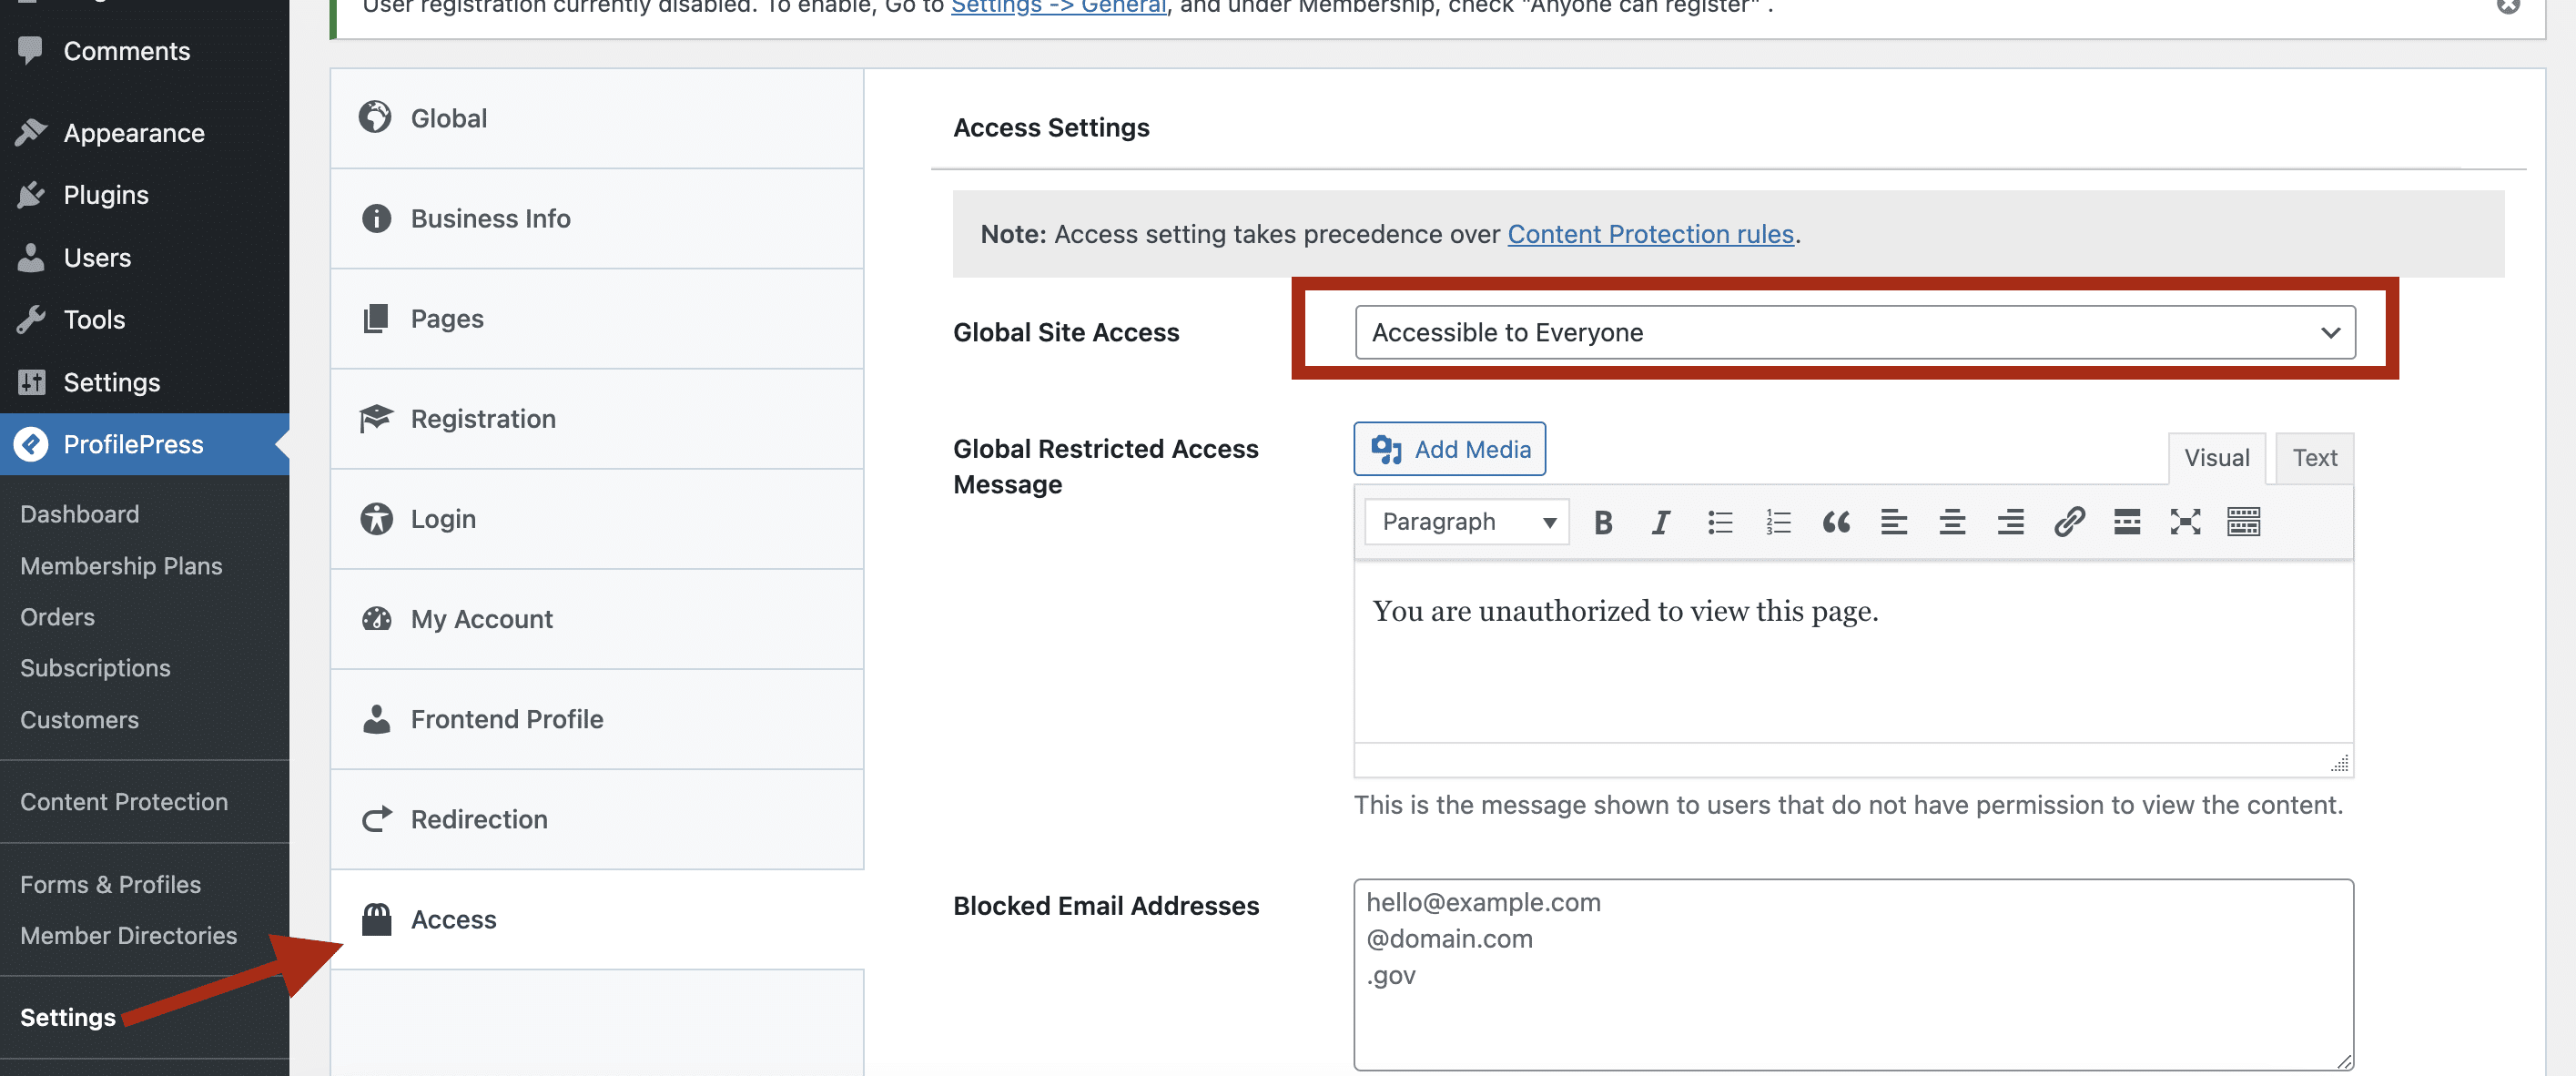
By default, the access will be set to accessible to everyone. You can set it to be accessible to only logged-in users. You can set the message users who are not logged in will see when they arrive on the page with the restricted content. You can even block users from registering on your website using certain email domains — this is very handy for preventing spammy registrations.
Setting Up Content Protection Rules
These rules will allow you to control how your WordPress content is accessed. This is where you’ll have to configure some content protection rules you can use across your website. You can restrict your WordPress content to a particular group of users, including everyone, members or customers of a membership plan, logged-in users, and logged-out users.
For a start, click on the “Add Protection Rule” button as shown below to create your first Rule:
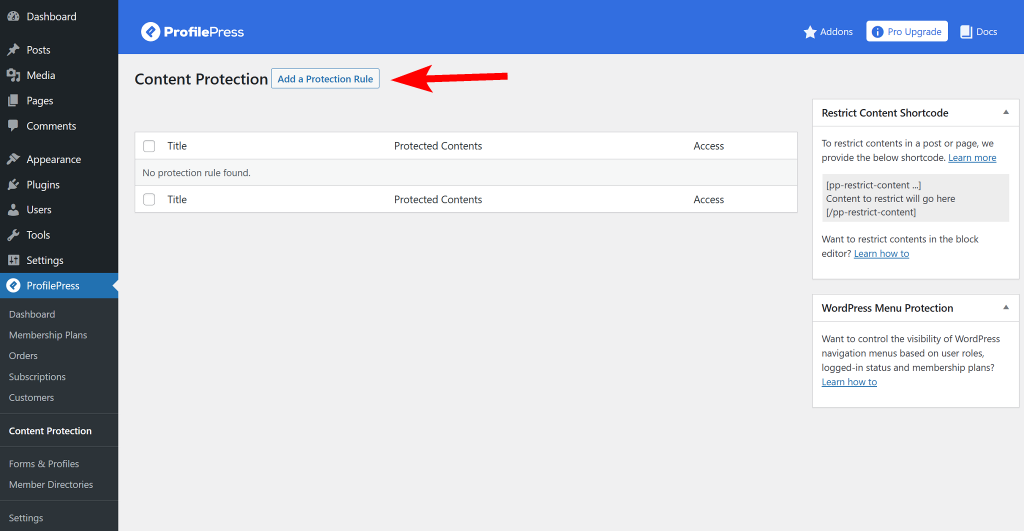
Select and configure the rule for your pages, categories, membership plans, etc.
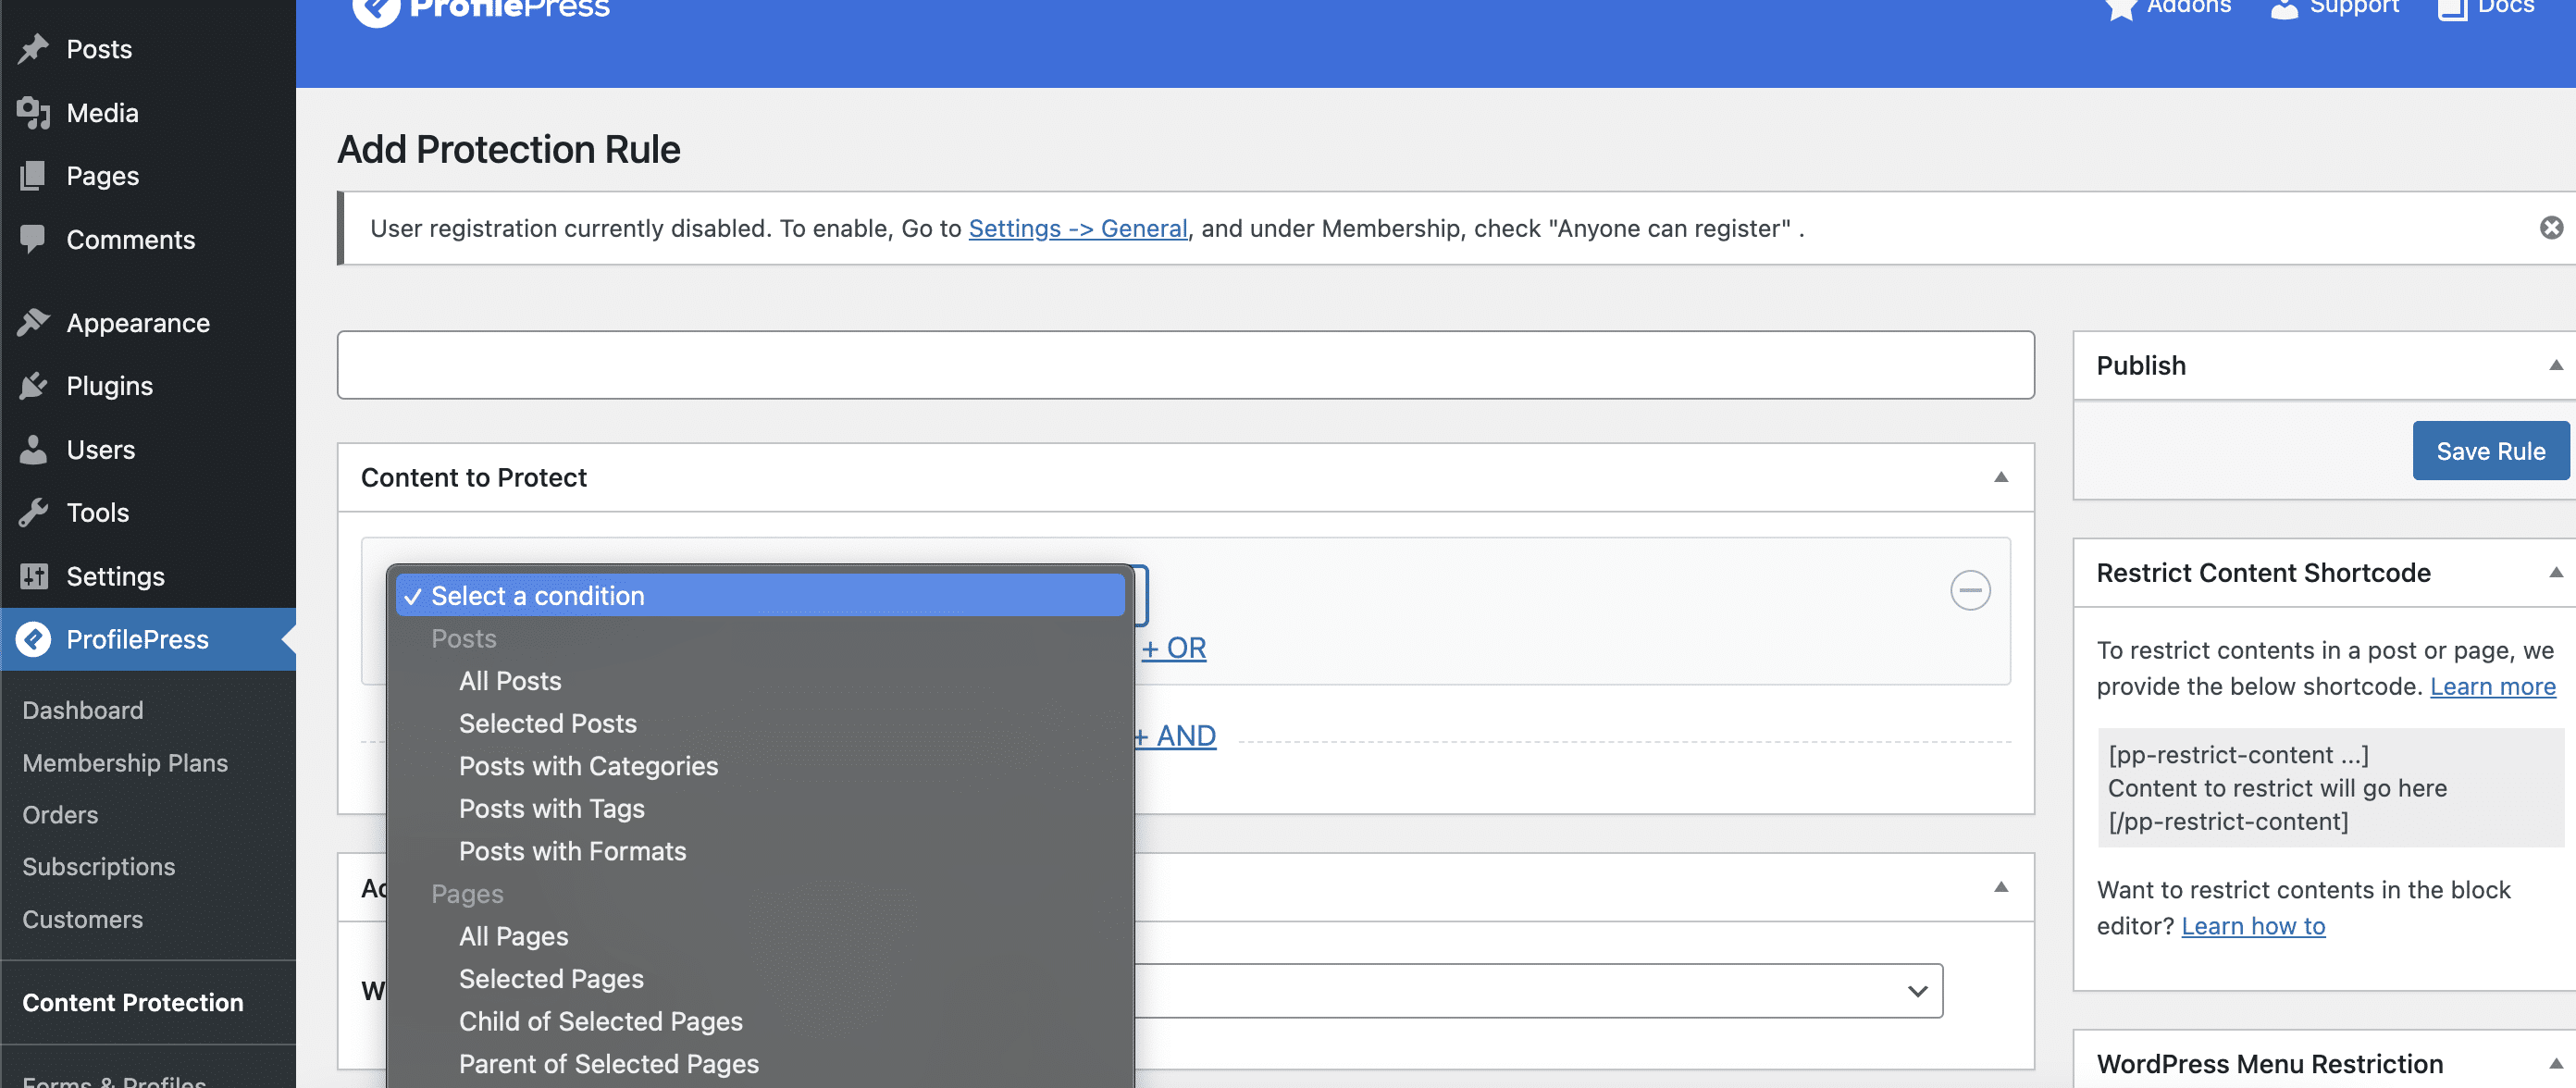
Assuming we want only logged-in users to be able to access the “hello world post,” we’ll set the content to protect to be “Selected Posts” and then select the “hello world post in the dropdown” post.
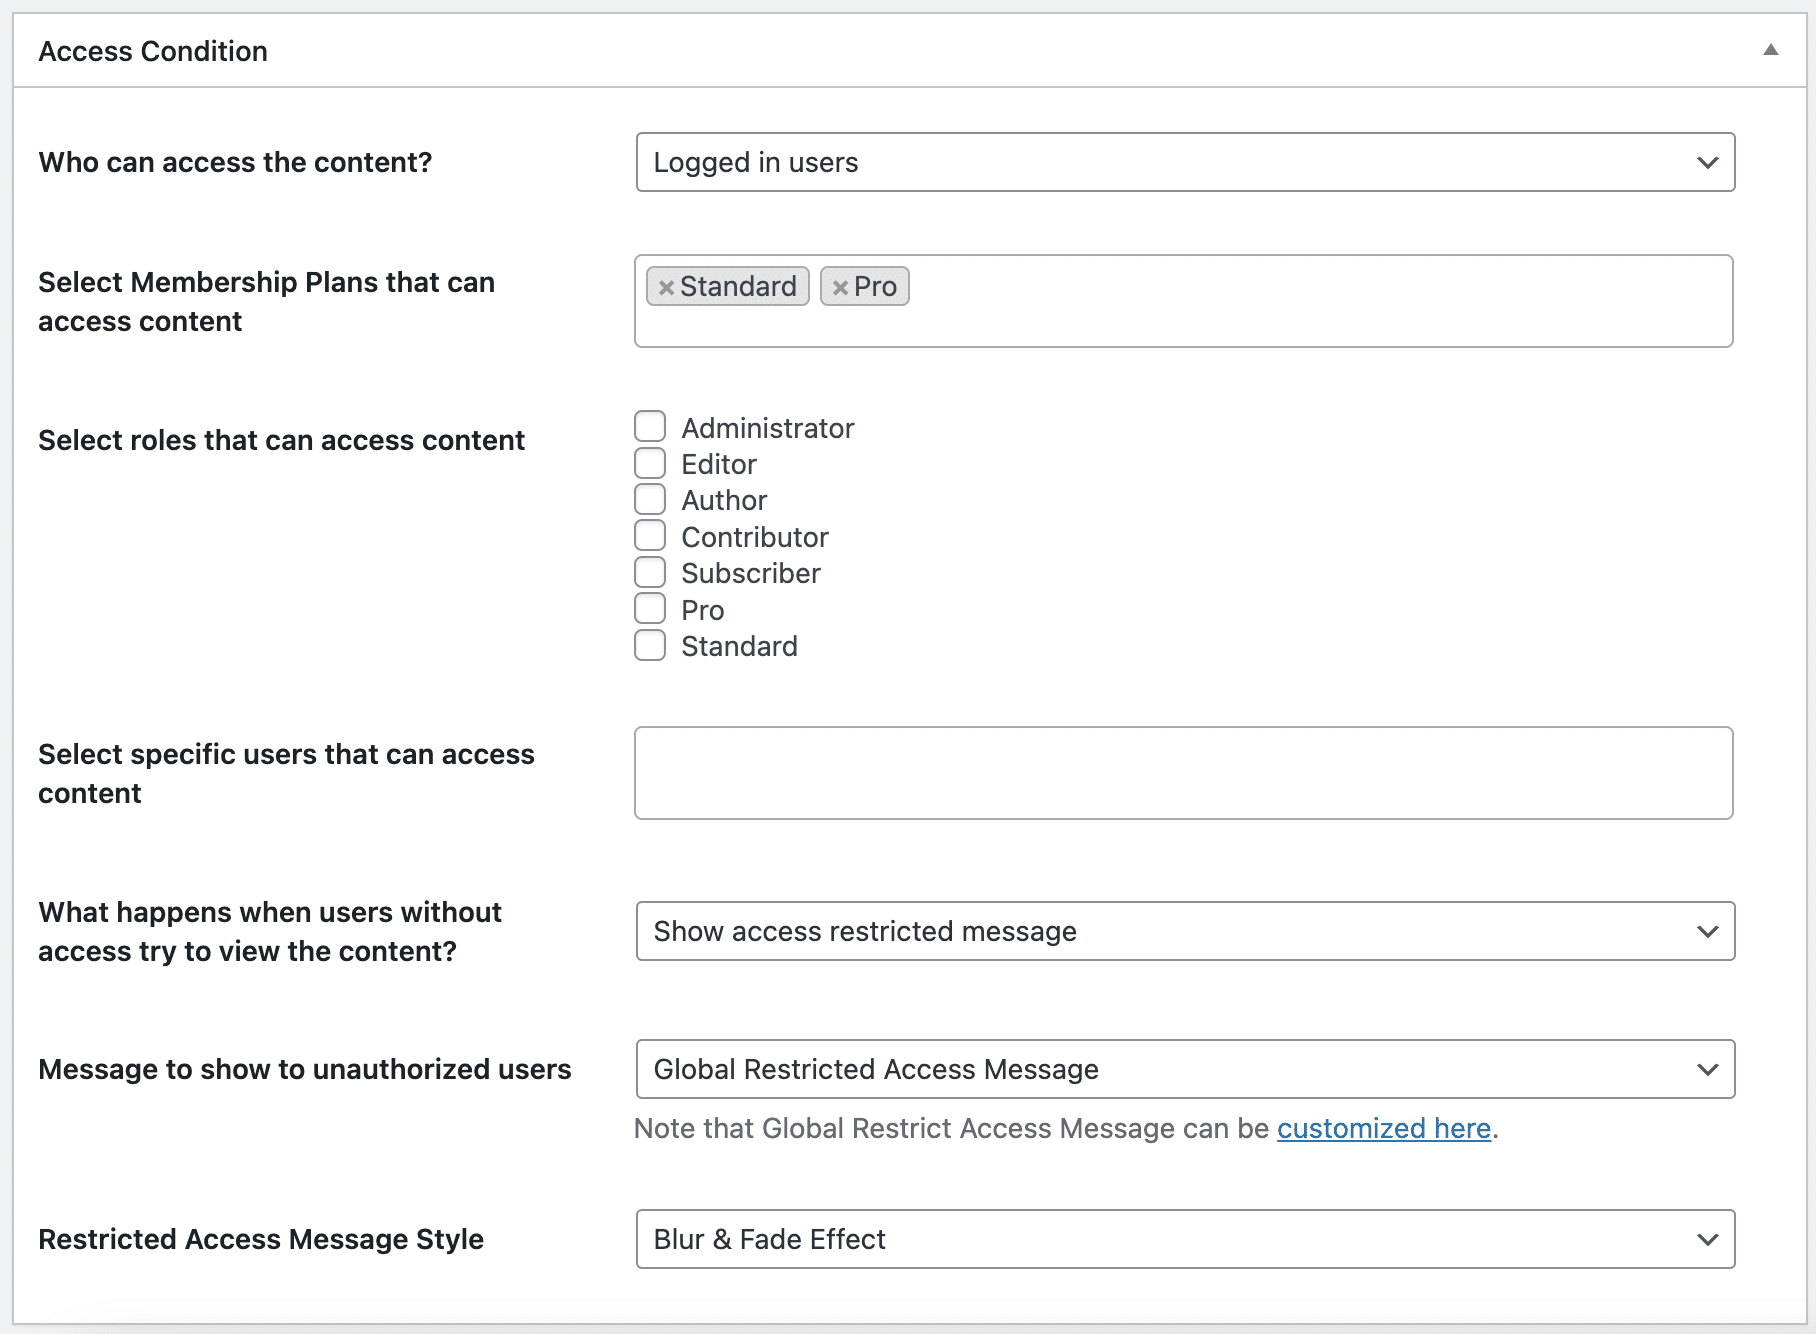
Next, we’ll set the access condition to “logged-in users”, select the user roles that should be able to access it, the users in a specific membership plan, and you can also customize the messages you intend to display to the users when they land on the protected website as shown in the screenshot below.
And when we test it while not logged in, it will look like the screenshot below:
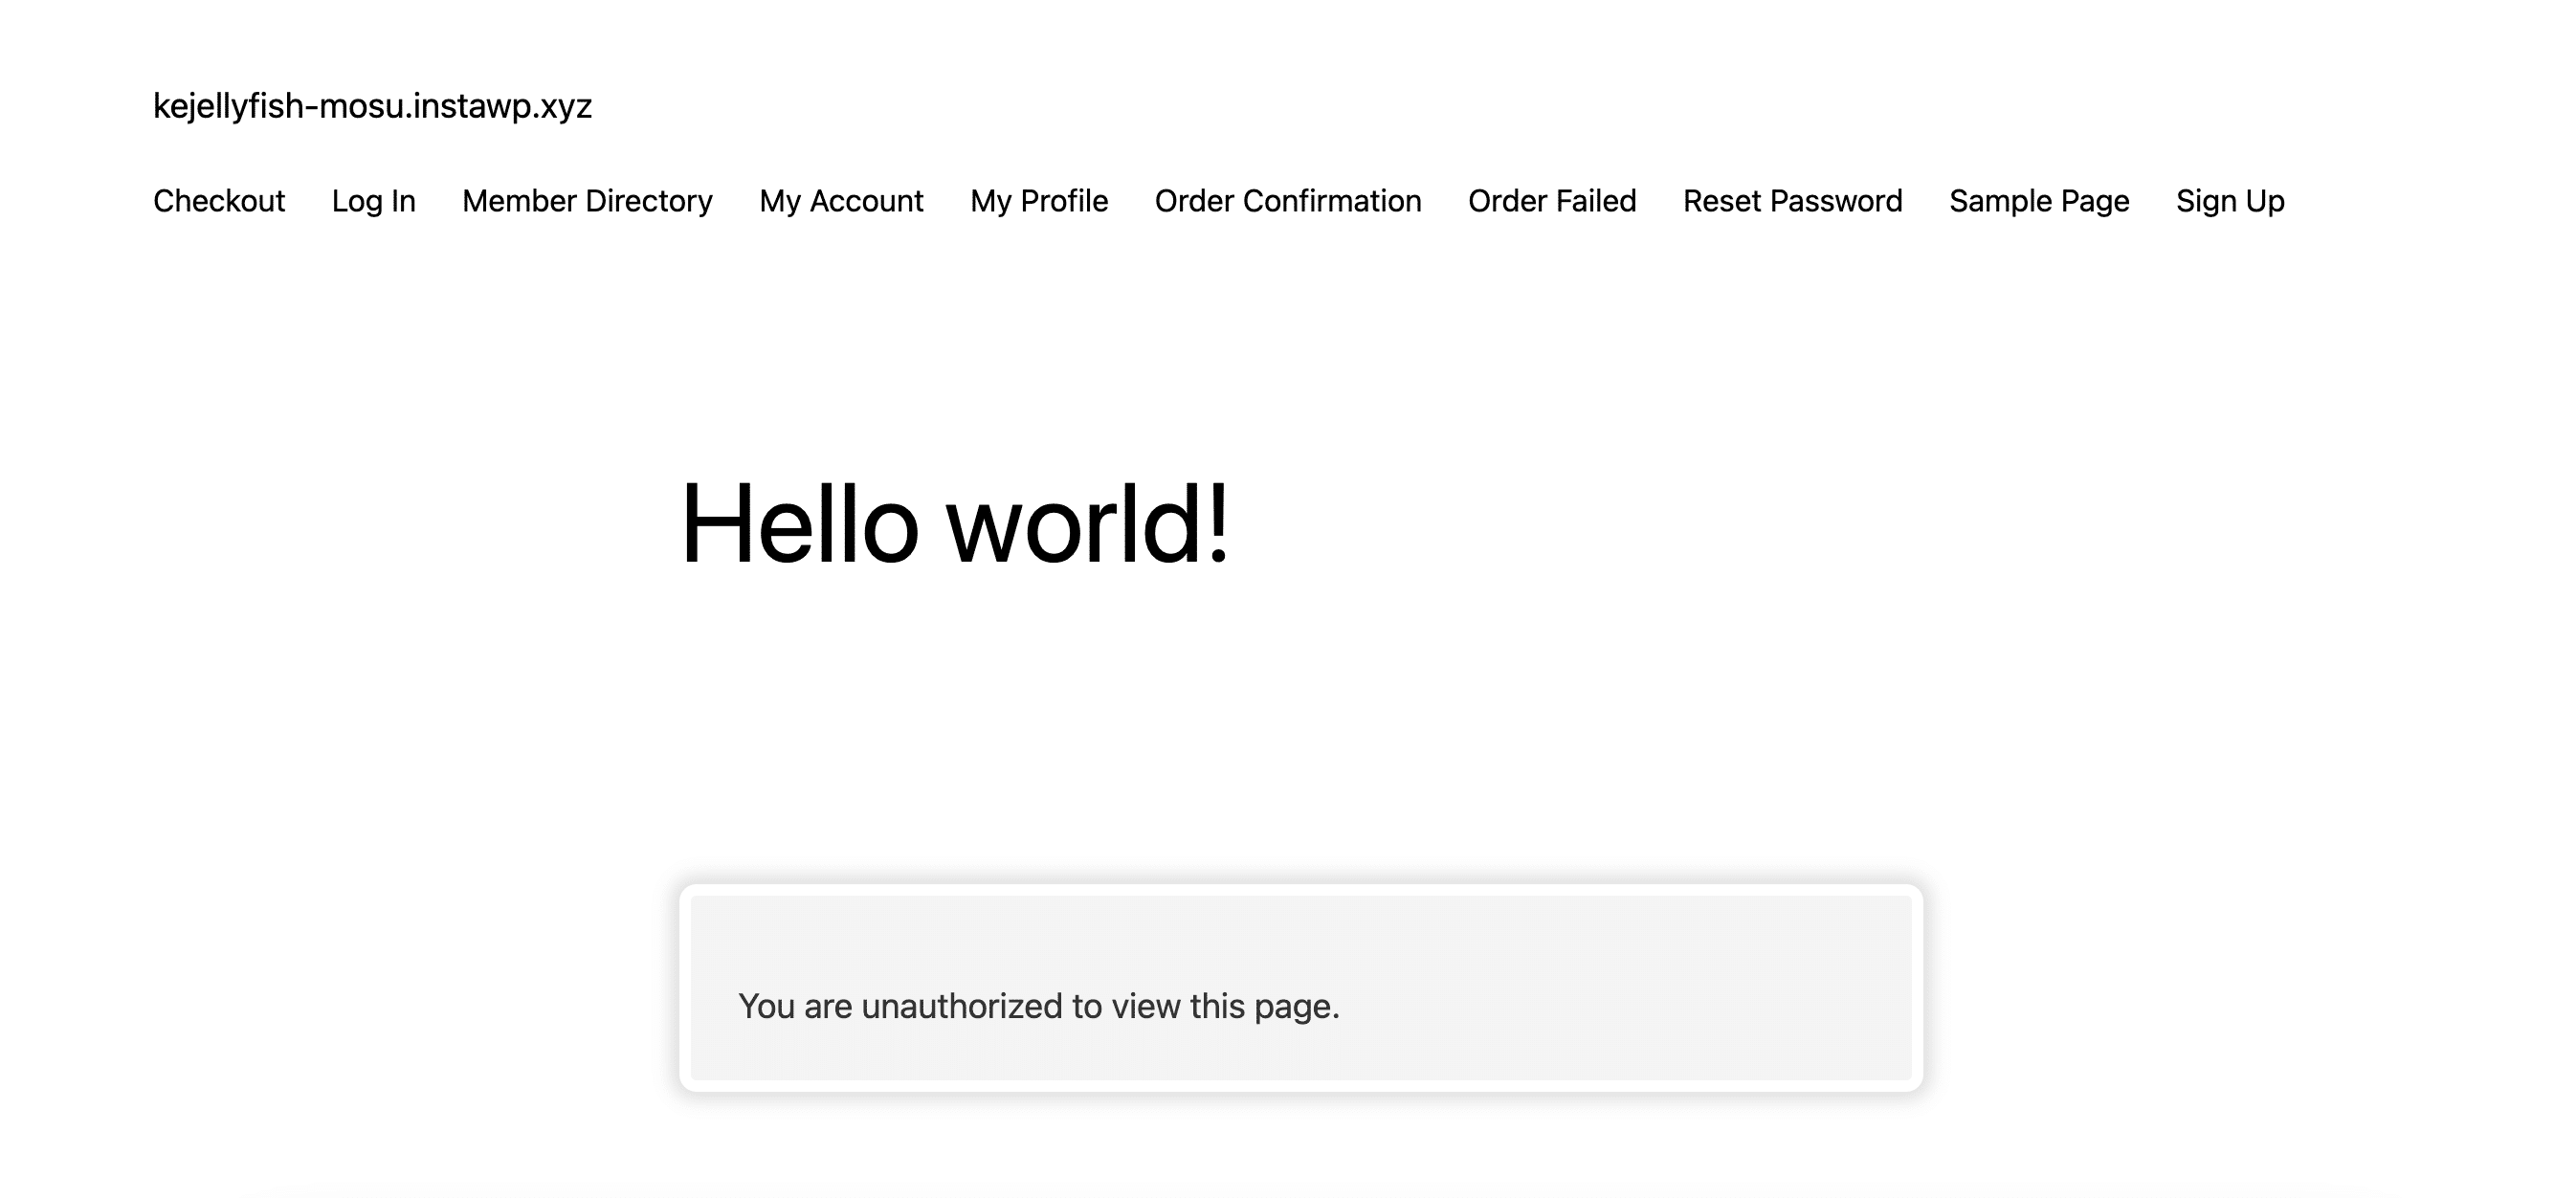
We have succeeded in protecting our content. You can create as many content rules as possible, and you can also protect parts of the publicly accessible content by wrapping it with the shortcode that you’ll find on the right side of the content protection page.
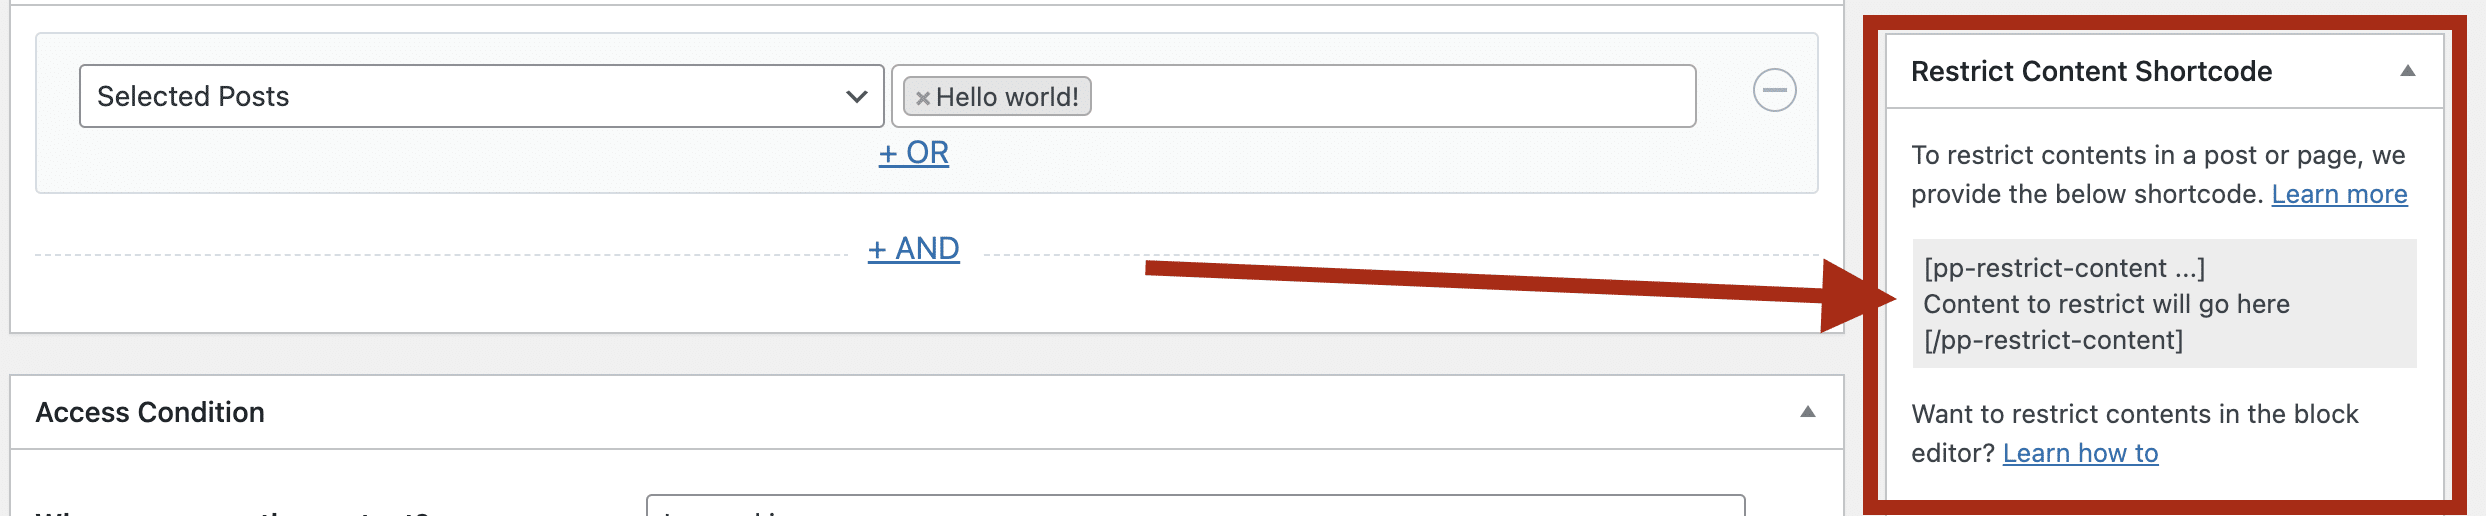
Here is an example of how you can use the shortcode to protect the content you want accessible to only paid members.
[pp-restrict-content plan="1"] content here [/pp-restrict-content]The above rule will only allow users in the plan with the ID of “1” to access the content wrapped with the shortcode. You can get the ID of any membership plan by hovering over the plan title.

There are several options available to you. I encourage you to check the shortcode documentation if you would like to learn more about how to use shortcodes to protect your content effectively. It’s a convenient way to use the ProfilePress content protection feature.
Metered Paywall Content Protection
Another content protection strategy you can leverage is Paywall content protection. Several big online magazines, including The New York Magazine, The New York Times, Medium.com, etc., use this strategy to serve freemium content to their users. With this strategy, you can allow users to access certain content within a specific period. For example, users can only read 2 of your content daily if they are not premium users.
ProfilePress enables a metered paywall on your content effortlessly and straightforwardly.
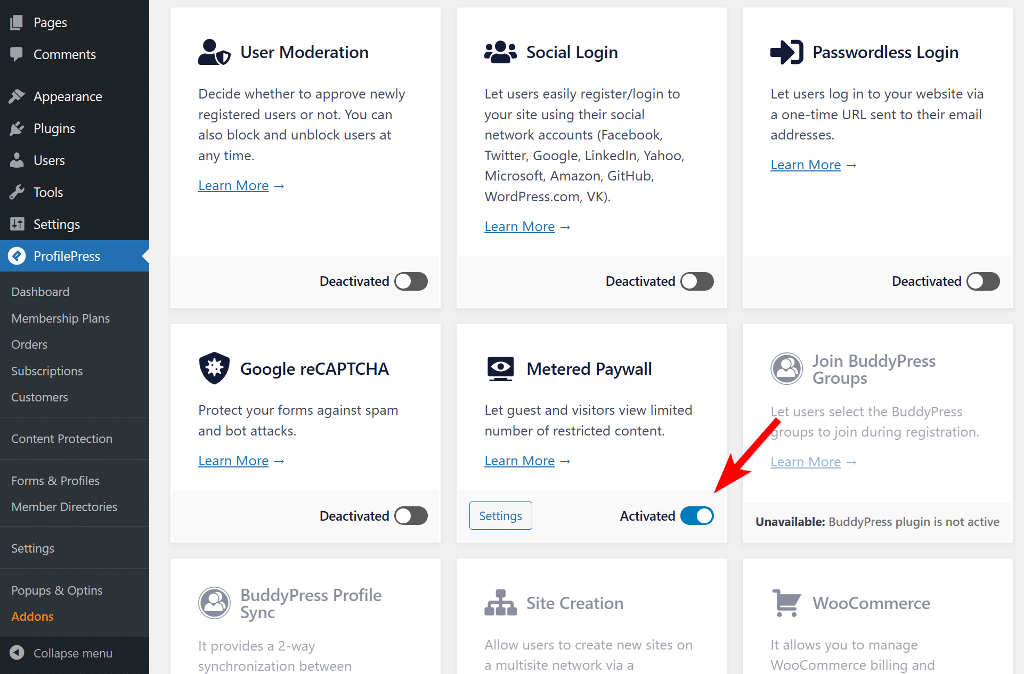
First of all, you’ll need to activate the Metered Paywall addon. Navigate to the sidebar menu and click on the “Addons” link, which will open up the page allowing you to activate the Addon as shown in the screenshot below.
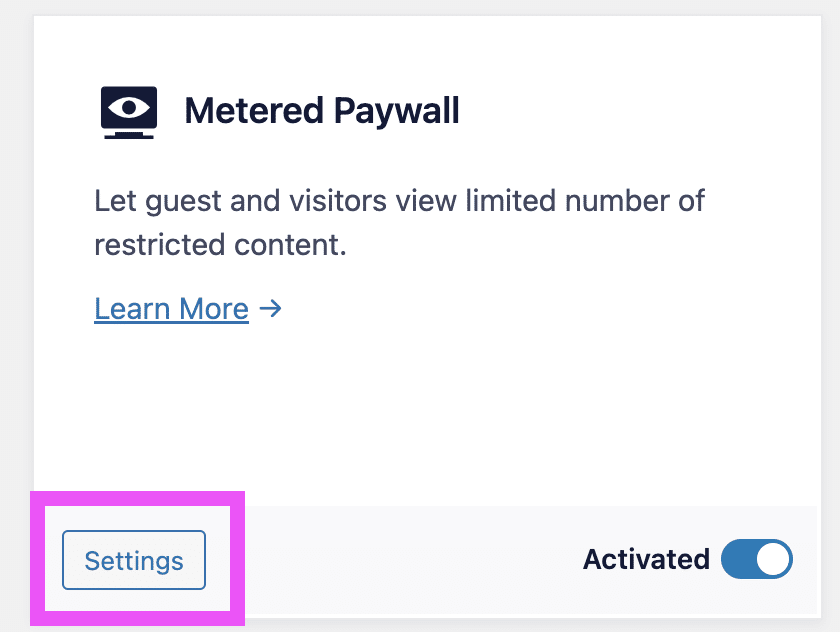
Once that is done, the next thing you need to do is configure the Paywall as you desire. Click on the Settings button in the Metered Paywall card.
This will open up the Metered setting page, and it should look like the one in the screenshot below:
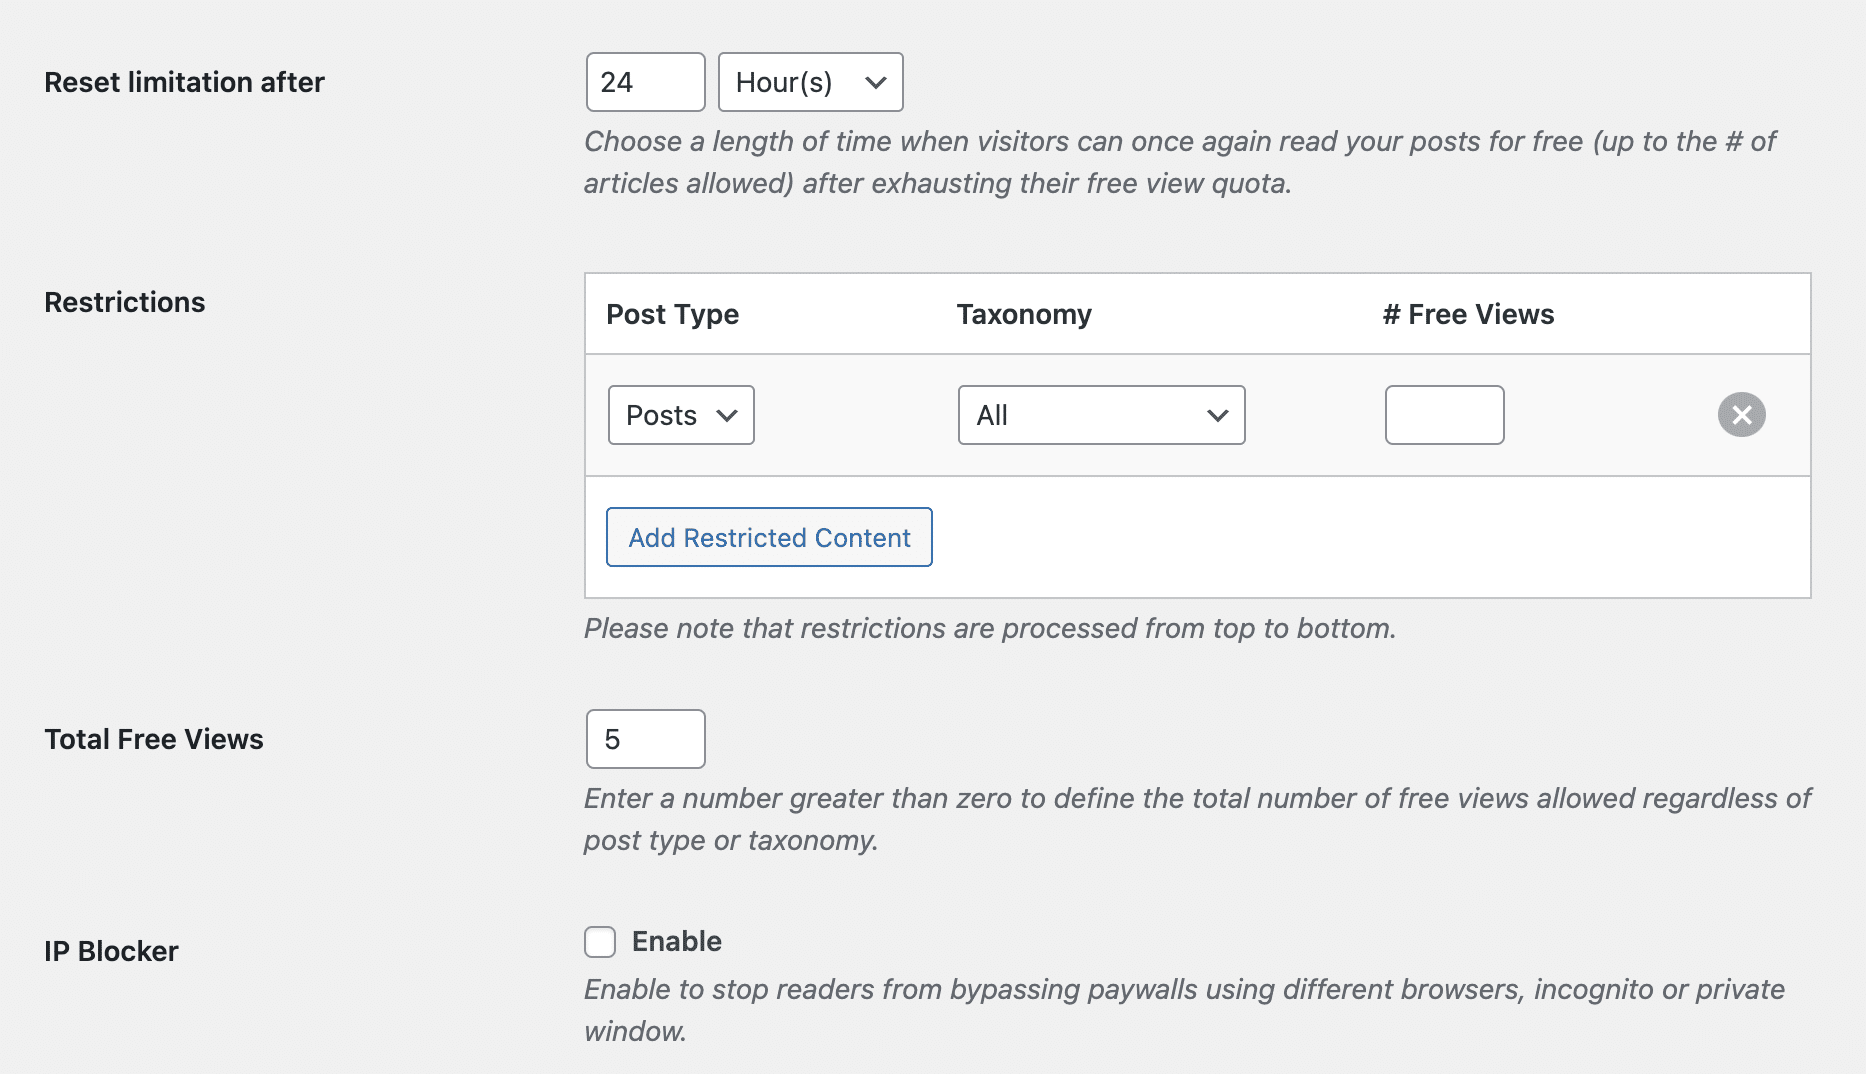
The fields are self-explanatory, “Reset limitation after” allows you to set the next time in hours the user can access your content after the last time they accessed it. In other words, according to the settings in the screenshot, if a user views 5 of your content — or one content five times— around 5 a.m. today, they won’t be able to access your content again until the next day by 5 a.m.
You can configure the Paywall restriction for different post types, categories, and tags. Also, you can create as many restriction options as possible.
Conclusion
In this guide, we’ve discussed the various ways to restrict your content with the ProfilePress content restriction and Paywall features. As we know, we’ve only scratched the surface of what is possible with ProfilePress.
If you want to learn more about ProfilePress and how it can help your business, see their feature page.