Are you seeking to allow your users to edit their profiles directly from the front end of your WordPress website?
Although WordPress provides a user-friendly back-end interface for managing user profiles, there is often a need to empower users by allowing them to edit their profiles directly from the front end of the website.
This article delves into the process of accomplishing precisely that with the help of the ProfilePress plugin. By enabling users to edit their profiles directly on the front end, you can improve the user experience and empower your site visitors to customize their profiles effortlessly. Gone are the days of relying on custom code to enable front-end profile editing.
We will guide you through the installation and configuration process of the ProfilePress plugin, ensuring a smooth experience.
With ProfilePress, updating profile pictures, changing display names, and modifying other profile details can be done effortlessly without accessing the WordPress admin dashboard.
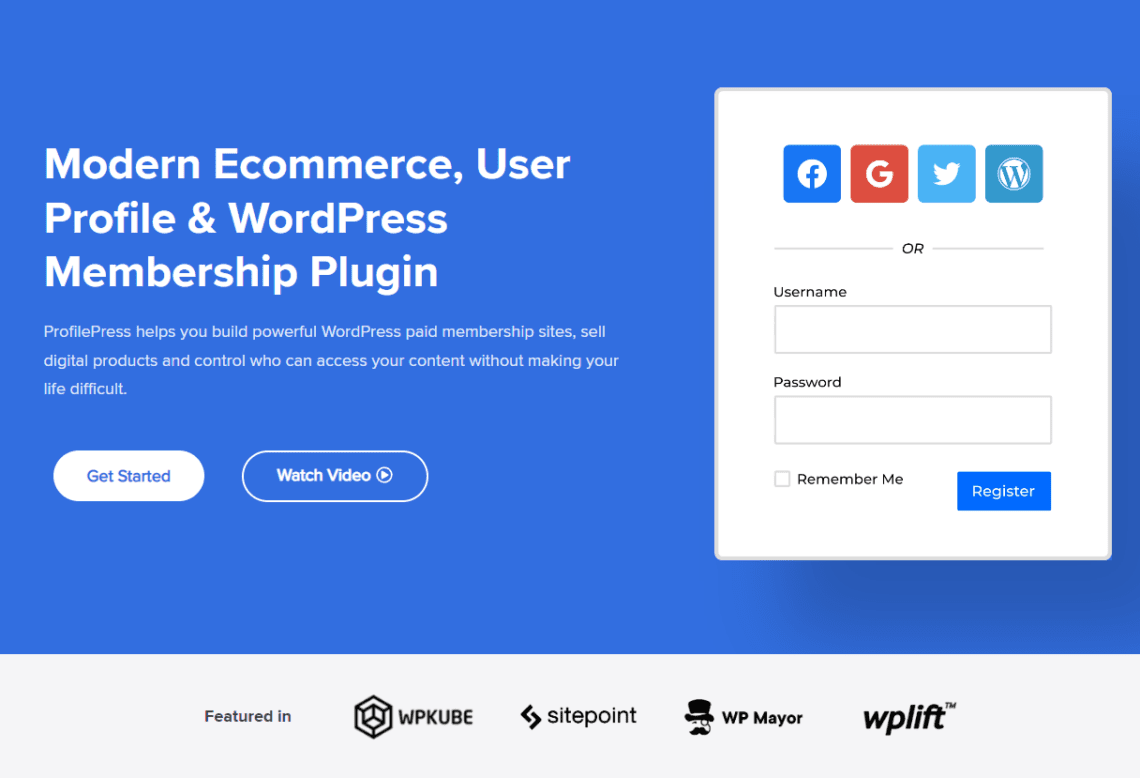
What is ProfilePress?
ProfilePress is an eCommerce and WordPress membership plugin that allows you to build powerful eCommerce websites. This plugin will allow you to sell digital products, physical products, membership plans, and anything else on your WordPress website.
ProfilePress allows you to accept one-time or recurring payments via PayPal, Stripe, Paystack, Mollie, Razorpay, and more. It supports email notifications, social login, email marketing, user management, and integration with other plugins such as Woocommerce.
In addition, this plugin allows you to set up a frontend edit profile form and account page with minimal technical expertise. ProfilePress offers vast customization options, making it suitable for beginners and advanced users.
Installing and Activating ProfilePress Plugin
To commence, you will need to purchase a ProfilePress license. Head to the ProfilePress website and select the best pricing plan that suits your needs.
After your purchase, you will receive an email containing the download link for the plugin and your license key. Alternatively, you can download the plugin from your account page on the ProfilePress website.
To install the plugin, log in to your WordPress admin dashboard and go to Plugins > Add New, Then select Upload Plugin. Next, choose the ProfilePress zip file you downloaded and click Install Now.
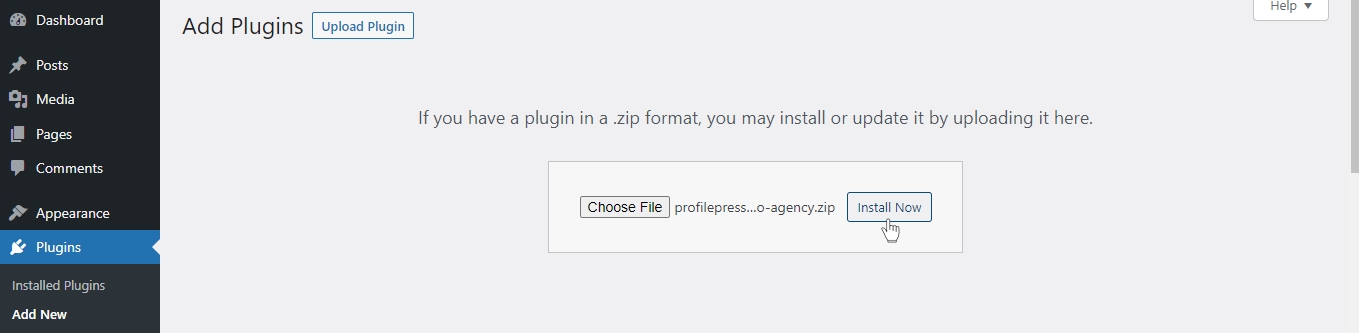
Wait a few seconds for the installation to be completed. Once the plugin is installed, click on Activate Plugin to activate it on your site.

You’ll see a notification at the top of your WordPress dashboard page saying, “ProfilePress needs to create several pages to function correctly.” Click on the “Create Pages” button to complete the plugin setup.

Creating a WordPress Edit Profile Form
After installation, when you click the “Create pages” button, as mentioned earlier, ProfilePress will automatically generate a default edit profile page. While the default page is adequate, you may prefer designing your own.
To do this, Navigate to ProfilePress > Forms & Profiles in your WordPress dashboard,
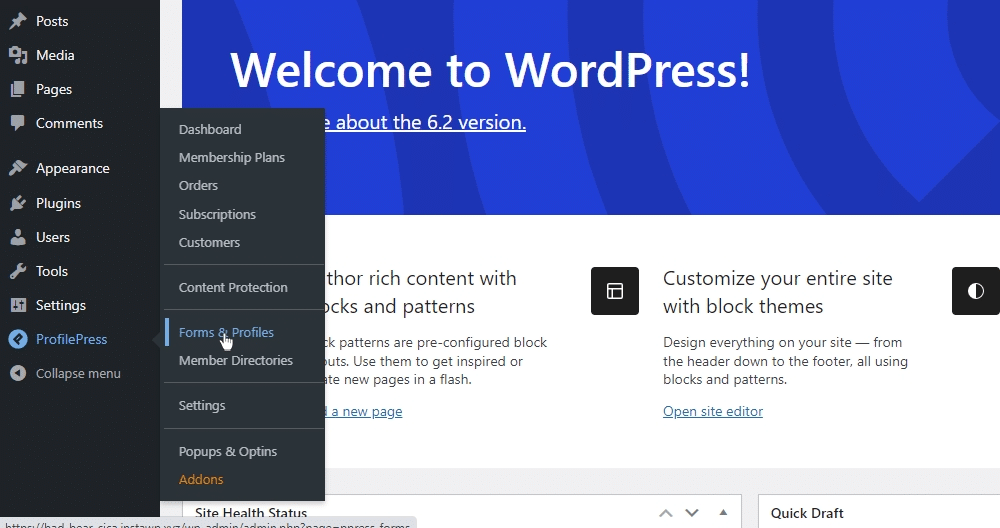
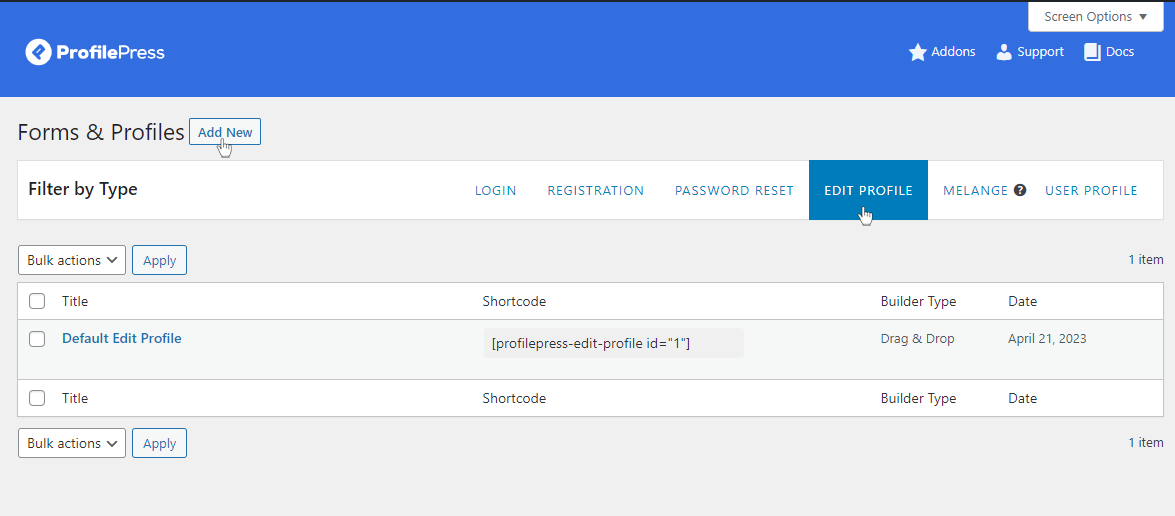
Then select the Edit Profile tab, and click the Add New button.
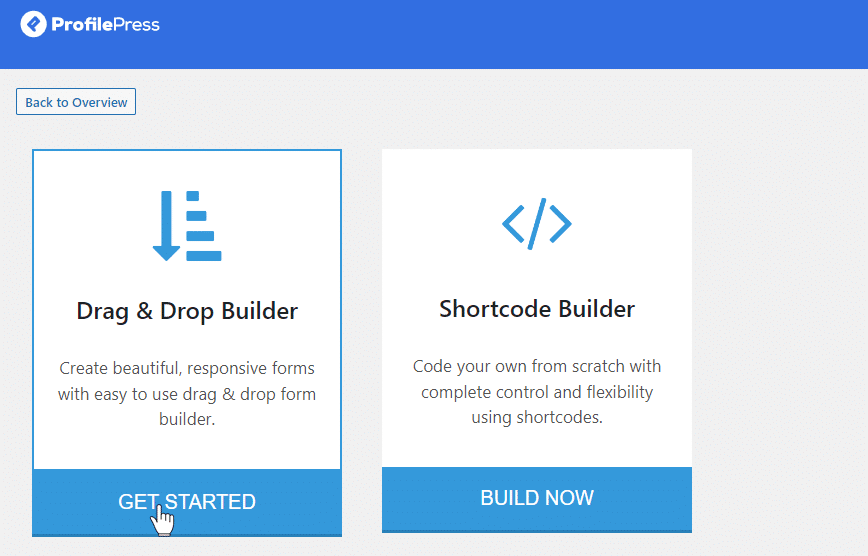
Decide between using the drag-and-drop or advanced shortcode builder. For this guide, we will go with the “Drag & Drop Builder.”
Click the “Get Started” button under the Drag & Drop Builder.
You’ll see a field where you can enter a name for your Edit Profile Form. Choose a name that you prefer, like “Edit Profile.”
ProfilePress offers a variety of ready-to-use templates for you to explore. In this article, we’ll select the “Create from Scratch” template.

Next, you will be directed to a new window. In this window, you will come across various standard fields we can use to create the edit profile form. You will also find a shortcode at the top of the fields and a preview button that lets you view your changes.
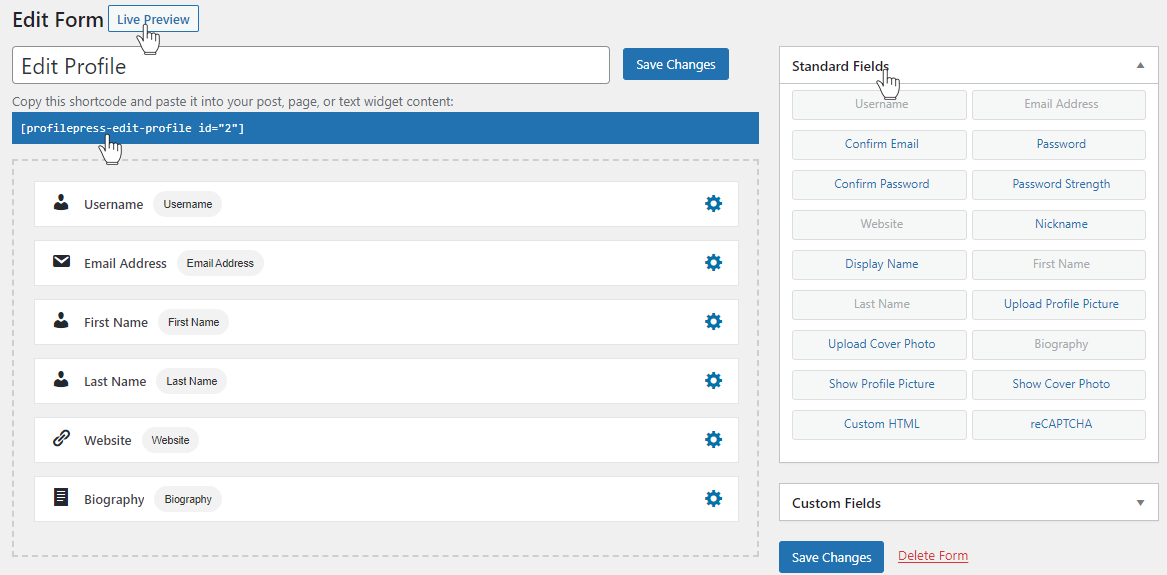
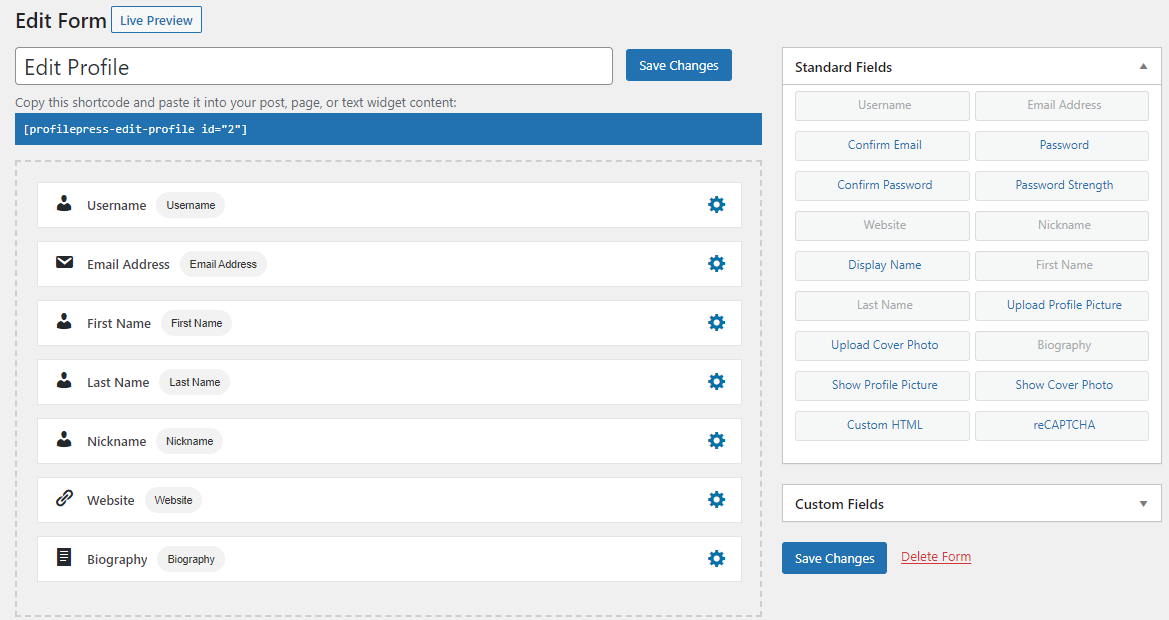
For instance, drag and drop the Nickname field into the form builder area and position it below the Last Name field. This particular field enables users to input their nicknames.
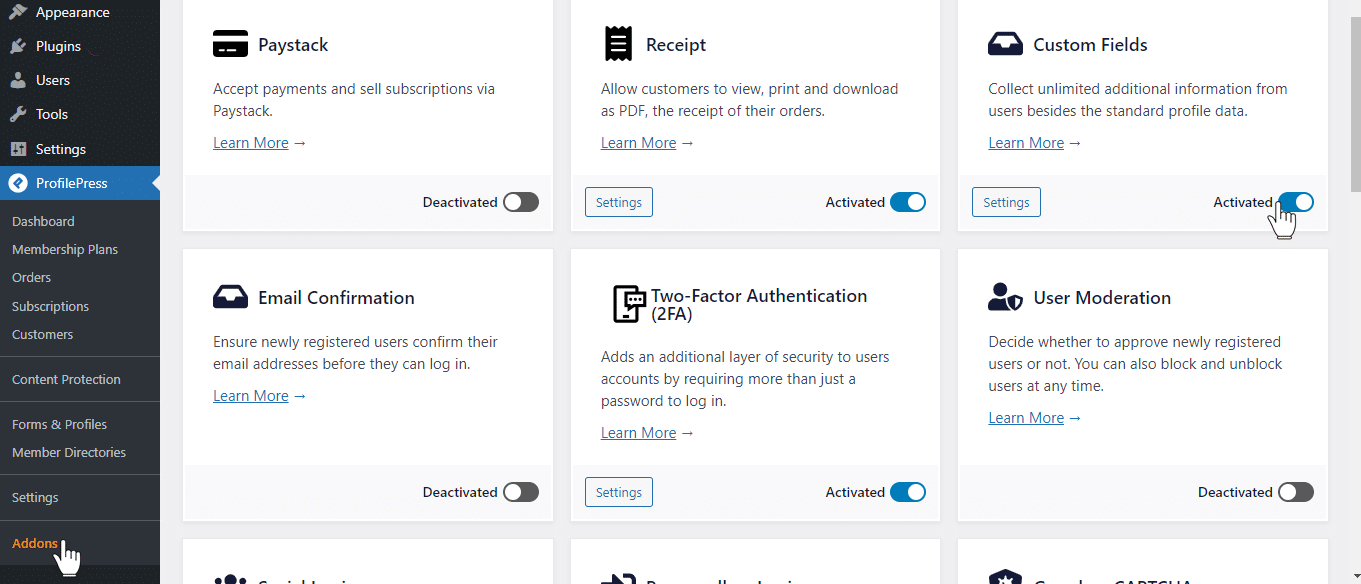
If you need more options to create fields like Phone number, Gender, Country, and more, activate the custom fields addon.
To do this, navigate to ProfilePress > Addons > Custom Fields and activate the addon.
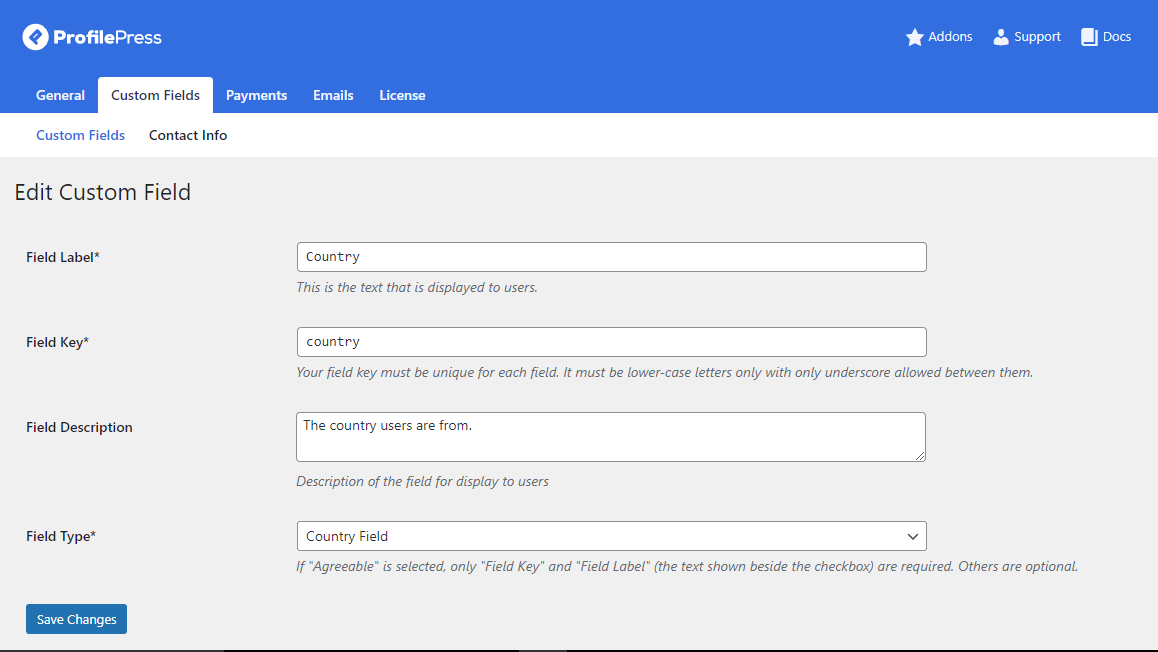
Then, navigate to Settings > Custom Fields, click the Add New button, and input a label, key, field description, and field type. Once you’ve made the desired changes, save them.
Afterward, go back to the Edit Profile Form.
Underneath the Standard Fields section, you’ll find a section titled “Custom Fields.” Select it to view the available custom fields.
Then, drag and drop the desired custom field into the form builder.
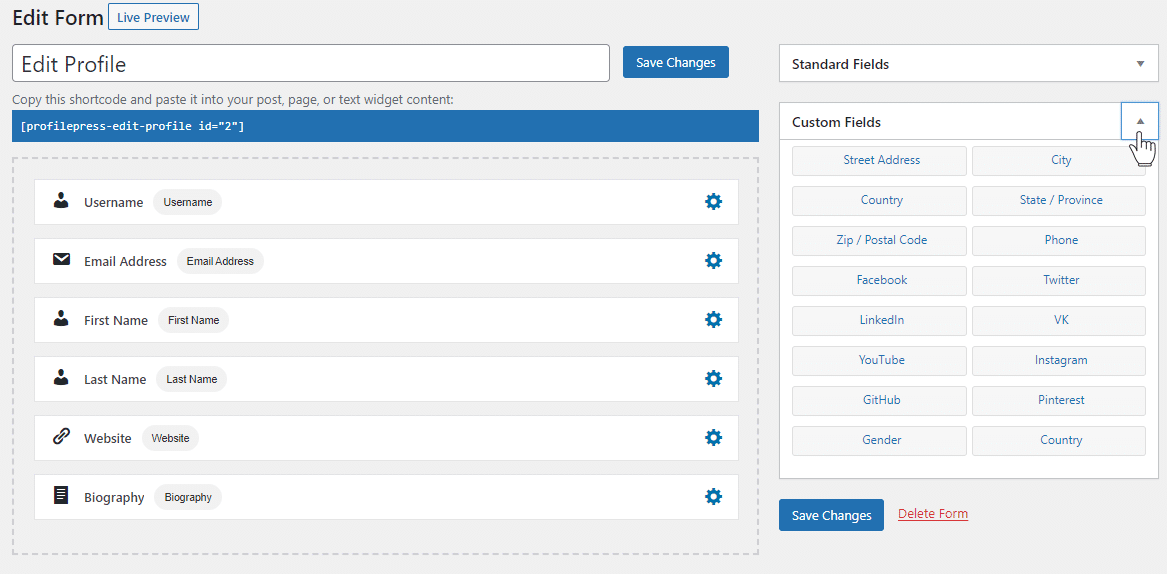
For instance, you can easily move the Phone number and Gender fields to the form builder area by dragging and dropping them, positioning them below the Nickname field.

Customizing the Edit Profile Form
Once you have included all the necessary fields in your edit profile form, the next step is to customize its appearance according to your preferences.
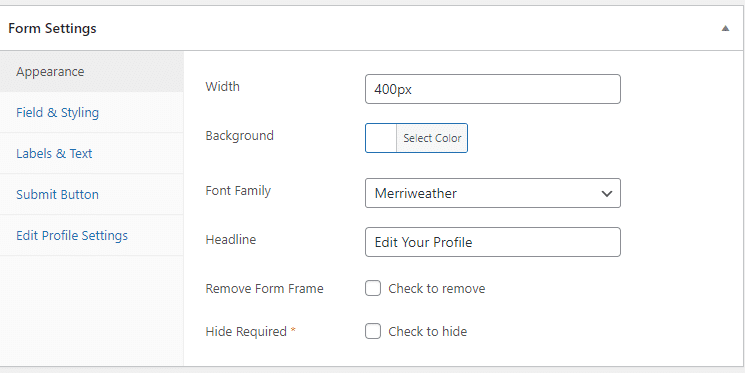
ProfilePress offers the option to customize the form through the “Form Settings” section, encompassing categories such as Appearance, Field & Styling, Labels & Text, Submit Button, and Edit Profile Settings.
Let us take a quick look at each of these sections.
Appearance
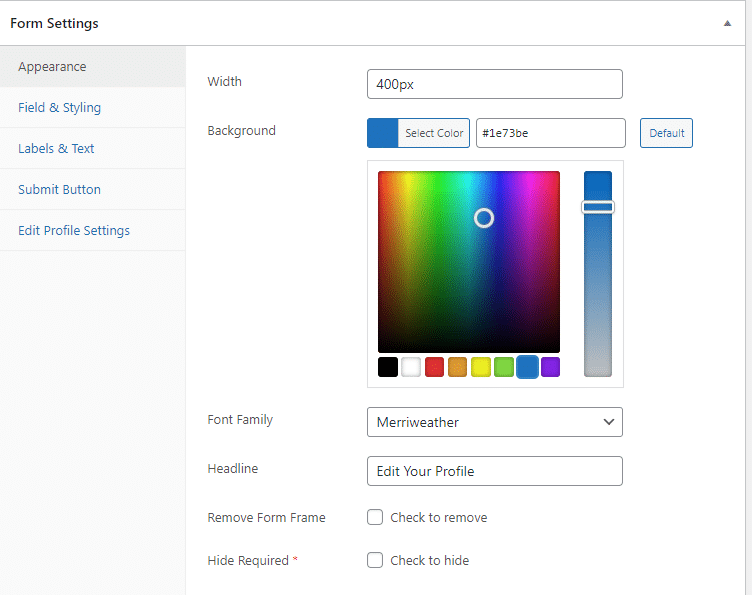
The Appearance tab lets you customize the overall look of your form. You can adjust various aspects such as width, background color, font family, headline, form frame, and more.
For example, change the background color to blue, scroll up to save changes, and click Live Preview to see the changes.
You can keep tweaking the color till you get a suitable color. You can also modify other parameters in the appearance tab until you create a design that suits you.
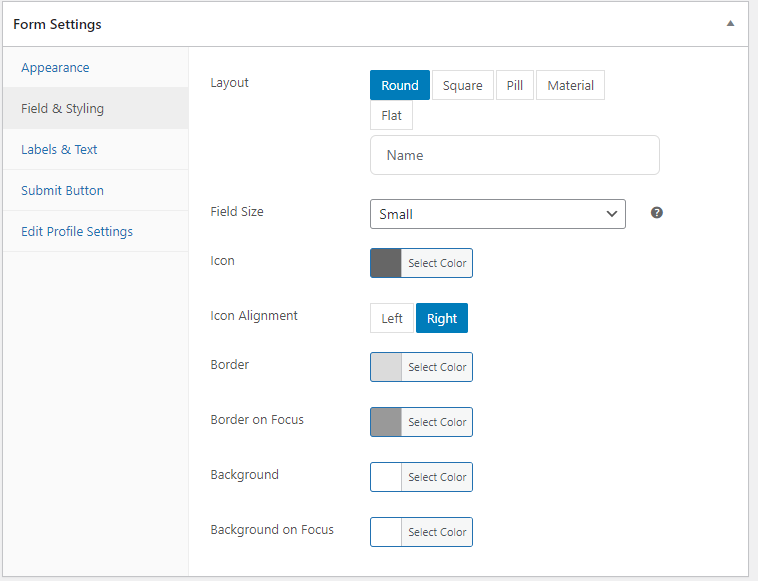
Fields & Styling
The field & styling section allows you to modify the various properties that control the form layout.
For example, you can modify the colors used for your form’s fields, including the border color used when the field is in and out of focus. Additionally, you can alter the design style of your fields to Round, Square, Pill, Material, or Flat.
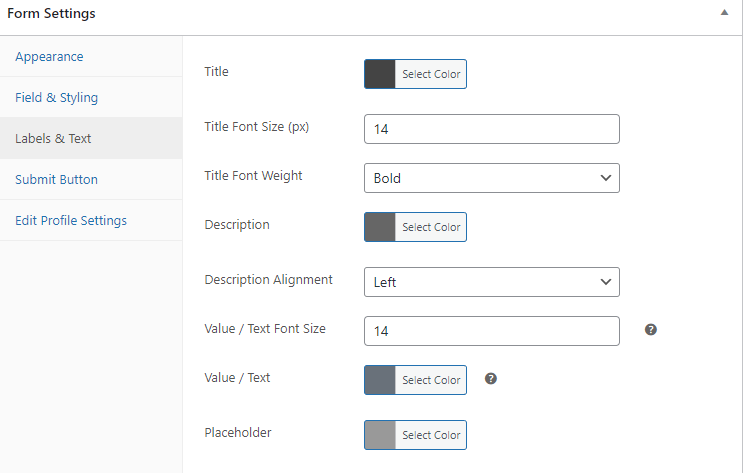
Labels & Text
Within the Labels & Text tab, you will find various tools to personalize the design of your field labels and descriptions. These customization options include adjusting the color of the title, description, and placeholder, among others.
You can adjust these properties to meet your specific preferences. Once you are satisfied with the modifications, save the changes and click on Live Preview to preview the updated design.
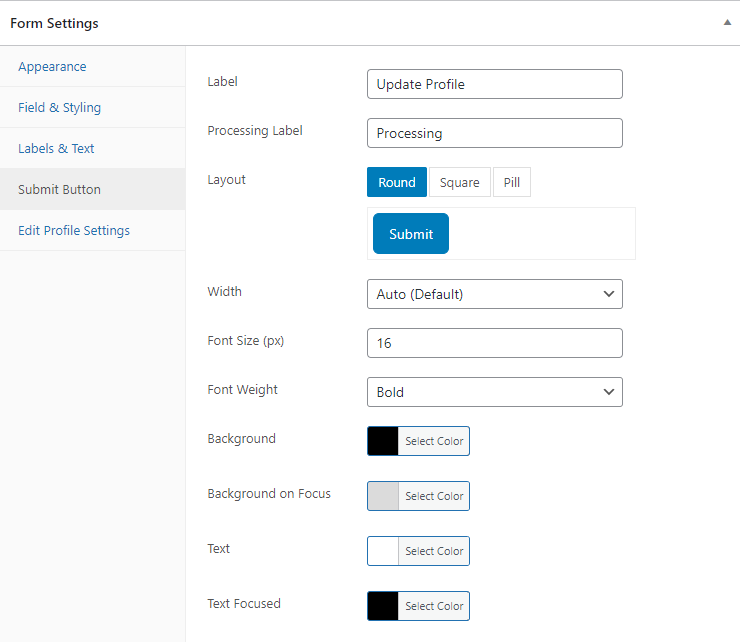
Submit Button
With the Submit Button section, you can personalize the appearance and functionality of the Submit button on your form. This customization includes modifying the button label, layout, width, colors, and more.
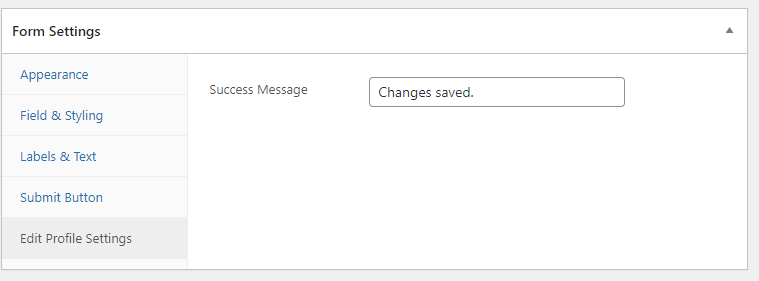
Edit Profile Settings
The edit profile settings section in ProfilePress allows you to input a personalized success message that will be displayed to users after they utilize the edit profile form on your website.
Publishing the Edit Profile Form on a Page
After customizing the design of your edit profile form to your satisfaction, the next step is to make it visible on a specific page.
To begin, copy the shortcode found at the top of the Edit Profile Form. Afterward, head over to the Pages section of your WordPress dashboard, select Add New, and assign a name to the page, such as “Edit Profile.”
If you use the WordPress block editor, insert a shortcode block by clicking on the plus icon, then paste the copied edit profile form shortcode into the block.
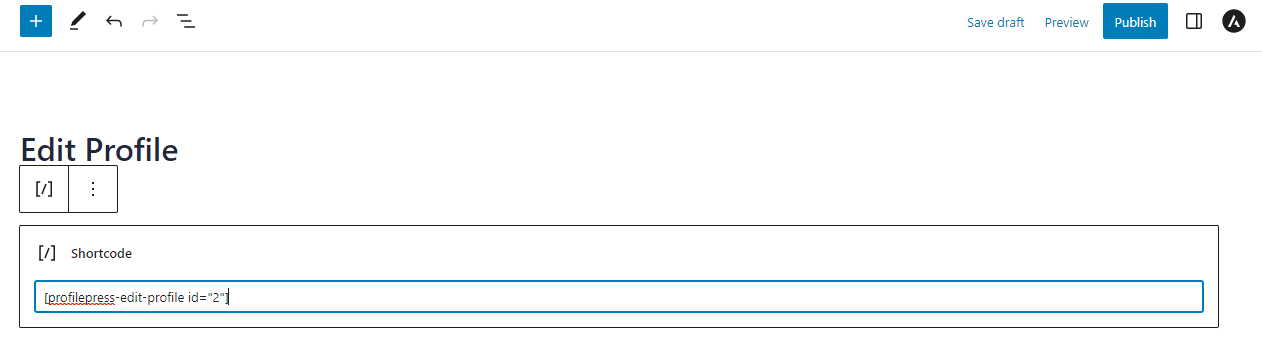
If you use the WordPress classic editor, paste the shortcode into the text editor. Afterward, click the “Publish” button to make your newly created WordPress user profile page live on your website.
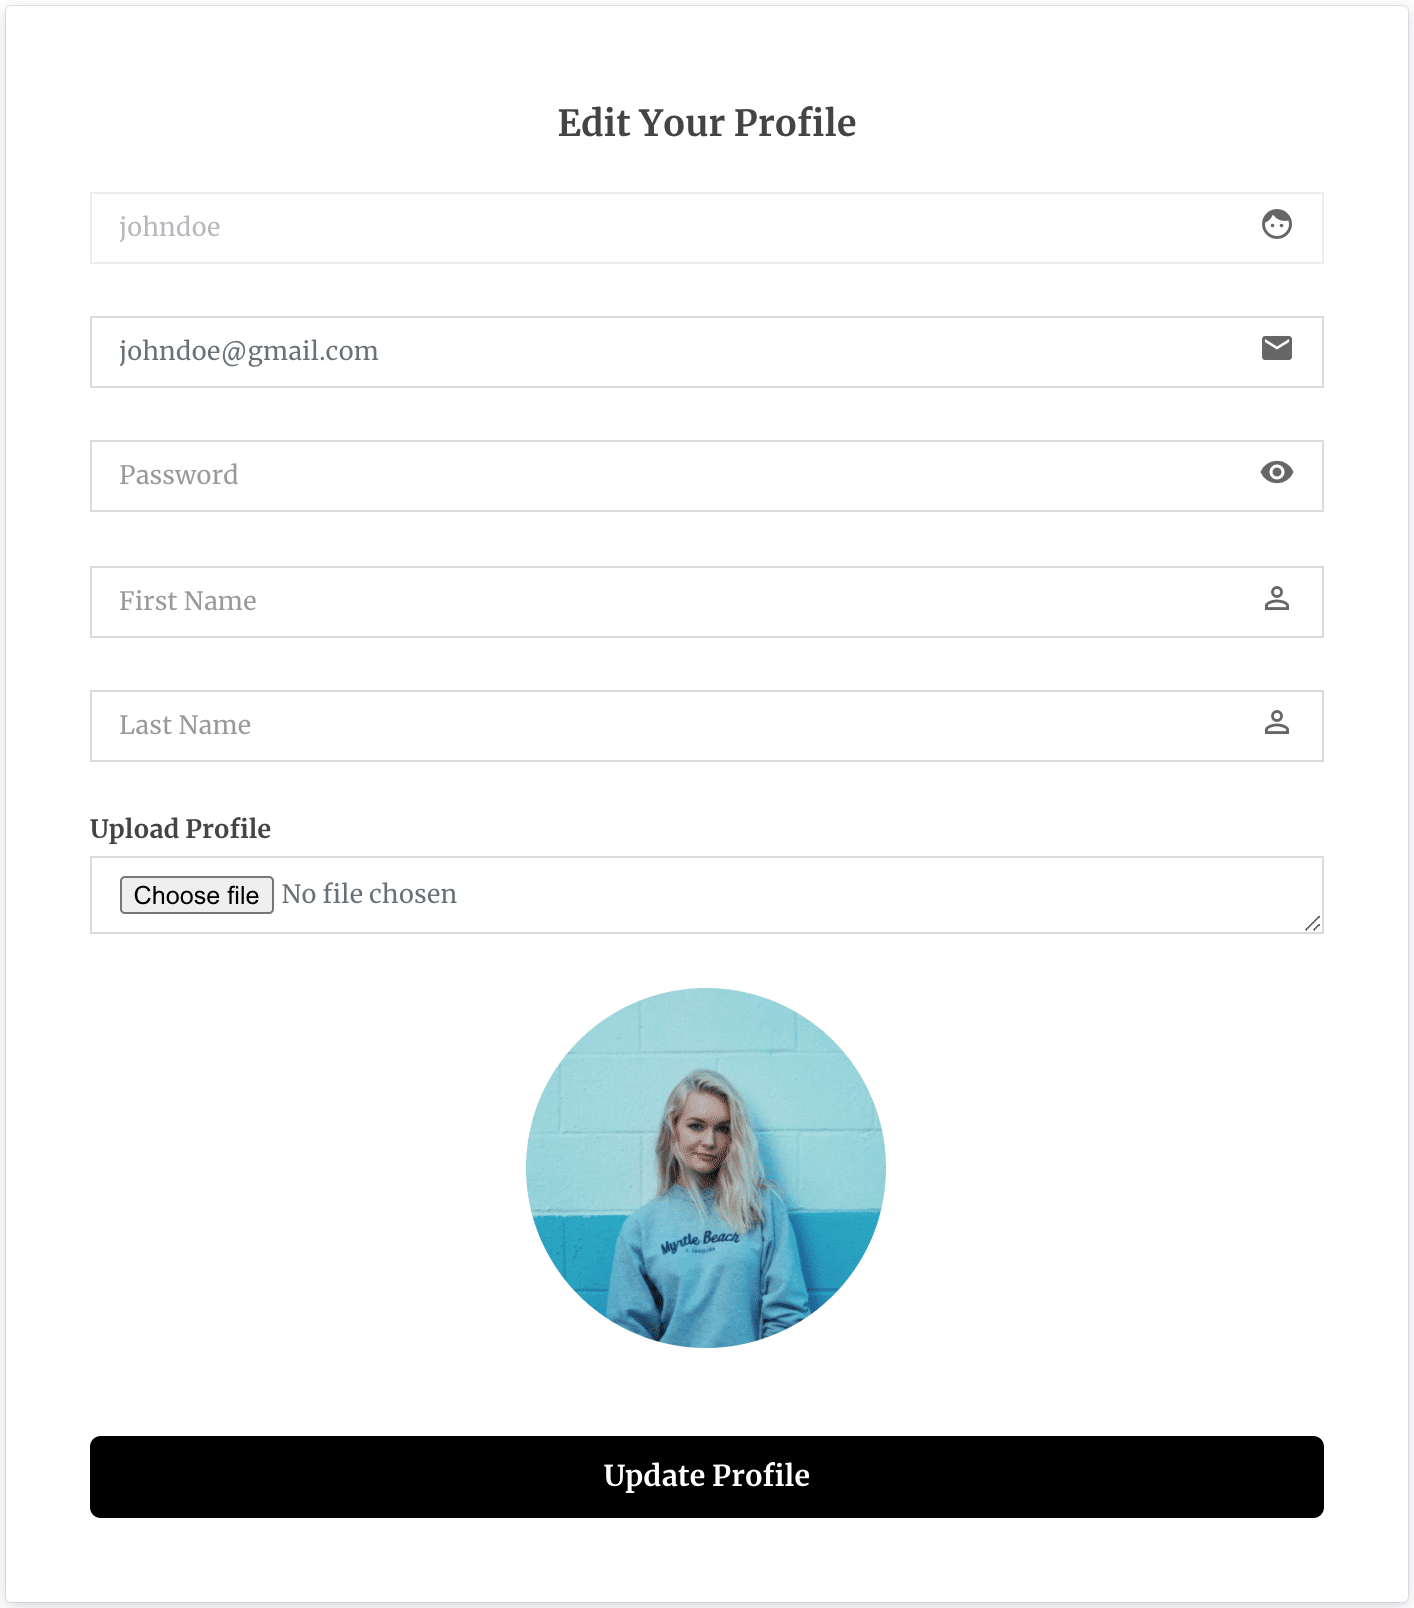
We have successfully created an edit profile page for all your users.
Here’s how the edit profile page looks on our demo site.
Creating a My Account Page
ProfilePress offers a special feature called “My Account Page,” which allows members or users of your WordPress site to effortlessly update their profile details, modify account settings, change passwords, and much more.
To add the My Account Page to your website, create a new page or edit an existing one, add the shortcode to the page, and save/publish.
This action will create a My Account Page on your website, enabling users to modify their account information easily.

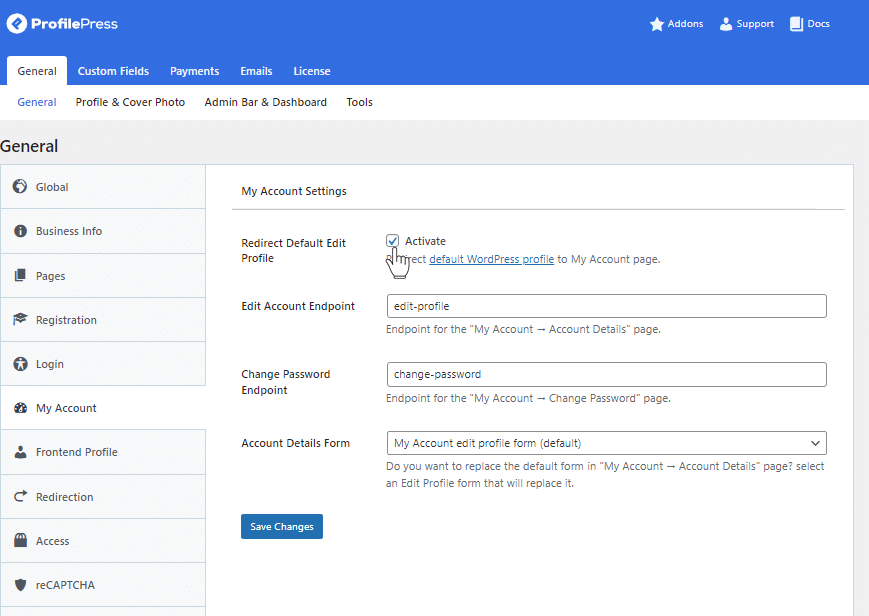
To ensure that users are directed to the new My Account Page, it’s necessary to restrict access to the default WordPress account page.
To do this, head to ProfilePress > My Account Settings and activate the “Redirect Default Edit Profile” option. Be sure to save your changes once you’re done.
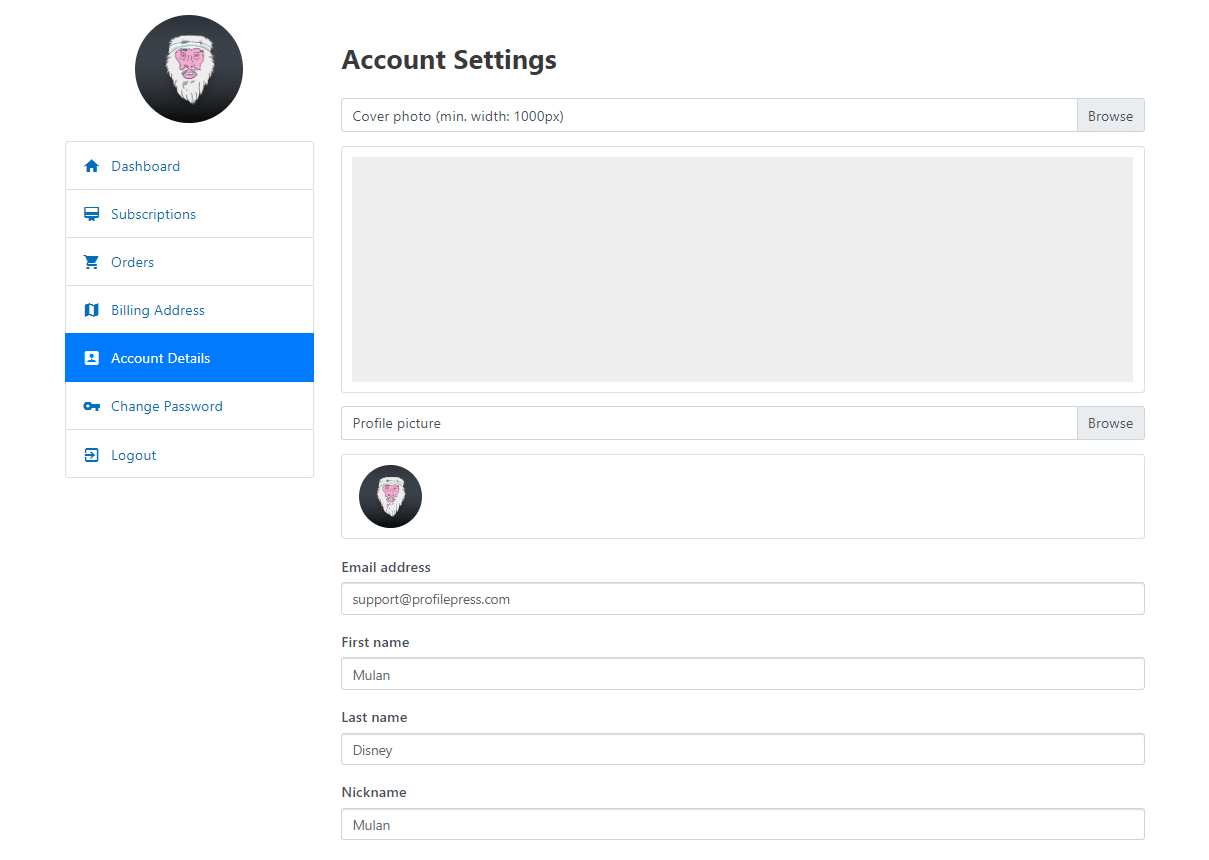
Below is a preview of how the account page appears on our demo site:
Conclusion
Enabling front-end user profile editing in your WordPress site can significantly enhance the user experience and empower them with a sense of control and ownership over their online presence.
One of the critical advantages of front-end user profile editing is the convenience it offers. It eliminates the need for an admin to use the backend admin dashboard to make the changes for users.
From a website owner’s perspective, implementing front-end user profile editing can improve data accuracy. Users are more likely to update their profiles when they have convenient access, ensuring that the information displayed remains relevant and reliable.
Get ProfilePress Today.